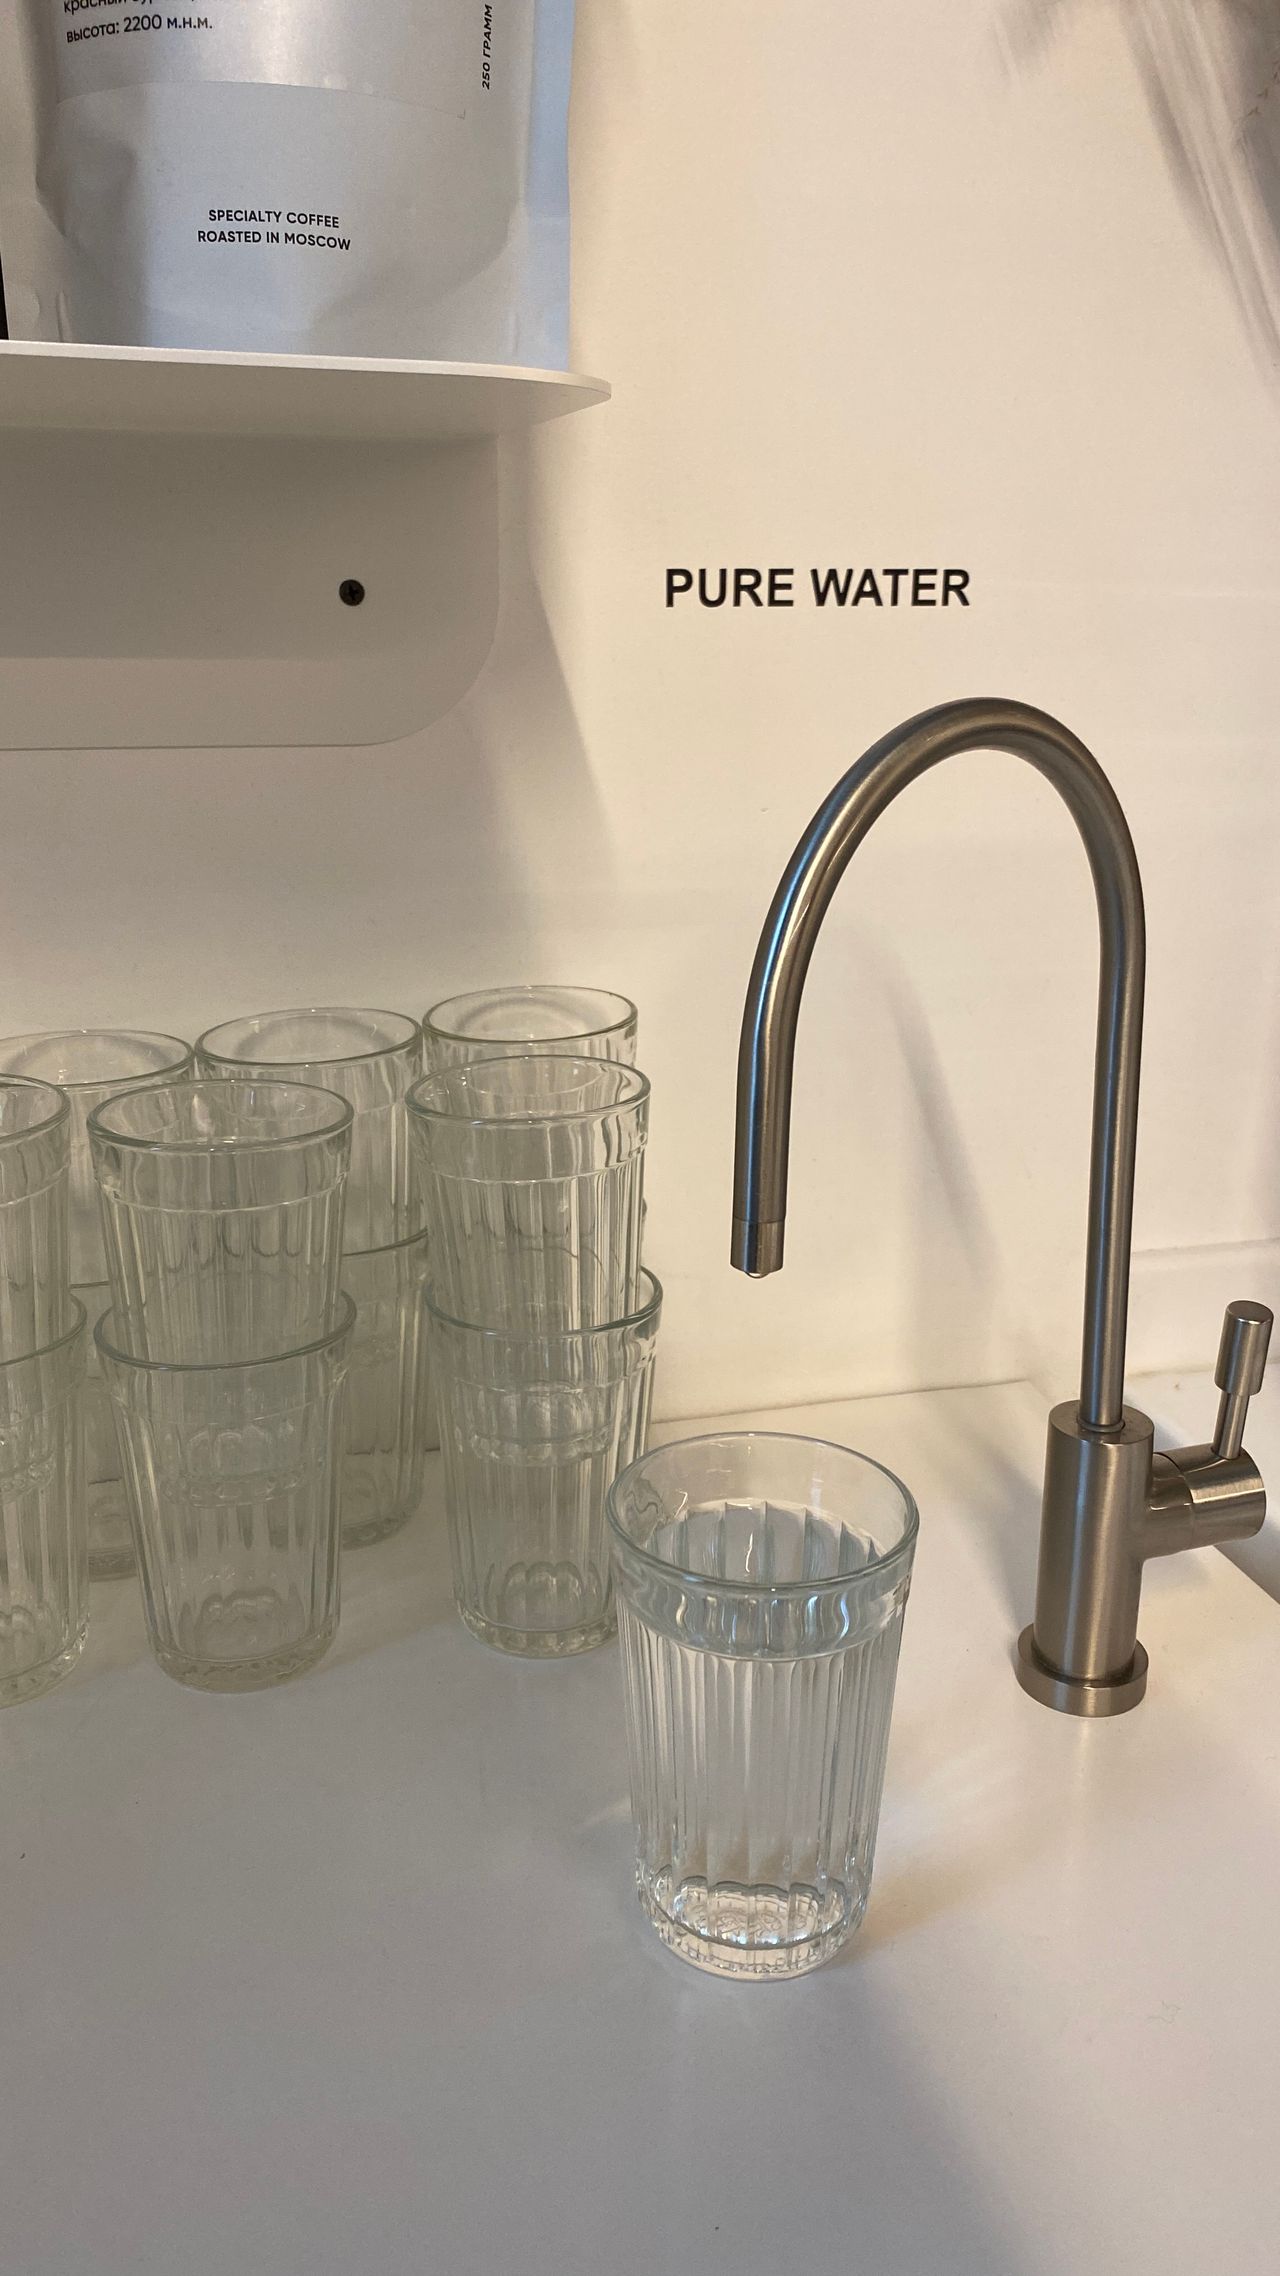
Faucet water filters are one of the most cost-effective ways to improve the quality of your drinking water at home. This covers what actually matters: the main types available, how to choose the right one, how to install it yourself, and how to keep it working at peak performance.
I earn a commission if you buy through the Amazon links below, at no extra cost to you.
For specific product picks, see my best faucet water filter guide.
Types of Faucet Water Filters
1. Activated Carbon Filters
The most common and affordable option.
Activated carbon filters use porous carbon to adsorb chlorine, chloramines, volatile organic compounds (VOCs), and many common contaminants that affect taste and odour. They don’t remove minerals, fluoride, or dissolved solids.
Best for: Improving the taste and smell of municipally treated tap water. A great everyday choice for most households on a mains supply.
2. Carbon Block Filters
A denser form of activated carbon compressed into a solid block. Carbon block filters offer better filtration than granular activated carbon because water is forced through a tightly compacted medium, giving it longer contact time. They also filter out cysts like Cryptosporidium and Giardia.
Best for: Households wanting broader filtration than a standard carbon filter without moving to reverse osmosis.
3. Ion Exchange Filters
Ion exchange resins swap undesirable ions in the water for harmless ones. Most commonly used to soften water by exchanging calcium and magnesium ions (which cause scale) for sodium or potassium ions. Some models also target heavy metals like lead and mercury.
Best for: Hard water areas and filtering lead from older plumbing systems.
4. Reverse Osmosis (RO) Faucet Systems
RO systems force water through a semi-permeable membrane that blocks up to 99% of dissolved solids, fluoride, nitrates, and heavy metals. They produce exceptionally pure water but waste 2–4 litres of water for every litre filtered.
Best for: Areas with genuinely poor water quality or households with specific health concerns about mineral or chemical content.
5. Alkaline / Ionising Filters
These filters raise the pH of water above 7 (neutral), producing slightly alkaline water. Most alkaline faucet filters also include a carbon stage for taste improvement.
Best for: Those specifically looking for alkaline water for personal preference.
Which Type Do You Need?
For most households on a mains supply, an activated carbon or carbon block filter is the best starting point — it improves taste, removes chlorine smell, and handles the most common contaminants. If you have specific concerns (lead pipes, very hard water, fluoride content), choose a specialist filter that addresses those issues directly.
How to Install a Faucet Water Filter
Most faucet filters are designed for DIY installation and require no plumbing experience.
What You’ll Need
- An adjustable spanner or the adaptor wrenches provided
- PTFE (plumber’s) tape
- A bucket or towels for any residual water
Step 1: Turn Off the Water Supply
Find the shut-off valve under the sink and turn it clockwise to close.
If you’re setting up a new kitchen from scratch, this is worth doing alongside the rest of your kitchen essentials checklist, not as an afterthought. Open the existing tap to release remaining pressure and drain the line.
Step 2: Remove the Faucet Aerator
For faucet-mounted filters, unscrew the aerator at the tip of your existing tap.
This is where the filter adapter will connect.
Step 3: Attach the Adaptor
Most faucet filters come with multiple adaptors to fit different thread sizes. Find the adaptor that threads securely onto your tap.
Wrap 2–3 layers of PTFE tape around the threads before fitting for a watertight seal.
Step 4: Connect the Filter Unit
Attach the filter housing to the adaptor.
For diverter-style models, the filter swivels to the side when you want filtered water and straight down for unfiltered water. Hand-tighten, then give a quarter-turn with a spanner.
Step 5: Insert the Filter Cartridge
If the cartridge isn’t pre-installed, insert it into the housing following the directional arrows. Hand-tighten the housing cap.
Step 6: Flush the Filter
Turn the water supply back on slowly. Run water through the filter for 3–5 minutes (carbon filters often release harmless carbon particles on first use — this is normal).
The water will run clear once flushed.
Step 7: Check for Leaks
Inspect all connections under running water. If you spot a drip, turn off the supply and add another layer of PTFE tape to the relevant joint.
Faucet Water Filter Cleaning and Maintenance
Monthly: Clean the Filter Housing
Disconnect the filter from the tap. Mix one tablespoon of white vinegar with a cup of water and use this solution to clean the exterior of the housing and the diverter valve. Rinse thoroughly with clean water before reattaching.
Monthly: Check Flow Rate
If the flow rate has noticeably dropped, the filter cartridge may be nearing the end of its life or the housing may need cleaning.
Every 3–6 Months: Replace the Filter Cartridge
Carbon filter cartridges become saturated and stop removing contaminants. Manufacturer guidelines typically suggest replacing every 3–6 months or after filtering 200–500 litres. Do not exceed the recommended replacement interval, even if the water still looks clear.
Old cartridges are safe to dispose of in regular household trash — if you’re on a septic system, that’s also worth knowing when picking septic-safe cleaning products for the rest of the kitchen.
How to Replace the Cartridge
- Turn off the water supply
- Unscrew the filter housing cap (anti-clockwise)
- Remove and discard the old cartridge
- Rinse the inside of the housing with clean water
- Insert the new cartridge (note the directional arrows)
- Reassemble and flush for 3–5 minutes
Deep Clean: Vinegar Soak for Mineral Build-Up
In hard water areas, calcium deposits can build up inside the filter housing.
Every 3–6 months, soak the plastic housing components (not the cartridge itself) in a solution of 50% white vinegar and 50% water for 30 minutes. Scrub with a small brush, rinse well, and reassemble.
Signs Your Filter Needs Attention
- Noticeably reduced flow rate
- Water tastes or smells of chlorine again
- Visible discolouration of the filter housing
- Dripping from the housing joint
- Filter life indicator has turned red
Flush New Filters Before Use
New carbon filters contain fine carbon particles from the manufacturing process. Run filtered water through for 5–10 minutes before using for drinking or cooking. The water will look grey initially — this is normal and the harmless carbon dust flushes out quickly.
How to Choose a Faucet Water Filter
Filter Certifications: What NSF/ANSI Numbers Mean
NSF International certifies water filters against specific contaminants. These are the most relevant certifications for faucet filters:
- NSF/ANSI 42: Removes chlorine taste and odour, and improves aesthetic water quality. Nearly every faucet filter carries this certification.
- NSF/ANSI 53: Removes specific health-related contaminants including lead, cysts, and certain volatile organic compounds (VOCs).
More important if you have concerns about your tap water quality. - NSF/ANSI 58: Applies specifically to reverse osmosis systems — confirms the RO membrane removes dissolved solids.
- NSF/ANSI 401: Addresses emerging contaminants including pharmaceuticals and certain pesticides not covered by older standards.
For most households, a filter certified to both 42 and 53 covers the main bases.
If you have specific concerns about your water supply, request a free water quality report from your local utility (legally required to be available on request) to identify what you actually need to filter for.
Filter Lifespan and Replacement Costs
Most faucet-mounted filters last between 100–300 gallons (roughly 2–6 months of typical household use). Under-sink and countertop filters last longer — typically 6–12 months before replacement. Factor in the cost of replacement filters when comparing products: a cheap unit with expensive proprietary replacement cartridges often costs more over time than a more expensive filter with readily available generic replacements.
Flow indicators (colour-changing gauges built into the filter housing) are a useful feature if you want a visual prompt to replace the filter. Alternatively, set a calendar reminder based on your household’s water usage patterns.
Tap Compatibility
Faucet-mounted filters thread onto the end of the tap’s aerator. Most modern kitchen taps have standard aerator threads (55/64″-27 UNS or M24x1 in most UK taps). Most filters come with multiple adaptor fittings to cover common thread sizes.
However, pull-out spray taps, pull-down taps, and taps with non-standard aerators often can’t accommodate a faucet-mounted filter — they don’t have a fixed aerator end, or the aerator is too recessed. In these cases, an under-sink or countertop filter is the practical alternative.
Faucet Filters by Installation Type
Faucet-Mounted Filters
The simplest and cheapest option.
Screw directly onto the tap and include a diverter valve that switches between filtered and unfiltered flow. Installation takes 5–10 minutes with no tools required in most cases. The trade-off: they add visible bulk to the tap, can restrict flow rate, and may not fit pull-out or pull-down spray taps.
Under-Sink Filters (Single-Stage)
Install below the sink and connect inline with the cold water supply. Most include a dedicated filtered water tap that sits next to the main tap. Completely hidden, no impact on tap appearance, and typically filters more water per cartridge than faucet-mounted units.
Installation requires cutting into the water supply line and fitting a saddle clamp, which is a straightforward DIY job for anyone comfortable with basic plumbing.
Under-Sink Filters (Multi-Stage and Reverse Osmosis)
Multi-stage under-sink systems run water through multiple filter cartridges in sequence — typically a sediment pre-filter, a carbon block, and sometimes a specialist stage for specific contaminants.
Reverse osmosis systems add a semi-permeable membrane that removes dissolved solids (including fluoride, nitrates, and heavy metals) that carbon filters can’t address. These provide the highest filtration level but are also the most expensive, require more under-sink space, and RO systems waste 2–4 gallons of water for every gallon filtered.
Countertop Filters
Sit on the counter and connect to the tap via a diverter valve and flexible hose. More filter capacity than faucet-mounted units and easier to move between properties than under-sink installations.
The main downside is counter space — they’re typically larger than a faucet attachment and smaller than an under-sink system, which doesn’t always make them the right size for the space available.
Frequently Asked Questions
Can I install a faucet filter on any tap?
Most faucet filters come with adaptors to fit common tap thread sizes.
However, they don’t fit pull-out spray taps, aerator-free designer taps, or very thin-neck taps. Check your tap thread size before buying.
Are faucet filters better than filtered jugs?
Faucet filters are more convenient for high-volume use — you don’t need to wait for water to filter through.
They also typically have a higher filter capacity per cartridge. Jugs are more portable and better if you only want a litre or two of filtered water at a time.
How do I know when to replace the filter?
Most manufacturers recommend replacement every 3–6 months.
Many models include a built-in indicator that changes colour when the cartridge is nearly exhausted. As a backup reminder, note the installation date and set a phone reminder.
Do faucet filters remove fluoride?
Standard activated carbon filters (the type used in most faucet-mounted and under-sink single-stage filters) do not effectively remove fluoride.
Only reverse osmosis systems and activated alumina filters remove fluoride. If fluoride reduction is a priority, you’ll need an RO or multi-stage system with an alumina stage specifically rated for fluoride.
How do I know if my tap water needs filtering?
Request an annual water quality report (Consumer Confidence Report in the US, or contact your water company in the UK).
This shows exactly what’s in your water and at what levels. Most UK and US tap water is safe by regulatory standards, but filtering for taste and odour improvement is still a legitimate reason to use a filter even if all contaminant levels are within legal limits.
Can I use filtered tap water for everything?
Drinking and cooking, yes. You don’t need filtered water for washing up, rinsing vegetables, or filling the kettle (unless taste is the concern). Running all household water through a filter is significantly more expensive and largely unnecessary for most uses.
Will a faucet filter slow down my tap flow?
Yes, modestly. Most faucet-mounted filters reduce flow by 15–30% compared to unfiltered flow. This is usually imperceptible for filling a glass but noticeable when filling a pot. The diverter valve on most models lets you switch to full unfiltered flow for washing up or other tasks where filtered water isn’t needed.

I'm Glenn, and I started Kitchenware Compare to cut through conflicting product reviews and help readers pick kitchen gear with confidence. I don't own or test the products I write about — these guides are built from verified-purchase reviews, manufacturer specifications, and independent testing where it exists, with the reasoning shown, not just a rating.
Leave a Reply