If you’re upgrading your kitchen ventilation, you’ve probably come across two options: ducted and ductless range hoods. This guide covers everything you need to know — from choosing between the two to installing your ductless hood, keeping noise levels low, and getting the most from your ventilation system. I installed a ductless hood in my own kitchen a few years back and went through the same duct-vs-ductless decision, so this covers what actually matters, not just spec sheets.
I earn a commission if you buy through the Amazon links below, at no extra cost to you.
If you already know you want a ductless hood and just need product picks, see my tested ductless range hood recommendations.
Ducted vs. Ductless Range Hoods: Key Differences
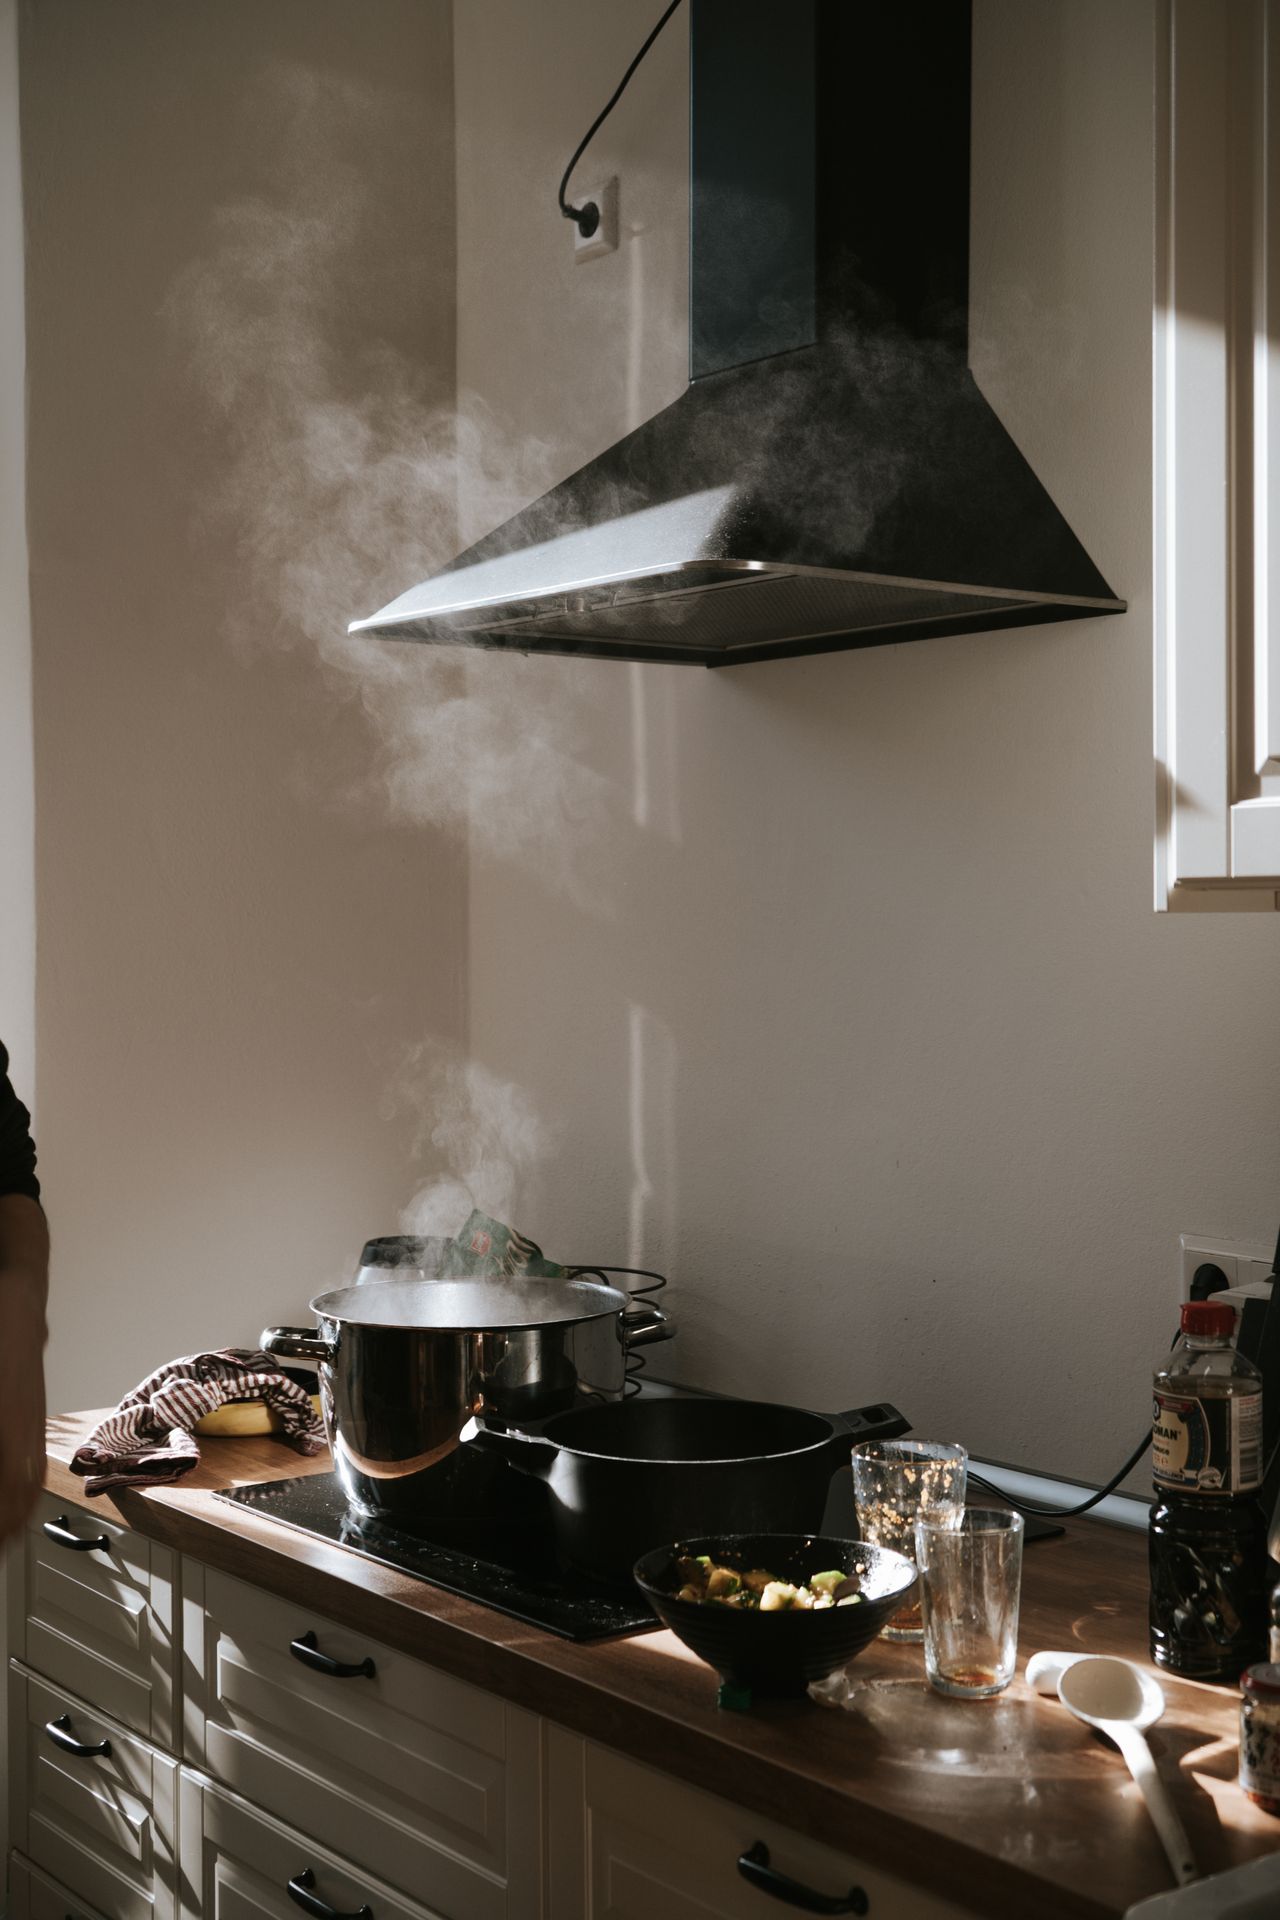
Ducted range hoods pull air through a duct in the wall or ceiling and vent it outside. They offer superior performance and are the gold standard for serious cooks.
Ductless range hoods draw air through a charcoal (activated carbon) filter that traps grease and odours, then recirculate the cleaned air back into the kitchen. No ductwork required.
Pros of Ductless Range Hoods
- No ductwork needed — ideal for flats, rented kitchens, or any space where running ducts isn’t practical
- Flexible placement — can be mounted almost anywhere without structural modifications
- Lower installation cost — no contractor needed for duct work
- Works in any building type — including high-rise apartments and older homes where duct installation isn’t possible
Cons of Ductless Range Hoods
- Less effective at removing moisture — steam and humidity stay in the kitchen
- Ongoing filter cost — charcoal filters need replacing every 3–6 months
- Not ideal for very high-heat cooking — wok or commercial-burner cooking works better with ducted extraction
Benefits of Ductless Range Hood Ventilation
Removes Cooking Odours Effectively
Modern activated carbon filters are highly effective at trapping cooking smells. Fish, garlic, spices — the charcoal filter captures them before the air returns to your kitchen. High-heat cooking like searing on cast iron produces the most smoke of any home cooking method, so it’s exactly the scenario where a good hood earns its keep. Many units use multi-layer filters combining a grease mesh and a charcoal filter for maximum odour removal.
Reduces Airborne Grease
The mesh grease filter catches fat particles before they coat your cabinets, walls, and ceiling. This means less cleaning and longer-lasting kitchen surfaces — gas stoves in particular throw off more airborne grease than electric or induction, so ventilation matters more if that’s what you’re cooking on.
Easy Retrofit Installation
Because ductless hoods only need a power outlet — no external duct — they can be added to virtually any kitchen without construction work. Most installations take under two hours.
Multiple Speed Settings
Most ductless range hoods offer 3–4 fan speed settings. Use low speeds for gentle simmering and high speeds when frying or grilling to pull smoke away quickly.
How to Install a Ductless Range Hood
What You’ll Need
- Electric drill and drill bits
- Spirit level
- Screwdrivers (flathead and Phillips)
- Wall anchors (usually included with the hood)
Step 1: Choose Your Location
Position the hood 65–75 cm (26–30 inches) above an electric hob, or 75–90 cm (30–36 inches) above a gas hob. Centre over your cooking surface and mark the position lightly with a pencil.
Step 2: Find the Studs
Use a stud finder to locate studs or joists behind the wall. Attaching the bracket to a stud provides a much more secure fit than wall anchors alone.
Step 3: Attach the Mounting Bracket
Hold the mounting template against the wall and mark the drill holes. Drill pilot holes, insert wall anchors, and secure the bracket with the provided screws. Use a spirit level to ensure the bracket is perfectly horizontal.
Step 4: Connect the Wiring
Most domestic ductless range hoods plug into a standard 13A socket. If your hood is hardwired, you’ll need a qualified electrician. Switch off the circuit at the consumer unit before any wiring work.
Step 5: Install the Filters
Slide the grease mesh filter(s) into their slots — they usually click into place. Insert the activated charcoal filter behind the mesh filter.
Step 6: Hang, Secure, and Test
Lift the hood onto the mounting bracket and secure with the provided screws. Switch on at the lowest speed and check all controls work. Run through each fan speed to confirm everything functions correctly.
How to Reduce Noise Levels of Your Ductless Range Hood
Use the Lowest Effective Fan Speed
The most effective noise reduction is using the lowest fan speed that does the job. For gentle frying and simmering, speed 1 or 2 is usually sufficient and considerably quieter than maximum speed.
Keep Filters Clean
Clogged grease filters force the fan motor to work harder and run louder. Wash the metal mesh grease filter every 4–6 weeks in hot soapy water or the dishwasher. A clean filter lets air pass through more freely, reducing load on the motor and cutting noise.
Replace Charcoal Filters on Schedule
Saturated charcoal filters also restrict airflow. Replace them every 3–6 months, or sooner if you cook frequently with strong-smelling foods.
Check for Loose Screws and Panels
Vibration from the fan motor can gradually loosen screws in the casing and mounting bracket. Every six months, check all visible screws and tighten any that have worked loose.
Ensure Secure Wall Mounting
A poorly mounted hood will vibrate against the wall. If your hood is mounted on drywall anchors rather than directly into studs, consider adding an anti-vibration rubber pad between the bracket and the wall surface.
Maintenance Schedule
- Weekly: Wipe the exterior with a damp cloth
- Monthly: Wash the grease mesh filter in hot soapy water or the dishwasher
- Every 3–6 months: Replace the activated charcoal filter
- Every 6 months: Check and tighten all mounting screws
Cooking frequency changes that 3–6 month filter estimate more than people expect — see my full breakdown on how often to replace a charcoal filter for the real range and the signs it’s overdue.
What to Look for When Buying a Ductless Range Hood
CFM Rating: What It Means and What You Actually Need
CFM (cubic feet per minute) measures how much air the fan moves. Most residential hoods range from 200 CFM to 1,200 CFM. For a ductless hood, the figure matters less than for a ducted model — because you’re not actually venting air out of the house, you’re recirculating and filtering it. That said, higher CFM still means faster smoke and steam capture, and better coverage for high-heat cooking.
A general rule for ductless hoods: aim for at least 100 CFM per 10,000 BTU of hob output, or roughly 300–400 CFM for a standard four-burner gas range. For induction or electric hobs, which produce less ambient heat, 200–300 CFM is usually sufficient.
Size: Match the Hood to the Hob
A range hood should be at least as wide as the hob beneath it, ideally 3–6 inches (7–15 cm) wider on each side. A 60 cm (24-inch) hob needs a minimum 60 cm hood; a 90 cm (36-inch) range needs a 90 cm hood. Under-cabinet models often come in standard widths (60, 76, and 90 cm) that correspond to common hob sizes.
Mounting Height
Install the hood between 65–75 cm (26–30 inches) above the hob surface for gas hobs, and 60–70 cm (24–28 inches) for electric or induction. Too high and the hood captures less smoke; too low and it can be a safety hazard for tall pots. Check the manufacturer’s specifications — most give a recommended range.
Filter Type and Replacement Schedule
Ductless hoods use two types of filters:
- Grease filter (aluminium mesh or baffle): Catches cooking grease before it reaches the charcoal filter. Clean monthly in the dishwasher or with hot soapy water. Most are dishwasher-safe.
- Charcoal/carbon filter: Removes odours and smoke particles. Not washable — must be replaced every 3–6 months depending on how frequently you cook. Budget for replacement filters when buying the hood; some brands use proprietary sizes that are expensive to replace.
Noise Levels
Ductless hoods are typically louder than equivalent ducted models at the same CFM because the fan must work harder against the filter resistance. Look for noise ratings measured in sones or decibels. Under 4 sones (roughly 56 dB) at mid-speed is a reasonable target for everyday use. Island and wall-mounted models with larger fan housings tend to be quieter than compact under-cabinet units at equivalent airflow.
Frequently Asked Questions
Do ductless range hoods work as well as ducted ones?
For most home cooks, a good ductless hood is more than adequate. Ducted hoods are superior for removing moisture and are better for very high-heat cooking. But for standard gas or electric hobs, a quality ductless hood will keep your kitchen fresh and grease-free.
How often do I need to replace the charcoal filter?
Every 3–6 months for average use. If you cook daily or use a lot of strongly-scented ingredients, replace closer to the 3-month mark. Most hoods have an indicator light to remind you.
Can I install a ductless range hood myself?
Yes — most ductless hoods are designed for DIY installation and come with all necessary fixings. The job typically takes 1–2 hours. If the hood is hardwired rather than plug-in, have a qualified electrician do the electrical connection.
How loud is a ductless range hood?
Typical noise levels range from 45 dB on low speed to 65 dB on high speed. Look for hoods rated under 60 dB at maximum speed if noise is a concern.
Can I convert a ductless hood to ducted?
It depends on the model. Some range hoods are sold as “convertible” — they come configured for ductless use but can be switched to ducted installation by removing the charcoal filters and connecting the exhaust port to a duct. Others are ductless-only. Check the product specifications before buying if you think you might ever want to switch.
What’s the best placement for a ductless range hood in a kitchen without a ceiling exhaust point?
Under-cabinet ductless hoods are the most common choice for kitchens without exhaust points, as they mount directly beneath the wall cabinet above the hob. If there’s no cabinet, a wall-mounted chimney-style hood provides a permanent installation with a clean visual. Island hoods require ceiling mounting and are generally overkill for ductless applications — the longer ductwork run creates more resistance and reduces effectiveness.

Glenn is the founder of Kitchenware Compare and has spent years researching, testing, and reviewing kitchen appliances, cookware, and gadgets. A lifelong home cook raised in a family that treated every meal as an occasion, Glenn started this site to cut through the noise of conflicting product reviews and give readers honest, practical guidance. When he is not testing the latest air fryer or digging into the specs of a new espresso machine, he can usually be found experimenting with new recipes or hunting for the perfect cast iron skillet at a flea market.