This post may contain affiliate links. If you buy through my links, I may earn a commission at no extra cost to you.
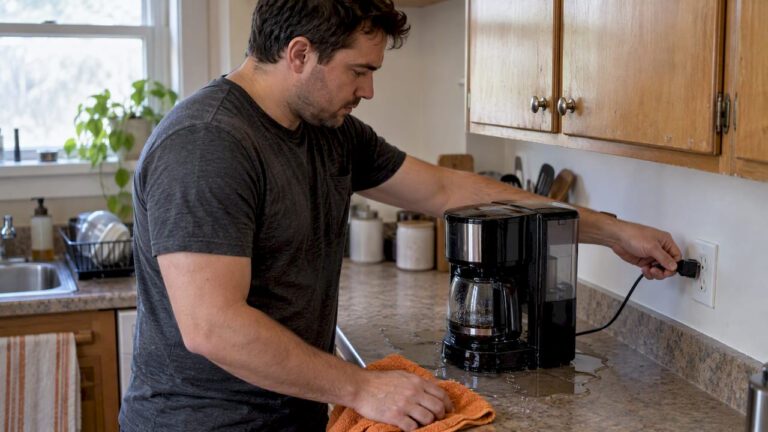
Most coffee maker leaks come from brew basket overflow, a full drip tray, a cracked carafe, or a loose or worn internal seal. Unplug the machine and empty the drip tray right now. From there, you can usually tell which of these it is within a couple of minutes, and most causes have a safe, reversible fix you can try before calling a repair technician.
TL;DR:
- Most leaks are caused by a clogged brew basket, misaligned carafe, or overfilled reservoir, which can usually be fixed through simple adjustments.
- Running an empty water cycle and inspecting specific leak points can help accurately diagnose whether the issue is tubing, seals, or internal components.
- Regular maintenance such as descaling, cleaning seals, and ensuring the carafe is properly seated can prevent many common leak problems.
- Internal leaks from cracked reservoirs or corroded heater tubes often require professional repair or replacement rather than DIY fixes.
- Reversible steps like reseating parts and checking for mineral buildup should be tried first, as they resolve most leaks before costly disassembly or part replacement.
Quick Steps to Stop the Leak Right Now
Before diagnosing anything, get the machine into a safe, dry state. This takes less than five minutes and prevents water from reaching outlets or damaging a countertop.
- Unplug the coffee maker and let any heating element cool before touching internal parts.
- Remove the carafe and empty the drip tray completely, then dry the surrounding counter.
- Check the water reservoir fill line and confirm the brew basket is seated flush and fully closed.
- If the counter is dry, run an empty, water-only cycle and watch closely to see exactly where the water escapes.
That fourth step does the real diagnostic work. Watching a plain water cycle, with no coffee or filter involved, isolates the leak from any grounds clogging the basket or filter paper collapsing mid-brew.
Where Exactly Is the Water Coming From?
Leak location tells you almost everything about the cause, so resist the urge to guess before you look. Run the empty water cycle from the checklist above and watch these specific points.
- Top or spout area during brewing: usually a clogged spout, a misaligned lid, or a brew basket that overflowed because it was not seated fully or the grounds clogged the filter.
- Front edge near the drip-stop valve: often means the valve seal is dirty or worn, letting coffee seep out when the carafe isn’t in place.
- Drip tray filling on its own, even with no visible overflow: can be normal. Some machines rinse internally and drain that water into the tray during startup or shutdown, according to Philips support guidance for its espresso machines.
- Base or bottom of the unit: points to loose or damaged internal tubing, a worn O-ring, or a clogged valve or pump, per iFixit’s leak troubleshooting guide.
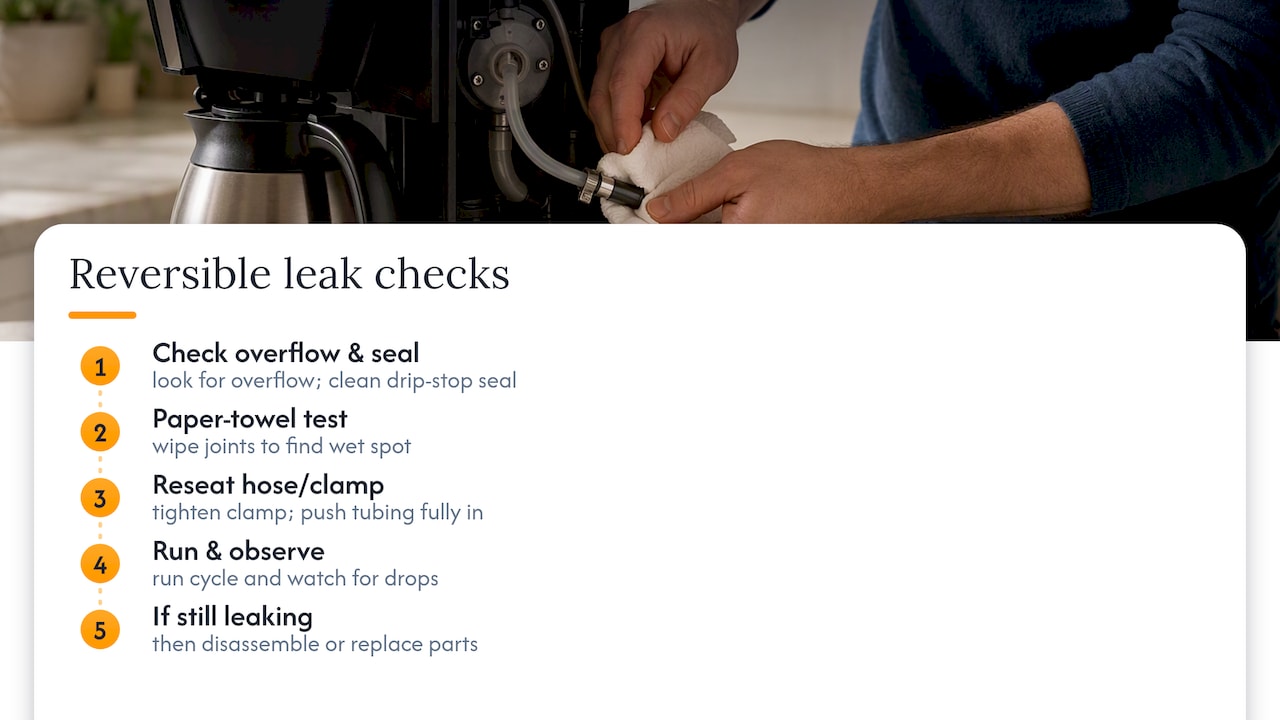
A simple trick: lay a paper towel under the machine before running the water-only test, then check it right after. The wet pattern traces the path, so a damp line running from the back toward the front usually means tubing, while a localized wet spot right under the carafe usually means the drip-stop seal.
What’s Actually Causing the Leak and How to Fix It
Once you know the general location, work through fixes in order from easiest to most involved. Most home leaks resolve in the first two categories below.
Brew basket overflow. Water spilling over the top of the basket and pooling at the base is a common complaint, and it is often not a true leak at all. KitchenAid’s troubleshooting page lists several checks when a brew basket overflows: the carafe should sit completely within the warming plate rings, the removable brew basket should be fully pushed in, only one filter should be used, the drip stop opening should be clean, and grounds that are too fine can clog the filter and cause overflow. Fixes:
- Seat the carafe fully inside the warming plate rings rather than on the edge.
- Check that the basket is pushed in fully, only one filter is in it, and the filter isn’t bunched against the sides.
- Use the correct grind size for your machine. Grounds that are too fine slow drainage and cause backup even when the basket is seated correctly.
Drip tray and internal rinse water. Some machines flush residual water into the drip tray automatically during startup, shutdown, or between brews. Philips says some water in the drip tray is normal on its espresso machines, because they drain rinsing water into it, but a tray that is full after two cups or fills overnight is a reason to contact the maker. Only treat it as a real leak if the tray overflows repeatedly or fills faster than normal use would explain.
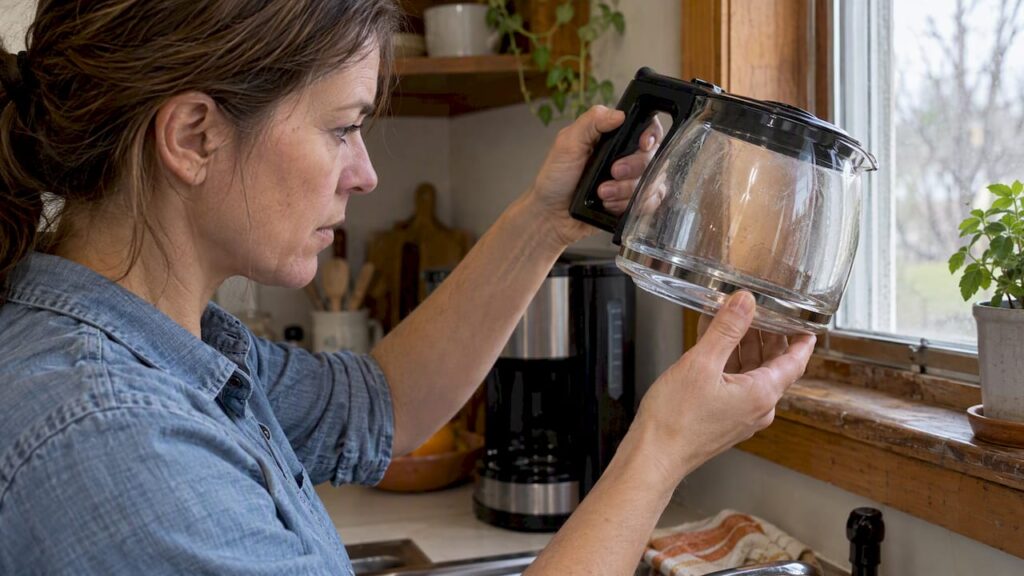
Cracked or misaligned carafe. Hold the carafe up to a light and check the glass or the plastic handle seam for hairline cracks, especially near the spout and base, because a crack this small may leak only under heat and pressure. Reseat the carafe fully on the warming plate. If a crack is visible anywhere, replace the carafe rather than patching it.
Clogged valve, pump, or tubing. Mineral scale buildup restricts water flow and strains the pump, and that strain can show up as a leak at a weak joint rather than at the clog itself. iFixit’s guide lists descaling as the standard first response, along with checking the fill tube and brew spout for visible mineral crust. A pump that’s failing often sounds different too, a higher-pitched whine or a stutter instead of a steady hum, which is a useful clue before you open anything up.
Worn seals, O-rings, and warming-plate gaskets. Rubber parts dry out, shrink, and crack with age and heat cycling. If the leak traces to a specific joint in the base, that’s usually where a seal has given out rather than the plastic housing itself.
Corroded heater tube. iFixit notes that the heating element on some coffee makers is made of aluminum and eventually fails from corrosion, and its fix is to replace the heater tube. That is rarely a simple repair: it means opening the base and sourcing a model-specific part, which can cost more than a budget coffee maker is worth.
Pro Tip: If you’re unsure whether grind size is contributing to overflow, a coffee ratio calculator can help you dial in the right dose and grind before you blame the machine.
How to Safely Check Inside the Base
Opening the housing is reasonable for a basic look, but it’s the point where you need to know your limits. Work through these steps in order.
- Confirm the machine is unplugged, the base is completely dry, and you have a clear, well-lit workspace.
- Remove the bottom cover screws one at a time, placing each in a small dish or labeled cup so none get lost; many models reuse the same screw size throughout, which makes mix-ups easy.
- Visually trace the fill tube and any hose clamps from the reservoir down to the pump, looking for cracked tubing, a loose clamp, or mineral crust around a joint.
- Gently wiggle visible connections by hand (never with tools) to check for looseness, then reassemble and run the dry-counter water test again to confirm nothing drips.
Stop if you reach a sealed pump housing, a soldered connection, or anything that isn’t held together with simple screws and clips. Design reviews of consumer coffee makers note that internal components are often tightly interconnected and not built for easy disassembly, according to an end-of-life design assessment. Forcing a sealed part open usually causes more damage than it fixes.
Cleaning Habits That Keep Leaks From Coming Back
A lot of leaks are the slow result of skipped maintenance rather than a sudden part failure, so a few habits go a long way.
- Empty and rinse the drip tray daily, since standing water promotes mineral buildup around the drip-stop valve.
- Wipe the drip-stop opening clean. KitchenAid says to keep it free of obstructions so the coffee can flow through the hole.
- Confirm the carafe is fully seated on the warming plate after every use, not just set down loosely.
- Match grind size to your machine type so the basket drains at the expected rate instead of backing up.
Hard water accelerates scale buildup inside valves and the pump, which is why iFixit recommends descaling every three months for soft water and monthly for hard water. Keep a simple log of when a leak happens and under what conditions. A leak that only shows up after long idle periods points to a different cause than one that appears every single brew, and that pattern is often the fastest way to catch a slow-developing seal failure before it gets worse.
Repair It Yourself, Pay for Service, or Replace It
Not every leak deserves the same response, and the right call usually comes down to cost and how invasive the fix is.
- Worth doing yourself: a worn drip-stop seal, a cracked carafe, or basic descaling. These are cheap, low-risk, and reversible if you get something wrong.
- Worth a repair call: a failed pump or tubing issue on a machine that’s otherwise in good shape and still under warranty.
- Usually worth replacing: a corroded heater tube, widespread internal corrosion, or a machine old enough that replacement parts are hard to find. At that point, the labor and parts cost often exceeds the price of a new unit.
Check your warranty status and part availability before committing to either path, and contact the manufacturer’s support line directly if the machine is still covered.
Where I’d Focus First
When troubleshooting a leak, start with the reversible, five-minute checks: empty the tray, reseat the basket, run a water-only cycle. Most leaks resolve right there, and skipping straight to disassembly wastes time on problems that were never internal to begin with.
A machine is almost always worth repairing when the issue is a seal, a carafe, or a clogged valve that descaling clears. It stops being worth the effort once you’re looking at a corroded heater tube or a pump that needs replacing on a budget unit, since parts and labor can rival the cost of a new machine. A common mistake is assuming any leak means the machine is finished, when overflow and normal rinse draining explain many “leaks” that aren’t leaks at all.
— Glenn
Comparing Your Options Before You Replace
Quick, reversible checks solve most leaks, and that’s the gap in a lot of generic troubleshooting advice: it jumps straight to “replace the pump” or “buy a new machine” before ruling out overflow, a dirty drip-stop seal, or normal internal rinsing. Those three are the quickest to rule out and cost nothing to check.
Where conventional advice falls short is in treating every base leak as a pump or heater failure. In practice, some base leaks trace back to a loose hose clamp or a push-fit tubing connector that just needs reseating, and iFixit lists loose or damaged tubing among its causes. Before assuming the worst, trace the leak with the paper towel test and try the reversible fixes first. Save disassembly and replacement decisions for after you’ve ruled out the simple stuff.
Comparing Coffee Makers Before You Buy a Replacement
If descaling and seal checks don’t resolve the leak, or the heater tube has corroded, side-by-side comparisons make the next purchase easier than starting from scratch.

Kitchenware Compare puts specifications, pricing and owner-reported complaints side by side, so you can weigh a replacement machine against what you currently own.
- Browse the coffee equipment hub for espresso machine reviews and buying guides.
- The kitchen essentials guide covers other small appliances worth replacing at the same time.
If you’d rather troubleshoot a related appliance first, the guide on an espresso machine leaking water covers similar internal causes.
FAQ
Why is my coffee maker leaking from underneath?
Underneath leaks usually come from a full drip tray, a loose internal hose clamp, a worn O-ring, or a cracked reservoir. According to iFixit, loose or damaged tubing and a worn or damaged O-ring are among the internal causes of base leaks.
What is the average lifespan of a coffee maker?
Manufacturers don’t publish a single standard lifespan figure, and it varies by brand, water hardness, and maintenance habits. Machines that are descaled regularly and kept free of mineral buildup tend to avoid the pump and valve failures that end a coffee maker’s life early.
Why is my machine leaking water from the bottom?
Bottom leaks typically point to internal tubing, a worn O-ring, a failing pump, or a cracked tank rather than the basket or drip tray. Philips’ troubleshooting page for its espresso machines says clear water under the machine is most likely a water tank that is not pushed fully into place, so check that the tank is seated before assuming a pump issue.
My coffee maker is leaking water. What could be causing this?
The most common causes are brew basket overflow, an overfilled reservoir, a misaligned filter, or normal rinse water draining into the tray. Manufacturer FAQs recommend checking filter position and avoiding overfilling past the reservoir’s marked line, since many designs route excess water toward the base through an overflow slot.
Sources
- If KitchenAid Coffee Maker is Leaking — Coffee maker brew basket overflow
- My Philips Espresso Machine is leaking | Philips
- Coffee Maker Leaking – iFixit Troubleshooting
- Why is my coffeemaker leaking from the bottom? FAQ | DeLonghi US
Recommended
- Espresso Machine Leaking Water? Here’s Why (and the Fix)
- Espresso Machine Not Building Pressure? Fix It in Order
- Steam Wand Not Frothing Milk? Two Faults, Two Fixes

I'm Glenn, and I started Kitchenware Compare to cut through conflicting product reviews and help readers pick kitchen gear with confidence. I don't own or test the products I write about — these guides are built from verified-purchase reviews, manufacturer specifications, and independent testing where it exists, with the reasoning shown, not just a rating.
Leave a Reply