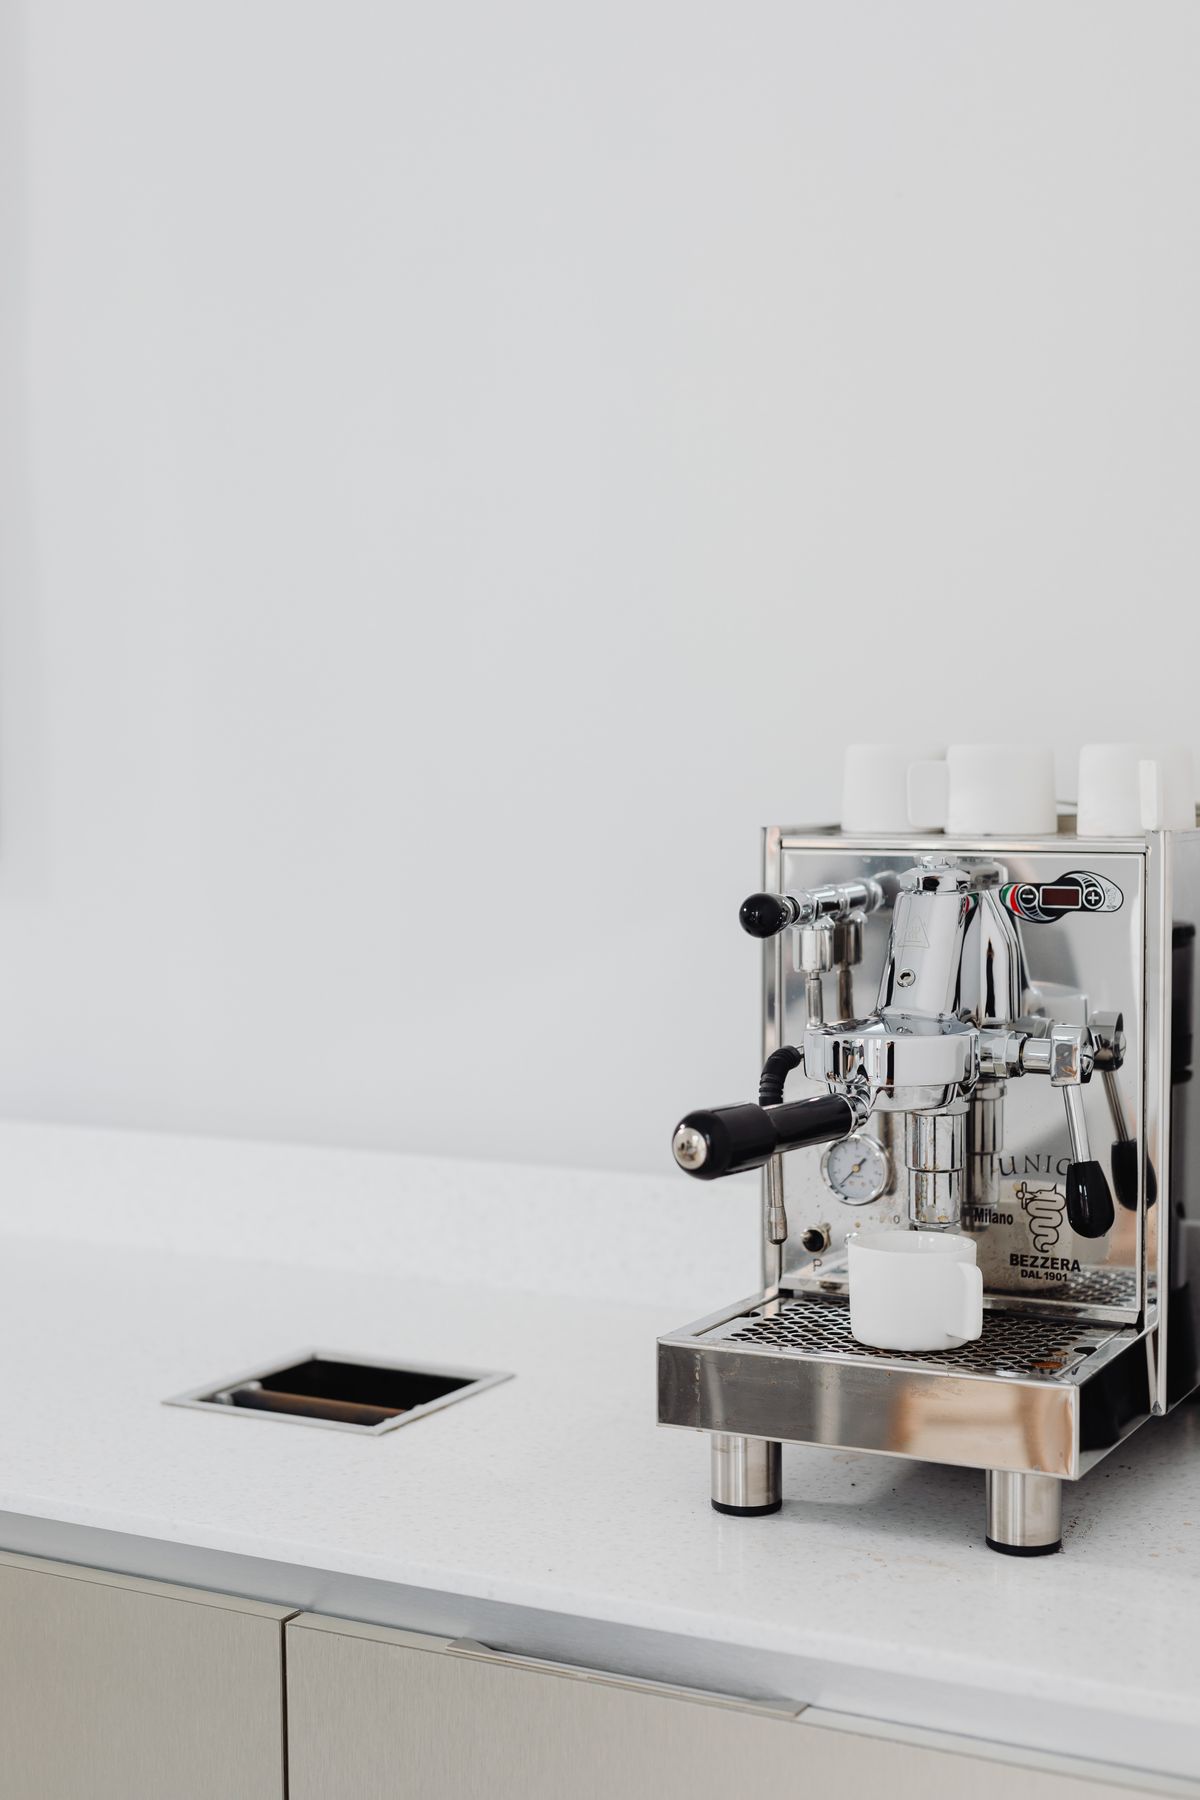
Before you assume the machine is dying, check the water tank first — it’s not fully seated more often than people expect, and that alone causes water to leak out the side or back instead of feeding into the machine. If the tank is seated correctly and it’s still leaking, the cause is almost always one of four things: a worn group head gasket, a blocked or damaged hose, mineral buildup from skipped descaling, or a cracked tank. All four are fixable without replacing the machine.
Start Here: Where Is It Actually Leaking From?
The location tells you most of what you need to know before you open anything up.
- Under the water tank or at the back: Almost always the tank isn’t pushed all the way in, or the tank itself has a hairline crack. Reseat it first — this fixes the majority of “leaking” reports with no repair needed.
- From the group head during brewing: A worn or misaligned group head gasket. This is a rubber seal that degrades with use and heat cycling over time, and it’s a normal wear part, not a defect.
- From underneath, with murky or discolored water: A blocked or leaking drain hose, usually from coffee grounds or scale buildup inside it.
- A slow drip that shows up gradually, clear water: Often a hairline crack in an internal hose or fitting, especially on machines more than a couple of years old — the constant pressure cycling eventually works a joint loose.
The Fixes, in Order of How Often They’re the Actual Problem
1. Reseat the water tank
Remove it completely and push it back in until it clicks or sits flush. This sounds too simple to be the answer, but it’s the single most common cause of a “leak” that isn’t actually a mechanical failure.
2. Descale the machine
Mineral buildup narrows internal passages and forces water to find another way out, which shows up as a leak even though the root cause is scale, not a broken part. If you can’t remember the last time you descaled, that’s very likely it — see how often to descale an espresso machine for a real schedule based on your water hardness and use.
3. Replace the group head gasket
This is a cheap, commonly-stocked part (usually under $15) available from the machine’s manufacturer or a compatible third-party seller. Most machines only need a screwdriver and the gasket to swap; manufacturer support pages typically have a model-specific walkthrough.
Replacing the group head gasket, step by step
- Unplug the machine and let it cool completely.
- Remove the portafilter, then locate the metal retaining ring inside the group head that holds the gasket in place.
- Use a group-head wrench or a flat screwdriver to release the retaining ring (some machines: turn counter-clockwise; check your model’s manual for the direction).
- Pull out the old gasket and the diffuser/shower screen behind it — clean both, since coffee oil buildup on the screen is a separate common cause of poor extraction.
- Fit the new gasket (model-specific part, not universal) into the retaining ring, then reinstall the ring and diffuser in reverse order.
- Reinsert the portafilter without coffee, lock it, and run a blank shot to check the seal holds before making a real espresso.
3.5 Check for signs the gasket is actually worn (before you buy one)
Confirm it’s the gasket before ordering a part: unlock the portafilter and check how far it rotates to lock in place. A healthy gasket stops the handle at roughly the 5 o’clock position; if it rotates noticeably further than that before it locks, or feels loose rather than snug, the gasket has compressed and needs replacing. Visible cracking or a flattened, brittle texture when you press it is the other clear sign.
3.6 Loose internal hose or valve connections
A cause separate from a blocked or split hose: the connection fittings themselves can work loose from repeated heat cycling and vibration, even when the hose material is fine. This shows as an intermittent leak that seems to come and go rather than a steady drip. If you’re comfortable opening the housing, check that hose clamps and push-fit connections are still seated fully; if you’re not comfortable opening the housing, this is one of the better reasons to hand it to a repair tech rather than keep guessing.
4. Check and clear the drain hose
Disconnect it, run water through it to check for blockages, and inspect the full length for cracks or splits. Coffee grounds and scale both accumulate here over time, particularly on machines that get descaled infrequently.
5. Inspect for a cracked tank or hose
If none of the above fixes it, remove the tank and check it under good light for hairline cracks, and look at where internal hoses connect to fittings for wear. Both are replaceable parts, but at this point it’s worth weighing the repair cost against the machine’s age.
When to Stop Troubleshooting and Call It
If the leak is from a hairline tank crack or a worn gasket, fix it — those are inexpensive, normal wear items. If you’re chasing an internal hose leak on a machine that’s several years old and the replacement parts cost approaches what a new budget machine costs, it’s worth comparing against current options rather than sinking more time into an aging unit. My best espresso machine under $200 guide covers what’s actually worth buying right now.
FAQ
Why is my espresso machine leaking from the bottom?
Most often a blocked or damaged drain hose, or a cracked water tank. Murky water pooling underneath points to the drain hose; clear water suggests the tank.
Can descaling fix a leaking espresso machine?
Yes, in many cases. Mineral scale narrows internal passages and forces water out through weak points, and this shows up as a leak with no actual part failure. Regular descaling prevents this from building up in the first place.
Is it normal for a little water to leak during brewing?
A few drops around the portafilter during extraction can be normal on some machines. A steady drip or a growing puddle is not — that’s a gasket, hose, or tank issue that needs attention.
How much does it cost to fix a leaking espresso machine?
A group head gasket typically runs $10–20. A replacement hose or tank is usually $15–40 depending on the model. Both are well worth it compared to replacing the machine, unless the unit is already old and failing in multiple ways.
If the symptom is a weak or gushing shot rather than a leak, the causes are entirely different — see what to check when an espresso machine will not build pressure.
Next Steps
Reseat the tank, then descale, then check the gasket — in that order, most leaks resolve without buying a single part. If yours turns out to be a genuine mechanical failure and it’s time to consider a replacement, the coffee equipment hub has the full range of current picks, and how to froth milk with an espresso machine is worth a read once you’re back up and running.
Based on manufacturer support documentation for the most common failures, cross-checked against the pattern in owner reports for the most common failure points — not laboratory testing.

Glenn is the founder of Kitchenware Compare and has spent years researching, testing, and reviewing kitchen appliances, cookware, and gadgets. A lifelong home cook raised in a family that treated every meal as an occasion, Glenn started this site to cut through the noise of conflicting product reviews and give readers honest, practical guidance. When he is not testing the latest air fryer or digging into the specs of a new espresso machine, he can usually be found experimenting with new recipes or hunting for the perfect cast iron skillet at a flea market.
Leave a Reply