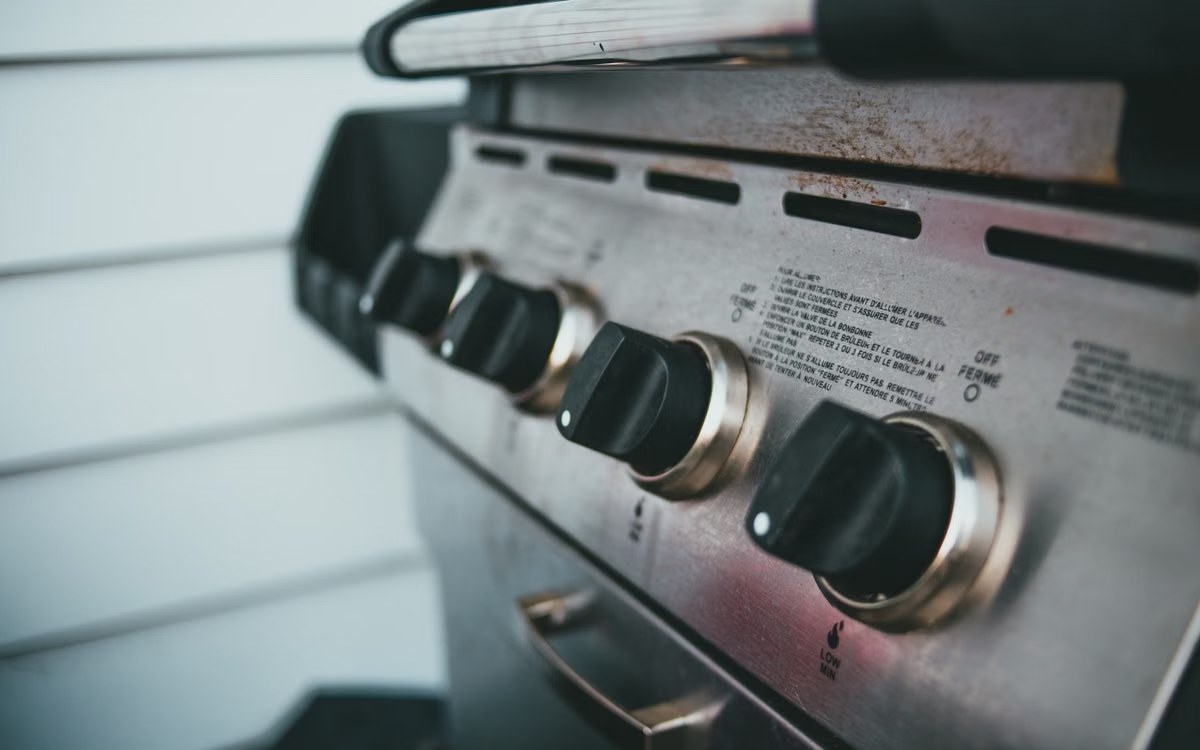
The clicking is good news. It means the spark side has power and is firing, which rules out the part most people assume has failed. What it does not tell you is whether gas is arriving at the burner, and on a grill that clicks without lighting the answer is usually that it is not — because a safety device in the regulator has quietly cut the flow to a trickle.
The test that splits the problem in half
Before anything else, work out which half of the system has failed. Turn the gas off at the tank, open the lid, and look at the electrode tip while somebody presses the button in the dark or in shade.
- You hear clicking and see a blue spark jumping to the burner. The ignition system works. The fault is on the gas side.
- You hear clicking but see no spark, or a weak spark going nowhere useful. The fault is on the spark side — electrode, wire or position.
- You hear nothing at all. The fault is power or the module.
Those three lead to completely different fixes, and doing this first saves buying a part that was never broken.
Before you reset anything, test for a leak
This is the step the troubleshooting guides skip, and it is the one the manufacturer puts first.
Weber explains that since around 1995 there has been a federally mandated safety device inside every propane hose and regulator, designed to detect gas leaks. When it thinks it has found one, it cuts the flow from the tank to about ten per cent or less of normal. The grill then either will not reach temperature or will not light at all.
The reset procedure below tells that device to stand down. So Weber’s own instruction is to perform a gas leak test before doing it, because a leak is the thing the device was built to catch. If you find one, the company’s advice is not to use the grill.
The test itself is soap and water, brushed onto the hose and every connection with the tank valve open and the burner knobs off. Bubbles mean a leak. That is a five-minute job standing between you and deliberately overriding a gas safety device, and it is worth the five minutes.
Bypass mode, and how to get out of it
If the leak test is clean, bypass is the likeliest explanation for a grill that sparks and will not light.
The device trips when the grill is lit in the wrong order — typically when the tank valve is opened quickly with a burner knob already on, so the sudden rush of gas reads as a leak. Weber’s sequence for clearing it, and for not landing in it again, is deliberately slow:
- Open the lid and turn every control knob to OFF, including the side burner if the grill has one.
- Open the valve on top of the tank.
- Wait several seconds for pressure to build in the hose before touching anything. Weber calls this the most important part of the process, because the pressure is what pushes the safety device into its normal position.
- Then light the grill as usual, following the sequence in the manual for that model.
Weber adds that cold weather slows the pressure equalising, so on a cold day the hose needs longer before you turn a knob. To confirm the grill has come out of bypass, it suggests lighting all the main burners on high with the lid closed: after ten to fifteen minutes the grill should be somewhere in the 500 to 550°F range.
The knob trap
One detail from Weber that costs nothing to check and catches people out: on many models the “start” position is the “high” position, and turning the knob further round sets the burner lower rather than higher. A grill that seems to be lighting weakly may simply be being asked for a low flame.
When the spark is the problem
If the button clicks but nothing jumps, or nothing happens at all, Char-Broil publishes a diagnostic ladder for its own grills that generalises reasonably well to any battery-sparked system.
It starts with the battery: check it is correctly inserted and charged. A battery that is merely tired rather than flat produces a weak spark that will not bridge the gap, which is why this is a replace-it-and-see rather than a test-it-and-decide.
Char-Broil’s next step is a neat one. Loosen one of the plugs from the ignition button on the front panel and press it against the battery holder. A clicking sound means the holder itself is working, and the fault is further along. No clicking means the holder or its connection is the problem.
From there the ladder runs through the wiring — removing the ignition module to see whether the cables are properly connected or broken — and then to the electrodes themselves, checking whether they are torn or cracked. Char-Broil’s position is that damaged electrodes mean the module and ignition assembly need replacing rather than repairing.
Before condemning an electrode
Two things mimic a dead electrode and cost nothing to rule out. The ceramic tip collects grease, which conducts the spark away before it can jump; wiping it with rubbing alcohol restores a surprising number of them. And an electrode that has been knocked out of position, so the gap to the burner is too wide or the tip is no longer over a gas port, sparks perfectly and lights nothing.
Lighting it with a match
A match is both a repair-free workaround and the best diagnostic you have. Char-Broil treats it as the fallback when the spare part is not to hand, and points out that its grills carry a match holder on a chain with a ring for exactly this.
What it tells you is decisive. If the grill lights and runs normally from a match, the gas side is fine and the fault is entirely in the ignition system. If it will not light from a match either, the ignition system was never the problem and you are looking at gas supply, bypass, or blocked burner ports.
Do it in the right order, because this is the one step where the sequence matters for safety.
- Open the lid and turn every knob off.
- Light the match and get it to the burner first.
- Only then turn on that one burner.
Never turn the gas on and then go looking for a match, and never lean over a closed lid.
If nothing lights at all
When a match will not light it either, the problem is fuel or flow, and the list is short.
- An empty or nearly empty tank. Weber lists this among the basics worth confirming, and a tank that feels heavy can still be low.
- A hose or regulator not properly secured to the tank — also on Weber’s list, and a common one after the tank has been swapped.
- Blocked burner ports. Grease, rust and insects close the small holes along the burner tube. If one end of a burner lights and the flame will not carry along it, that is what you are seeing.
- Bypass that has not actually cleared, usually because the waiting step was skipped.
The order worth working through
- Establish which half has failed: clicking with a visible spark, clicking without one, or silence.
- Run a soap-and-water leak test on the hose and connections. If it bubbles, stop.
- Clear bypass: lid open, all knobs off, open the tank valve, wait, then light.
- Check the knob is on start or high rather than turned round to low.
- Try lighting a burner with a match to separate the gas side from the spark side.
- If the match works, change the igniter battery.
- Clean the electrode tip with rubbing alcohol and check it sits close to a gas port.
- Check the wire between electrode and module at both ends.
- If the match does not work either, check the tank level, the regulator connection and the burner ports.
- Replace the electrode, wire or module only once the free checks are done.
That order runs from free to expensive, and from safe to less so. It is not a ranking of which cause turns up most often — no manufacturer publishes failure rates for grill ignition, and a percentage invented here would be worth nothing.
When to stop
Some symptoms are not troubleshooting problems. Stop, close the tank valve, and do not use the grill if you can smell gas with the burners off, if the leak test bubbles anywhere, if the hose is cracked or perished, or if there is scorching or melting around the hose or manifold.
The same applies to the habit of pressing the igniter repeatedly with the gas running. Every unsuccessful attempt puts more propane into the firebox, and propane is heavier than air, so it collects rather than dispersing. If two or three attempts have failed, turn the knobs off, leave the lid open, and give it several minutes before trying anything else.
Repair, or replace
Electrodes, wires, ignition modules, battery holders, burners and regulators are all replaceable parts, and on a grill with a solid firebox and good grates they are worth buying. A model-specific kit from the manufacturer is usually less frustrating than a universal one, because the electrode position relative to the burner is what determines whether it works.
What tips the balance the other way is the firebox. Rusted-through burner tubes, a corroded manifold or a firebox with holes in it are not economically repairable, and a grill in that state will keep producing new faults after this one is fixed.
Once it is lit
An ignition fault is worth separating from the cooking problems it can look like. A grill that lights but runs cool is often still in bypass rather than faulty, which is the same diagnosis in a different costume. The way to tell is a thermometer rather than the lid dial, which some makers accept can read a long way out — that argument is set out in pellet grill temperature swings.
For grilling generally, the ambient-probe options are compared in BBQ thermometers, which has a section on gas grills specifically. If the machine in question is a gas griddle rather than a grill, the buying guide is best flat top grill. The rest of the outdoor cooking guides are collected on the outdoor cooking hub.
How This Guide Was Put Together
Plainly: this is a research-based guide, not a hands-on test. I do not own a gas grill, nothing here is a report from my own garden, and no ignition system was stripped to produce it.
What it rests on is two manufacturers’ own published guidance, read at source. Weber supplies the bypass explanation — the federally mandated safety device, the reduction to roughly ten per cent flow, the leak test that should come first, the slow lighting sequence, the cold-weather delay and the start-is-high knob detail. Char-Broil supplies the spark-side ladder: battery, the battery-holder test, the wiring, the electrodes, and the match as a fallback.
The grease-on-the-ceramic and electrode-position points are mechanism rather than citation. They follow from how a spark gap works, and they are included because they are free to check, not because a manufacturer has published them.
Also not established: how often bypass is the answer rather than a genuine ignition fault. It is put first here because it is free to rule out and because the manufacturer treats it as the common case, not because anyone has counted. Nobody publishes that data, and the ordering above is by cost and safety rather than by frequency.
Frequently Asked Questions
My grill igniter clicks but the grill will not light. What does that mean?
The clicking means the spark side has power, so the igniter itself is probably fine. The usual cause is that gas is not reaching the burner, most often because the safety device in the regulator has cut the flow. Check for a leak first, then clear bypass by opening the tank valve with all knobs off and waiting before lighting.
What is bypass mode on a gas grill?
Weber explains that every propane hose and regulator since around 1995 contains a federally mandated device that watches for gas leaks. If the grill is lit in the wrong order it reads the rush of gas as a leak and cuts flow to about ten per cent or less. The grill then will not reach temperature, or will not light at all.
How do I reset a grill regulator?
Open the lid, turn every knob including the side burner to off, then open the valve on the tank and wait several seconds for pressure to build before touching anything. Weber calls that wait the most important part. Then light normally. In cold weather, allow longer for the pressure to equalise.
Should I test for a gas leak before resetting the regulator?
Yes. The device you are resetting exists to detect leaks, so Weber’s instruction is to run a gas leak test first. Brush soapy water onto the hose and connections with the tank open and the burners off, and look for bubbles. If you find a leak, do not use the grill.
Why does my igniter spark but the burner still will not catch?
Either no gas is arriving, or the spark is landing in the wrong place. Check the electrode tip sits close to a gas port and is not coated in grease, which conducts the spark away. A match test settles it: if the burner lights from a match, the gas is fine and the fault is in the ignition.
Is it safe to keep pressing the igniter?
No. Each failed attempt releases more propane into the firebox, and propane is heavier than air so it collects rather than dispersing. After two or three attempts, turn the knobs off, leave the lid open and wait several minutes before trying again.

Glenn is the founder of Kitchenware Compare and has spent years researching, testing, and reviewing kitchen appliances, cookware, and gadgets. A lifelong home cook raised in a family that treated every meal as an occasion, Glenn started this site to cut through the noise of conflicting product reviews and give readers honest, practical guidance. When he is not testing the latest air fryer or digging into the specs of a new espresso machine, he can usually be found experimenting with new recipes or hunting for the perfect cast iron skillet at a flea market.
Leave a Reply