This article contains affiliate links. If you purchase through them, I may earn a small commission at no extra cost to you. Read the full disclosure.
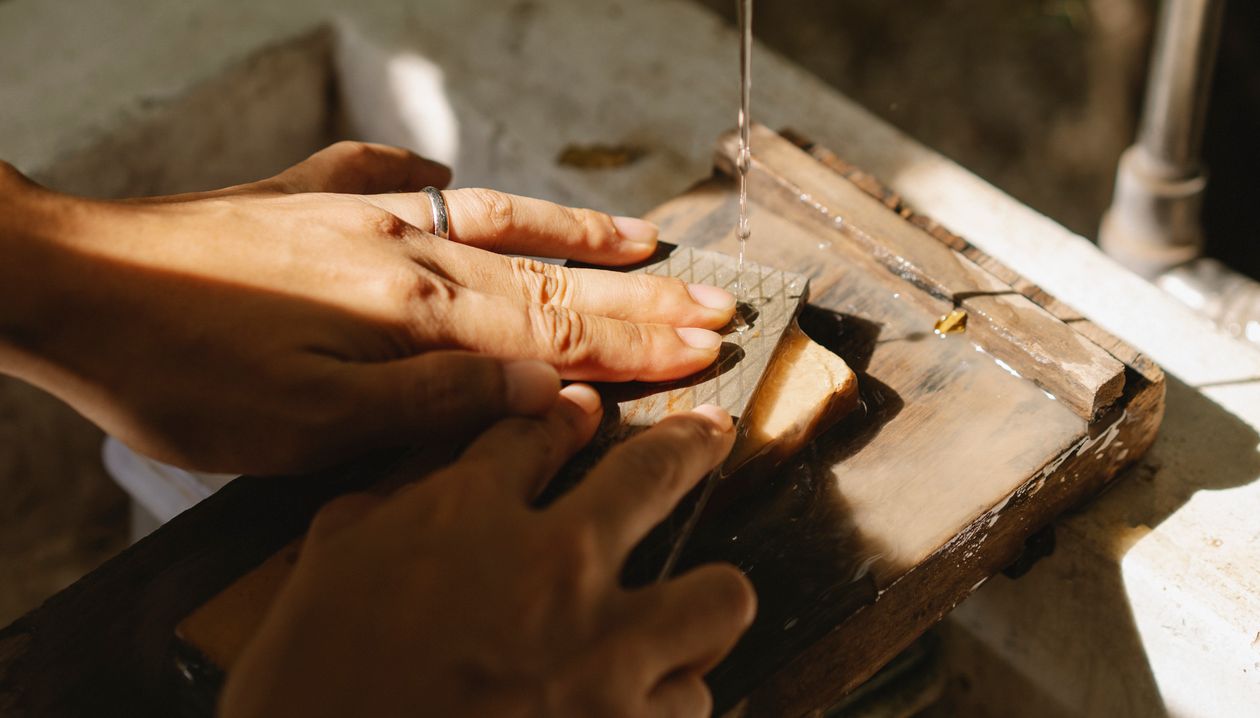
A whetstone gets a knife sharper than almost any other method, and it costs less than most electric sharpeners — but only if you learn the technique properly first. This guide walks through the actual physical process step by step: soaking the stone, holding the angle, working coarse to fine, and knowing when to stop. It’s a genuine skill that takes a few tries to get comfortable with, and I’d rather be upfront about that than pretend it’s effortless.
What You Need
- A combination whetstone with a coarser side for repair work and a finer side for polishing the edge — one stone with both grits is enough for most home kitchens.
- A shallow container of water for soaking (skip this step entirely if your stone is a “splash-and-go” type designed to be used dry or lightly misted — check the packaging, since soaking the wrong stone can damage it).
- A damp towel or a rubber stone holder to stop the stone sliding around on the counter.
- A knife that’s actually dull enough to need it — if it still slices a tomato skin under its own weight, a honing rod is all you need for now.
Step 1: Soak the Stone
Submerge the stone in water for about 10 to 15 minutes before you start, or until bubbles stop rising from it. This lets the stone’s surface hold enough water to float away the fine metal particles you’ll be grinding off the blade, which is what actually does the polishing work. Skipping this step is one of the most common reasons a whetstone feels like it’s not doing much.
Step 2: Set the Angle
Hold the blade against the stone at roughly 15 degrees for a Japanese-style knife or 20 degrees for a Western-style chef’s knife — the difference comes down to how thin each style grinds its edge. A rough way to find 15 degrees: rest the blade flat on the stone, then lift the spine until there’s about a coin’s width of gap underneath. Keeping that angle consistent matters more than getting the exact number right.
Step 3: Work the Coarse Side First
Starting on the coarser grit, draw the blade across the stone in a sweeping, diagonal motion, moving from the heel of the blade toward the tip as you go, then lift and reset at the starting position for the next pass. Keep the angle steady through the whole stroke rather than letting the blade rock. Do this on one side of the blade until you feel a slight burr — a tiny, rough ridge of displaced metal — running the full length of the edge on the opposite side.
Check for the burr by running a fingertip perpendicular to the edge, never along it, feeling for that rough catch rather than testing sharpness directly. Once the burr runs edge to edge on one side, flip the knife and repeat on the other side until the burr forms there too and the first one mostly disappears. If you finish and the knife is still dull after sharpening, the burr is nearly always the reason — either it never formed, or it never came off.
Step 4: Refine on the Fine Side
Move to the finer grit and repeat the same motion at the same angle, using lighter pressure this time. This step doesn’t remove much metal — it’s polishing the edge the coarse side just created, refining that rough burr into a clean, thin edge. A dozen or so light passes per side is typically enough.
How to Tell When You’re Done
The tomato test is the simplest check: rest the blade’s edge on a tomato’s skin with no downward pressure and let the weight of the knife do the work. A properly sharpened edge slices through the skin cleanly; a dull one dents it first. If you’re still getting dents, go back for a few more light passes on the fine stone rather than pressing harder, since pressure doesn’t fix a poor angle.
Common Mistakes
- Changing the angle mid-stroke. This is the single biggest reason a whetstone edge comes out uneven — it’s more important to hold one consistent angle than to hit an exact number.
- Skipping the burr check. Moving to the fine stone before a burr has formed on the coarse side means you’re polishing an edge that was never actually reshaped.
- Using a bone-dry stone. Water (or oil, for oil stones) carries away metal swarf; working dry just clogs the stone’s surface and slows everything down.
- Sharpening a knife that only needed honing. A stone removes metal permanently. If a few strokes on a honing rod would have realigned the edge, reach for that first and save the stone for when the knife is genuinely dull.
How Often This Is Actually Needed
For a knife used most days, sharpening with a stone every two to four months is typical, with honing done weekly in between to keep the edge aligned. Honing and sharpening solve different problems — honing straightens an edge that’s bent out of true, while sharpening removes steel to create a new one — so doing one doesn’t replace the other. Cooks who use a knife daily and hone consistently often stretch the gap between stone sharpenings out further than that.
If You’d Rather Not Learn the Technique
A whetstone gives the best edge and the most control, but it’s a genuine skill that takes practice, and not everyone wants to spend a Saturday afternoon learning it. An electric or guided sharpening system removes more metal per use and won’t teach you the underlying skill, but it gets a consistent result with far less practice. My knife sharpener buying guide covers the electric, guided, and pull-through options if that’s the more realistic fit for how you actually cook.
Whichever method you use, the knife itself matters too — a well-made blade holds an edge longer between sharpenings than a cheap one does. My chef’s knife buying guide covers which knives are actually worth sharpening in the first place, and my cutting board guide covers the surfaces that keep an edge sharp longest between sessions — a glass or stone board undoes a good sharpening job faster than almost anything else.
If the Wusthof Classic 8-Inch is the knife you’re maintaining, my full review of the Wusthof Classic 8-Inch covers real edge-retention data on exactly this question.
Frequently Asked Questions
What grit whetstone should I start with?
A combination stone with a coarser side (roughly 1000 grit) and a finer side (roughly 3000-6000 grit) covers most home sharpening needs in a single stone, so there’s no need to buy several separate stones to start.
Do I need to soak every whetstone before use?
Only water stones need soaking. Oil stones use honing oil instead of water, and some modern “splash-and-go” stones only need a light misting. Check what your specific stone is designed for before soaking it, since the wrong prep can damage certain stones.
Why does my knife feel duller right after sharpening?
That’s almost always a leftover burr that hasn’t been fully removed. A few very light finishing passes on the fine stone, or a couple of strokes on a honing rod afterward, usually clears it up.
Can I use the same angle for every knife I own?
Not ideally. Japanese-style knives are typically sharpened closer to 15 degrees per side and Western-style knives closer to 20 degrees, reflecting how thin each style’s edge is ground at the factory. Matching the original angle keeps the edge geometry consistent.
How do I know if my knife needs honing or sharpening?
Try the tomato test first. If the blade dents the skin before cutting through, try a few strokes on a honing rod before reaching for the stone — if honing fixes it, the edge was just bent out of alignment, not actually dull.
Is a whetstone better than an electric sharpener?
A whetstone gives more control over the exact angle and removes less metal per session, which means a knife lasts longer between replacements over its lifetime. An electric sharpener trades some of that precision for consistency and speed, which is a fair trade for a lot of home kitchens.

Glenn is the founder of Kitchenware Compare and has spent years researching, testing, and reviewing kitchen appliances, cookware, and gadgets. A lifelong home cook raised in a family that treated every meal as an occasion, Glenn started this site to cut through the noise of conflicting product reviews and give readers honest, practical guidance. When he is not testing the latest air fryer or digging into the specs of a new espresso machine, he can usually be found experimenting with new recipes or hunting for the perfect cast iron skillet at a flea market.
Leave a Reply