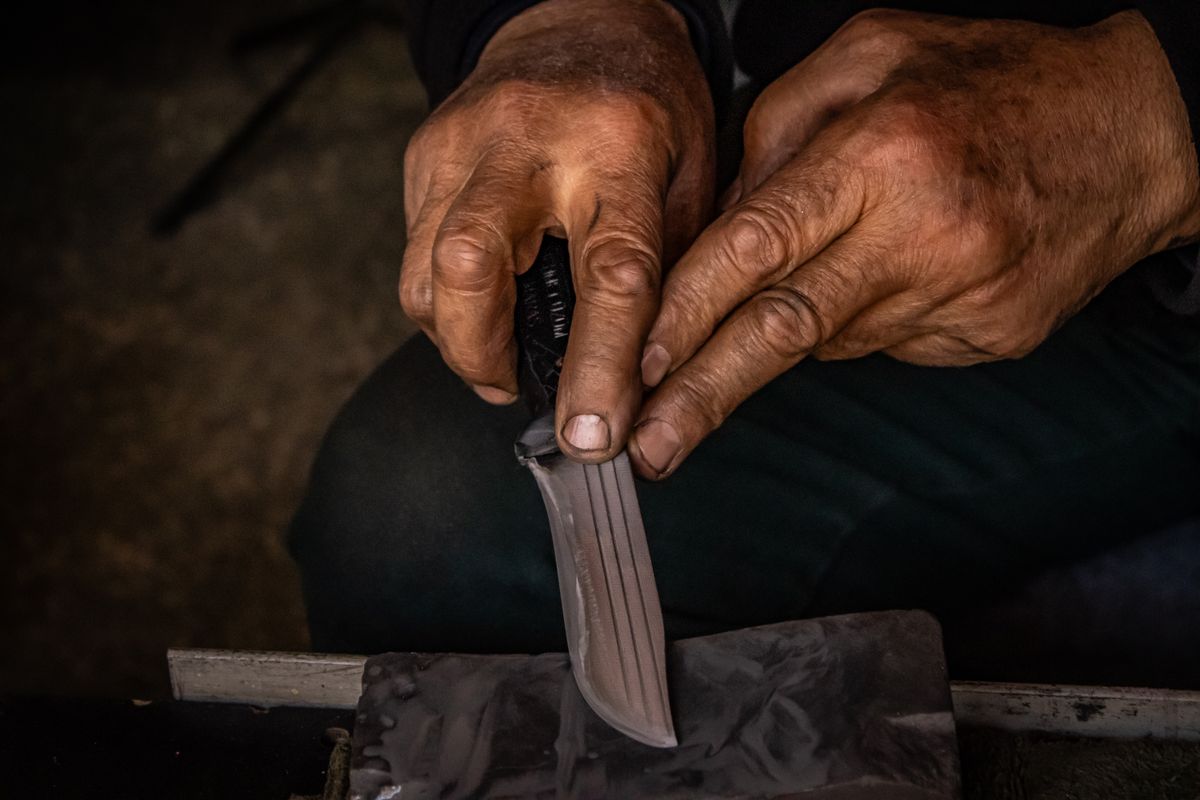
Spending twenty minutes on a stone and ending up with a knife that still will not cut a tomato is one of the most common experiences in home knife sharpening. It is almost never a lack of effort, and it is usually one of two specific things.
Which one is it: never sharp, or sharp for one cut?
Answer this before changing anything, because the two failures have opposite fixes.
It never felt sharp, not even straight off the stone. You finished, tested it, and it was much as it started. This means the edge was never actually reached — you were grinding metal, but not the metal that does the cutting.
It felt genuinely sharp, then went dull almost immediately. It caught on your thumbnail, maybe sliced paper once, and after a few cuts it was blunt again. This is the opposite problem: you did reach the edge, and then left something on it that fell off.
Both come down to one thing that most sharpening advice mentions in passing and never explains properly.
The burr is the whole game
A knife edge is two bevels meeting at a line. That line — the apex — is what cuts. It is a few microns across, far too small to see.
When you grind one side of the blade, you remove metal until you reach the apex. At that moment the metal has nowhere left to go, so it folds over to the far side as a tiny, ragged lip of steel. That lip is the burr, sometimes called a wire edge.
The burr is not a defect. It is the only reliable proof that you have actually reached the apex along the whole length of the blade. Sharpening is essentially: raise a burr on one side, raise it back the other way, then remove it cleanly.
Miss either half of that and you get exactly the two failures above.
Failure one: you never raised a burr
If the knife never felt sharp, this is almost certainly what happened. You ground away at the bevel, possibly for a long time, but never quite reached the apex — so the actual cutting edge is the same rounded, dull edge you started with, now sitting on a beautifully polished bevel.
How to check for a burr
Do not run a finger along the edge. Move your fingertip off the edge, perpendicular to it, from the spine towards the cutting edge and past it. A burr feels like a faint catch or roughness as your finger leaves the blade — on the side opposite the one you have been grinding.
Check along the entire length: heel, middle and tip. A burr near the middle but not at the tip means the tip is still dull, and it will feel dull, because you test on the part that never got sharpened.
Why it usually happens
- The angle is too high, or inconsistent. Lifting the spine mid-stroke rounds the apex instead of forming it. Consistency matters more than the exact number.
- The stone is too fine for the job. A very dull knife on a 3000-grit stone will take hours. Fine stones refine an edge; they do not create one. Start coarse — around 400 to 1000 grit — until a burr forms along the full length, and only then move up.
- Not enough passes, spread too evenly. People alternate sides every few strokes from the start. Work one side until the burr appears along the whole edge, then do the other. Alternating early means neither side ever gets there.
The procedure itself, in order, is covered in the guide to sharpening a chef’s knife on a whetstone. This page is about why the procedure did not work.
Failure two: you raised a burr and left it on
This is the more frustrating one, because the knife genuinely is sharp when you finish testing it — and then it is not.
A burr is a thin flag of steel hanging off the apex. It catches on a thumbnail and will slice paper, which is why it passes your test. But it is barely attached. The first time it meets a carrot or a chopping board it folds over or tears away, and what is left behind is a torn, uneven edge that is often worse than before you started.
The tell is unmistakable: sharp for one or two cuts, then noticeably dull. If that is your pattern, you are not failing to sharpen. You are failing to finish.
Removing the burr properly
- Alternate sides with progressively lighter strokes. On your finishing stone, do five passes each side, then three, then one, using barely any downward pressure — the weight of the blade is close to enough. Each alternation flips the burr back and weakens it at the root.
- Strop it. Draw the blade spine-first (edge trailing, away from the direction of travel) across leather, denim, cardboard, or the back of an old belt, ten or so passes a side. This aligns and removes what is left without cutting a new edge.
- Check. Repeat the perpendicular fingertip test. It should now feel clean and crisp with no catch on either side.
What not to do: scrape the burr off against a hard edge, or drag the knife through a chopping board. That tears it away and takes part of the apex with it, which is how people end up worse off than when they started.
You may also be testing it wrong
Two tests mislead people constantly.
Running a thumb along the edge tells you a burr is present, not that the knife is sharp. A properly finished edge with the burr removed can feel less grabby than a burred one. If your knife felt sharper before you stropped it, that is the burr talking.
The paper test, done badly. Hold a sheet of printer paper by one corner and slice down through it at a slight angle. A sharp knife bites immediately and cuts cleanly without tearing. Sawing at it, or holding the paper too loosely, will fail a genuinely sharp knife. Try the tip, middle and heel separately — that is how you find the section you missed.
If it is not the burr
You are using a pull-through sharpener
The little V-shaped devices with carbide inserts are very common and produce this exact complaint. They do not grind an edge so much as scrape metal off it, leaving a coarse, torn apex that feels sharp briefly and then crumbles. They also remove a great deal of steel for the result they give.
They are not useless for a cheap knife you want serviceable in ten seconds. But if you are sharpening a knife you care about and it will not hold an edge, the tool is a likely suspect — the knife sharpener guide covers what the different types actually do to an edge.
The edge is damaged, not dull
A chip, or a section rolled over from hitting bone or a plate, will not respond to normal sharpening because you are trying to refine an edge that is not there. Hold the blade edge-up under a light and look straight down at it: a sharp edge reflects nothing, while a dull or damaged one shows a bright line or glinting spots where the apex has flattened. Damage needs coarse work to grind past it before anything else will help.
The steel is softer than you think
Softer stainless takes an edge easily and loses it quickly. That is a property of the knife, not a mistake you made. If a knife sharpens up nicely and dulls within a week of normal use, it may simply be doing what it is capable of — the chef’s knife guide covers which steels hold an edge and what that costs.
Once it is sharp, what dulls it again
Worth separating from the sharpening problem, because a knife that dulls in a week is a different complaint from one that never got sharp.
- The board. Glass, granite, marble and ceramic boards destroy edges — the steel loses every time. Wood and soft plastic are the only sensible choices, and this single factor outweighs most others. The cutting board guide goes into which materials are kind to an edge.
- The dishwasher. Knives knock against other items, and the combination of heat and harsh detergent is bad for both edge and handle. Wash by hand and dry immediately.
- Storage. Loose in a drawer, blades bang against everything. A block, magnetic strip or edge guard prevents damage that no amount of sharpening prevents.
- Honing between sharpenings. A honing steel does not remove metal — it straightens an edge that has rolled slightly out of true. A few passes before use keeps a sharp knife sharp for far longer, and is not a substitute for sharpening when the apex is actually worn away.
- Scraping food off the board with the edge. Turn the knife over and use the spine. Dragging the cutting edge sideways across a board rolls it.
The order worth working through
- Ask which failure you have. Never sharp, or sharp for one cut?
- Never sharp: go back to a coarse stone and work one side until you can feel a burr along the whole edge, tip included.
- Sharp then instantly dull: you left the burr on. Alternate progressively lighter strokes, then strop.
- Test properly: slice paper at the tip, middle and heel separately rather than running a thumb along the edge.
- Still failing: check for chips or a rolled section under a light, and consider whether a pull-through sharpener is the cause.
- Sharpens fine but dulls in days: that is the board, the dishwasher or the storage, not the sharpening.
How This Guide Was Put Together
Plainly: this is a research-based guide, not a hands-on test. I have not sharpened a set of knives to compare stones or techniques, and nothing here is a report from my own kitchen.
What it rests on: the mechanics of an abraded edge, which are well documented and not in dispute — a burr forms when abrasion reaches the apex, which is why its presence is the standard check that sharpening has actually worked, and why a burr left in place fails immediately under load; the published guidance of sharpening specialists and stone manufacturers, which agree closely on burr formation, grit progression and deburring; and the pattern of what people report, where an unraised burr and an unremoved burr between them account for the overwhelming majority of cases.
What I could not establish: I could not measure a single competing page for this keyword. All four I attempted blocked automated access, so no word count or content comparison is claimed for any of them and no field average is quoted. What can be said from the search results alone is structural: the highest-authority result is framed as a list of nine causes, and a list does not tell a reader which of the nine is theirs, which is the gap this guide is written into.
Also not established: specific grit numbers and stroke counts that would suit every knife. These depend on the steel, the hardness and how dull the blade is, and any single set of numbers would be wrong for many readers. The ranges above are directional.
Frequently Asked Questions
Why is my knife still dull after sharpening?
Nearly always one of two things. Either you never raised a burr, meaning you never actually reached the cutting edge and only polished the bevel behind it; or you raised a burr and left it on, in which case the knife feels sharp but the thin lip of steel folds over within a cut or two. Which one you have is told by whether it felt sharp at all when you finished.
What is a burr on a knife?
A thin lip of steel that folds over to the opposite side when grinding reaches the apex. It is not a defect — it is the proof that you have sharpened all the way to the edge. The job is then to remove it cleanly, because if it stays on it will tear away during use and leave a ragged edge.
How do I know if I have raised a burr?
Move a fingertip off the edge perpendicular to it, from spine to edge and past it, on the side opposite the one you have been grinding. A burr feels like a faint catch. Check at the heel, middle and tip — a burr along only part of the blade means the rest is still dull.
How do I remove a burr?
Alternate sides with progressively lighter strokes on your finishing stone — five each side, then three, then one, with almost no pressure — then strop the blade edge-trailing on leather, denim or cardboard for about ten passes a side. Do not scrape it off against something hard, which tears part of the apex away with it.
Why does my knife feel sharp but not cut?
That is the signature of a burr still in place. The lip of steel catches on a thumbnail and will even slice paper, so it passes the usual tests, but it collapses on the first real cut. A correctly finished edge can feel less grabby than a burred one, which misleads people into stopping too early.
Do pull-through sharpeners ruin knives?
They do not ruin a knife, but they scrape a coarse, torn edge rather than grinding a clean one, and they remove a lot of steel for the result. That edge feels sharp briefly and then crumbles, which produces this exact complaint. For a knife you care about, a stone or a guided system is a better tool.
How often should I sharpen a kitchen knife?
Far less often than people expect, if honing is used in between. A honing steel straightens an edge that has rolled and takes seconds; actual sharpening removes metal and is needed only when the apex has genuinely worn away. For most home cooks that is a few times a year, and much less often if the knife stays off glass boards and out of the dishwasher.
More knife guides
For the sharpening procedure itself, see how to sharpen a chef’s knife with a whetstone. For choosing a sharpening tool, there is the knife sharpener guide, and for the knives themselves the chef’s knife guide.

Glenn is the founder of Kitchenware Compare and has spent years researching, testing, and reviewing kitchen appliances, cookware, and gadgets. A lifelong home cook raised in a family that treated every meal as an occasion, Glenn started this site to cut through the noise of conflicting product reviews and give readers honest, practical guidance. When he is not testing the latest air fryer or digging into the specs of a new espresso machine, he can usually be found experimenting with new recipes or hunting for the perfect cast iron skillet at a flea market.
Leave a Reply