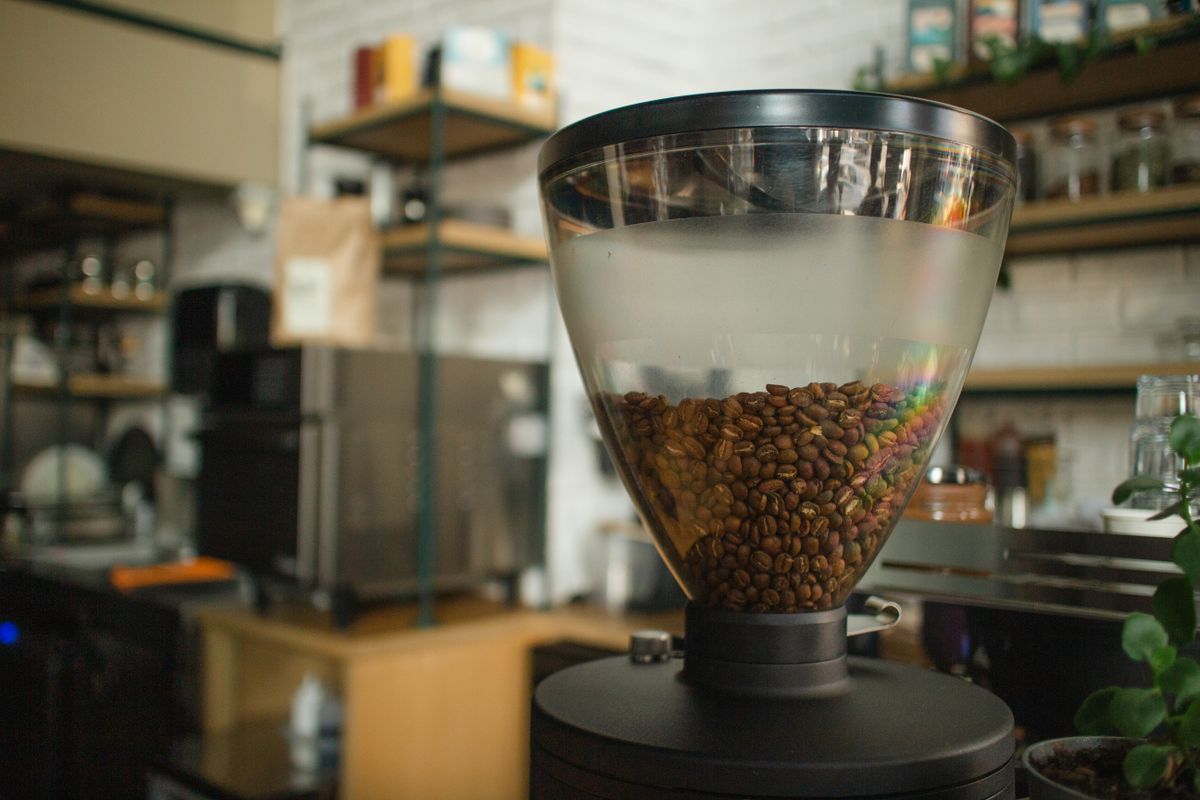
“Not grinding properly” covers three unrelated faults, and they have almost nothing in common. Before changing settings or ordering parts, work out which one you are looking at — it takes one grind to find out.
Which of the three is it?
Run the grinder with beans in it and watch what happens.
The motor runs but little or nothing comes out. You can hear it working, and the output is a dribble of grounds or none at all. This is a feeding or blockage problem. It is the most common of the three and usually the easiest to fix.
Grounds come out, but they are wrong. Uneven, too coarse however you set it, full of dust and boulders together, or simply not what the same setting used to give you. This is about the burrs, the adjustment, or the type of grinder you own.
The motor does not run at all. Nothing happens, or it hums without turning. This is usually a safety interlock rather than a dead machine, and it is worth checking before assuming the worst.
Motor runs, nothing comes out
The beans are bridging in the hopper
This is the single most common cause, and from the outside it looks exactly like a broken grinder: full hopper, running motor, no coffee.
Beans form an arch over the throat of the hopper and hold each other up, so nothing drops into the burrs. Oily dark roasts do it far more than lighter ones, because the surface oil makes the beans stick to one another and to the hopper walls. A nearly empty hopper does it too, since there is less weight pressing down.
To confirm it: stop the grinder and give the hopper a firm tap on the side, or stir the beans with a wooden spoon handle. If coffee immediately starts coming through, that was your fault — there is nothing else wrong with the machine.
Longer term: keep the hopper reasonably full, avoid very oily beans if your grinder is prone to it, and wipe the inside of the hopper occasionally with a dry cloth, because oil residue on the walls makes bridging worse over time.
The chute is packed with old grounds
Every grinder retains some ground coffee inside the exit chute. Over weeks that retained coffee absorbs moisture from the air, and the oil in it goes tacky. Eventually it packs into a plug that new grounds cannot push past. You get a trickle rather than a dose, and often a burst of stale grounds when it finally clears.
Unplug the machine, take off the hopper, and work through the chute with a stiff brush — a dedicated grinder brush, a clean paintbrush, or a toothbrush. A chopstick or the handle of a wooden spoon shifts a solid plug. Do not use anything metal that could reach the burrs.
Something is jammed in the burrs
Coffee occasionally arrives with a small stone or a piece of packaging in it, and it will stop a grinder dead or make it grind unevenly with a horrible noise. If the machine sounds different — grating, rattling, straining — unplug it, remove the hopper and the upper burr, and look.
This is also the moment to stop using the grinder rather than persist. Running a motor against a jam is how a working grinder becomes a broken one.
It grinds, but the grounds are wrong
First: is it actually a blade grinder?
Worth ruling out before anything else, because it is not a fault at all.
A blade grinder has a spinning blade like a small propeller and chops beans by hitting them. It does not have an adjustable grind size — you control it only by how long you run it. It cannot produce a consistent, uniform grind, and it can never produce a proper espresso grind. Some particles are dust and some are still chunks, no matter how long you run it.
If your grinder chops rather than mills, and you are trying to get an even grind for espresso or pour over, the machine is doing everything it is capable of. That is a hardware limit, and the espresso grinder guide covers what a burr grinder actually changes and at what price.
The burrs were not reseated properly after cleaning
If the problem appeared right after you cleaned the grinder, this is almost certainly it, and it catches a lot of people.
Upper burrs on most home grinders locate on tabs or lugs and then twist to lock. It is entirely possible to seat one almost correctly — it sits down, the hopper goes back on, and everything looks fine, but the burr gap is now wrong or uneven. The result is a grind that is far too coarse, or wildly inconsistent, at a setting that used to be right.
Take the burr back out and reseat it deliberately, checking it sits flat and turns to its stop. On many grinders you also need the hopper fitted and locked before the adjustment collar engages at all.
The grind adjustment is not doing what you think
Stepped grinders only change setting while the burrs are turning on some models — adjusting a stationary grinder does nothing, or forces the mechanism. Stepless collars can drift as the machine vibrates. And if the grinder has been apart, the numbers on the dial no longer correspond to what they did before, because the reference point moved.
Rather than chasing the numbers, reset from scratch: with no beans in the burrs, close the adjustment until the burrs just touch and the machine chirps, then back off gradually and re-dial from there.
The burrs are coated in stale oil
Coffee oil builds up on the burr faces and in the grooves between the teeth. A coated burr cuts less cleanly, producing more fines and a duller, muddier grind. It is gradual, so people adapt to it without noticing and then conclude the grinder is worn out.
Use grinder cleaning tablets and follow with a run of the beans you actually use, to clear the tablet residue. Do not use rice. It is widely recommended and several manufacturers explicitly warn against it — rice is much harder than coffee and can damage burrs or strain the motor. And never wash burrs in water: steel burrs rust, and a rusted burr is finished.
Are the burrs actually worn out?
This is the question people jump to first and it is usually the wrong one, so it is deliberately last.
Burrs are consumables and they do wear. But a home grinder making a few coffees a day passes very little coffee through in a year compared with a cafe machine running kilos a day, and most domestic grinders are cleaned out and sold on long before their burrs are genuinely finished. When someone says their grinder “stopped grinding properly”, stale oil, a bad reseat or bridging beans are far more likely explanations.
The signs that point to real wear, rather than one of the above:
- You have had to move steadily finer over months to get the same result — the gap needed to produce a given particle size grows as the cutting edges round off.
- More dust and more boulders at the same time. Worn burrs stop cutting cleanly and start crushing, which widens the spread of particle sizes at every setting.
- It takes noticeably longer to grind the same dose than it used to.
- The problem survives a proper clean and a careful reseat. That is the test that separates wear from the far more common causes.
You can also look: remove the upper burr and inspect the cutting edges against a bright light. Sharp burrs have crisp edges and defined corners on the teeth. Worn ones look rounded and polished, and may be visibly shiny where they should be matt.
If the burrs are genuinely worn, replacement burrs are available for most mid-range and better grinders and are usually far cheaper than a new machine. On inexpensive grinders the parts either do not exist or cost more than the grinder did, which is one of the practical differences between price tiers — the espresso grinder guide notes which machines are built to be maintained.
The motor does not run at all
Check these in order before concluding anything is broken.
- The hopper is not locked into position. Most grinders have a safety interlock that will not let the motor start unless the hopper is fitted and twisted fully to its stop. A hopper that is on but not locked is the most common cause of a completely dead grinder.
- The lid or grounds bin is not seated. Some models interlock on those too.
- It has overheated and cut out. Grinders have thermal protection that stops the motor after prolonged use or a jam, and it resets only once the motor has cooled. Give it thirty minutes and try again before doing anything else.
- It is jammed. A motor that hums but does not turn is being physically blocked. Unplug it and clear the burrs.
- Then the boring possibilities: the socket, the plug fuse, and the cable.
The order worth working through
- Motor runs, nothing out? Tap the hopper. If coffee flows, it was bridging.
- Still nothing? Unplug and brush out the chute.
- Grounds wrong? Did it start right after cleaning? Reseat the burrs properly.
- Still wrong? Run cleaning tablets, then re-dial the grind from the point where the burrs just touch.
- Still wrong after a clean and a careful reseat? Now consider worn burrs, and inspect the edges.
- Motor dead? Lock the hopper down, then let it cool for half an hour.
How This Guide Was Put Together
Plainly: this is a research-based guide, not a hands-on test. I have not stripped down a set of grinders to compare burr wear, and nothing here is a report from my own kitchen.
What it rests on: the mechanics of burr grinding, which explain why a coated or rounded burr widens particle distribution rather than simply grinding coarser, and why a blade grinder cannot produce a uniform grind at all; manufacturer instructions for hopper interlocks, thermal cutouts, burr removal and cleaning, including the warnings against rice as a cleaning medium; and the pattern of what owners report, where bridging, retained grounds and a mis-seated burr after cleaning dominate the reported causes by a wide margin.
Also not established: a figure in kilograms for how long burrs last. Published numbers vary enormously between sources and burr materials, they are drawn largely from commercial use, and applying a cafe figure to a domestic grinder would be misleading. The wear signs above are described qualitatively for that reason.
Frequently Asked Questions
Why is my coffee grinder not grinding?
If the motor runs but nothing comes out, the beans are almost certainly bridging over the hopper throat, or the exit chute is packed with old grounds. Tap the side of the hopper: if coffee starts flowing immediately, that was the whole problem. If the motor does not run at all, check the hopper is twisted fully into its locked position, because most grinders will not start otherwise.
How do I know if my coffee grinder burrs are worn out?
The reliable test is whether the problem survives a proper clean and a careful reseat of the burrs. Genuine wear shows as needing a steadily finer setting over months for the same result, more dust and more large pieces at the same time, and longer grinding for the same dose. Removing the upper burr and looking at the teeth under bright light also helps: sharp burrs have crisp edges, worn ones look rounded and polished.
Why is my grinder producing an uneven grind?
If it started right after cleaning, the upper burr is probably not seated correctly, which changes the burr gap without looking wrong. Otherwise it is usually oil build-up on the burr faces, which stops them cutting cleanly. If you have a blade grinder rather than a burr grinder, an uneven grind is not a fault at all — chopping cannot produce uniform particles.
Can I use rice to clean a coffee grinder?
Better not to. It is a widely repeated tip and several manufacturers specifically warn against it, because rice is considerably harder than coffee and can damage burrs or overload the motor. Use purpose-made grinder cleaning tablets instead, and never wash burrs in water, since steel burrs rust.
Why did my grinder stop working after I cleaned it?
Two likely reasons. Either the upper burr has not gone back on correctly, which gives a very coarse or inconsistent grind, or the hopper is not locked fully into place, which leaves the safety interlock open so the motor will not start. Both are quick to correct.
My grinder hums but does not turn. What is wrong?
Something is physically blocking the burrs, or the motor has thermally cut out. Unplug it, remove the hopper and upper burr, and check for a stone or a jammed bean fragment. If it is clear, let the machine cool for half an hour before trying again. Do not keep running it against a jam.
Is it worth replacing the burrs or should I buy a new grinder?
Replacement burrs are available for most mid-range and better grinders and usually cost far less than a new machine, so they are worth fitting. On cheap grinders the parts often do not exist, or cost more than the grinder is worth, which effectively makes those machines disposable.
More espresso troubleshooting
If the shot is the problem rather than the grind, see what to check when an espresso machine is not building pressure, or the guide to a steam wand that will not froth milk.

I'm Glenn, and I started Kitchenware Compare to cut through conflicting product reviews and help readers pick kitchen gear with confidence. I don't own or test the products I write about — these guides are built from verified-purchase reviews, manufacturer specifications, and independent testing where it exists, with the reasoning shown, not just a rating.
Leave a Reply