• Skip to primary navigation
  • Skip to main content
  • Skip to primary sidebar

Kitchenware Compare

  • Home
  • Product Reviews
    • Air Fryers
    • Coffee
    • Cookware
    • Flat Top Grills
    • Meat Thermometers
    • Food Processors
    • Knives
    • Pizza Ovens
    • Toaster Ovens
    • Juicers
  • Food Blog
  • Helpful Kitchen Tips
  • Data Studies
  • About
  • How I Review
  • Contact
You are here: Home / Archives for Helpful Kitchen Tips

Meat Temperature Guide: Safe Internal Temps for Every Protein

Last Updated July 5, 2026

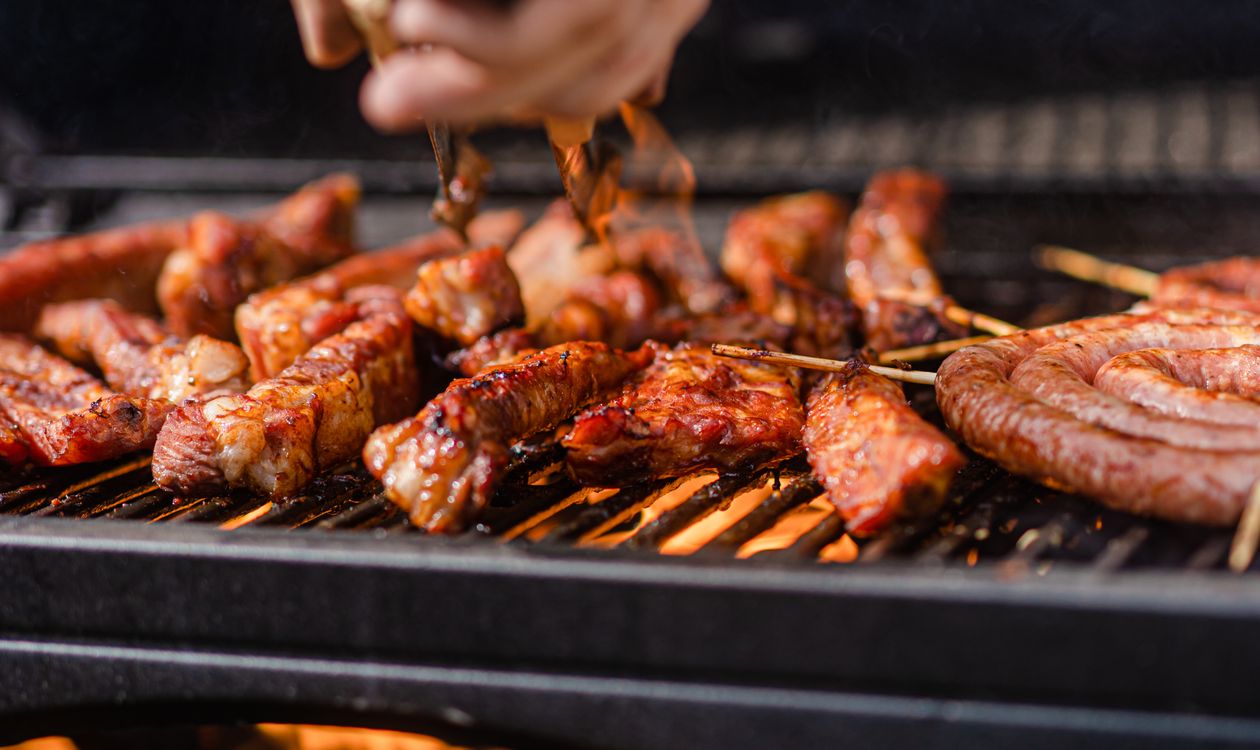
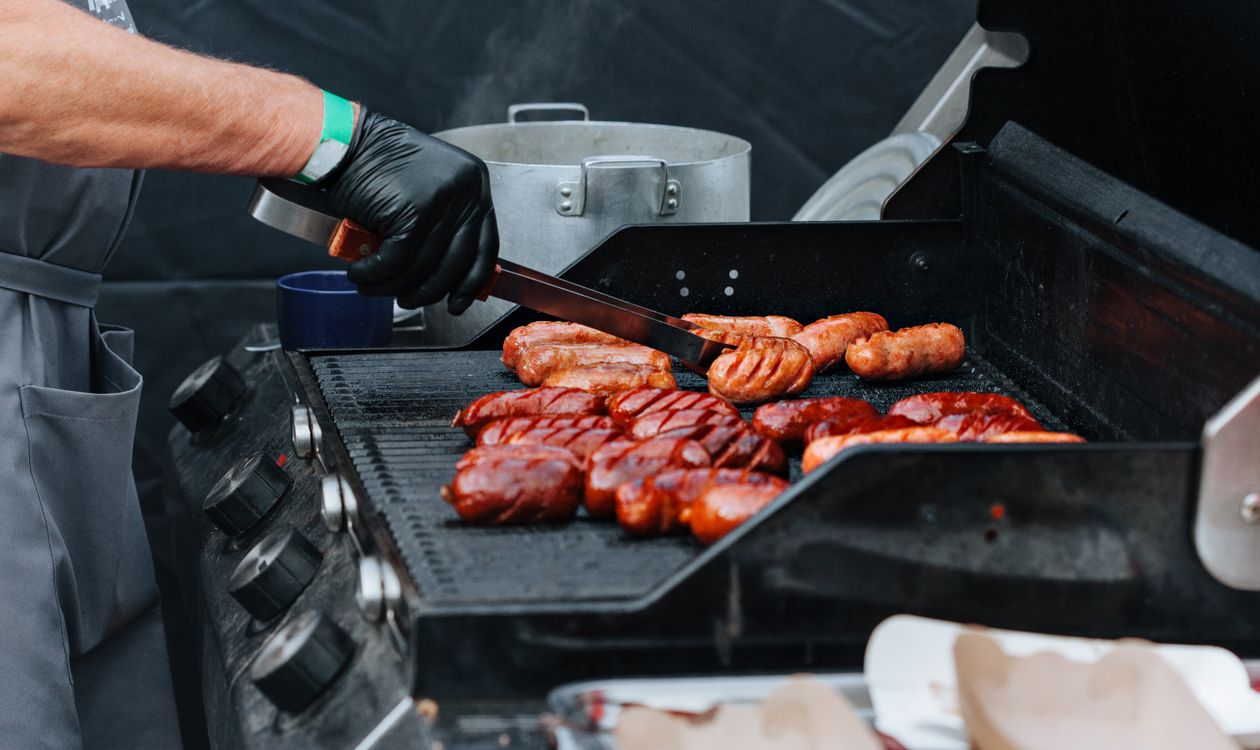
Assorted meats grilling on a barbecue for a meat temperature guide

The quick answer

Use 165°F for all poultry, 145°F for whole cuts of beef, pork, and lamb (with a 3-minute rest), and 160°F for ground meat. Fish is done at 145°F. These are USDA safe minimums — for preferred doneness in beef, most cooks target 130–135°F for medium-rare regardless of official guidance.

A meat thermometer is the single most reliable way to know whether meat is safe to eat and cooked to the texture you want. Timing and colour are unreliable guides. Temperature is not. This guide gives you the numbers you actually need, for every protein, with the context to use them confidently.

If you need a thermometer recommendation, my guide to the best Bluetooth meat thermometers covers the top five picks.

Internal temperatures are measured at the thickest part of the meat, away from bone, fat, and the pan. Bone conducts heat differently from muscle; measuring near bone gives a false reading.


Table of Contents

Toggle

  • Safe internal temperatures by protein
  • Beef doneness guide
  • Pork and lamb doneness
  • Fish and seafood
  • Low-and-slow: smoking temperatures
  • Common mistakes
  • Related guides
  • Best sous vide precision cookers — exact-temperature cooking without the guesswork

Safe internal temperatures by protein

Protein USDA Safe Minimum Rest Time Notes
Chicken & turkey (whole) 165°F (74°C) None required White and dark meat; juices should run clear
Chicken breast (boneless) 165°F (74°C) None required Pull at 160°F — carries over to 165°F while resting
Ground chicken / turkey 165°F (74°C) None required No carry-over allowance for ground poultry
Beef, pork, lamb — whole cuts 145°F (63°C) 3 minutes Steaks, roasts, chops — see doneness guide below
Ground beef / pork / lamb 160°F (71°C) None required Burgers, meatballs, meatloaf
Pork — whole cuts 145°F (63°C) 3 minutes Now same as beef since USDA revision; slight pink is safe
Fish & shellfish 145°F (63°C) None required Flesh should be opaque and flake easily
Tuna / salmon (sushi-grade) Optional None required Many chefs target 125°F for medium; preference-based
Eggs / egg dishes 160°F (71°C) None required Quiche, frittata, casseroles
Stuffing (inside bird) 165°F (74°C) None required Must reach safe temp independently of bird
Leftovers / reheated food 165°F (74°C) None required All reheated food to this temperature
Important: The 3-minute rest time for whole cuts is part of the USDA safety standard, not optional. During rest, the temperature continues to rise and pathogens are destroyed by sustained heat. For steaks: tent with foil, rest 3–5 minutes before cutting.

Beef doneness guide

The USDA safe minimum for beef whole cuts is 145°F, but most cooks target lower internal temperatures based on preferred doneness. Medium-rare beef at 130–135°F is safe for whole cuts because the surface (where bacteria live) reaches much higher temperatures during searing. Ground beef is different — bacteria are mixed throughout, which is why 160°F is required.

Doneness Pull Temp Final Temp (after rest) Texture
Rare 120–125°F 125–130°F Very red centre, soft, juicy
Medium-rare (most popular) 125–130°F 130–135°F Red-pink centre, tender, maximum juiciness
Medium 135–140°F 140–145°F Pink centre, firmer, less juicy
Medium-well 145–150°F 150–155°F Slight pink, noticeably firmer
Well done 155°F+ 160°F+ No pink, firm, less forgiving of poor cuts

Pull the meat from the heat 5–10°F below your target. Carry-over cooking (the temperature rise during resting) accounts for the difference. Thick cuts (over 1.5 inches) carry over more than thin ones.


Pork and lamb doneness

The USDA updated its pork guidelines in 2011 to align with beef: 145°F with a 3-minute rest. This means properly cooked pork can be slightly pink in the centre — something many home cooks were incorrectly taught to avoid. The pink colour at 145°F is safe. Overcooked, grey, dry pork is not a sign of safety; it is a sign of overcooking.

Protein Target Temp Notes
Pork loin / tenderloin 145°F (63°C) Slight pink at centre is fine and preferred
Pork chops 145°F (63°C) 3-minute rest; carry-over applies
Pulled pork (shoulder) 195–205°F (91–96°C) High temp needed for collagen breakdown and pull texture
Lamb chops / rack 130–145°F (54–63°C) Personal preference; medium-rare at 130–135°F is most common
Leg of lamb (whole) 145°F (63°C) Or 130–135°F for pink centre — preference-based

Fish and seafood

Fish is done at 145°F per USDA guidelines, but the practical test is whether the flesh is opaque and flakes easily with a fork. Fish overcooks quickly — the window between underdone and overdone is narrow. A thermometer is more valuable for fish than for almost any other protein because the visual cues are unreliable until it is already too late.

Seafood Target Temp Notes
Salmon 125–145°F 125°F for silky/medium; 145°F for fully cooked
White fish (cod, halibut, tilapia) 145°F (63°C) Flakes easily; opaque throughout
Tuna steak 125–130°F Sashimi-grade; higher if preferred well-done
Shrimp 120°F (49°C) or pink/opaque Overcooked shrimp becomes rubbery instantly
Scallops 130°F (54°C) Translucent centre acceptable; over 145°F is rubbery

Low-and-slow: smoking temperatures

Smoking and low-and-slow cooking target much higher final temperatures than standard roasting. The goal is collagen breakdown — turning tough connective tissue into gelatin — which requires sustained heat above 190°F for an extended period. This is why brisket, pulled pork, and ribs are cooked well beyond the 145°F safety minimum.

Protein Target Temp Approximate Time at 225°F
Brisket (flat + point) 195–205°F (91–96°C) 12–18 hours
Pulled pork (shoulder / butt) 195–205°F (91–96°C) 10–14 hours
Ribs (spare or baby back) 190–203°F (88–95°C) 5–6 hours (3-2-1 method)
Chicken whole 165°F (74°C) 3–4 hours
Turkey whole 165°F (74°C) 6–8 hours
Beef short ribs 200–205°F (93–96°C) 8–10 hours
Lamb shoulder 195–200°F (91–93°C) 8–10 hours

Common mistakes

Checking temperature too early. The internal temperature rises slowly at first, then stalls (especially in large cuts and brisket — this is the ‘stall’ at around 160–170°F), then rises again. Check at the expected time but don’t panic if it’s lower than expected.

Measuring near bone. Bone conducts heat differently. Always measure in the deepest part of the muscle, at least half an inch from any bone.

Not accounting for carry-over. Pull meat earlier than your target. A 2-inch thick steak can rise 10°F during a 5-minute rest. A large roast can rise 15°F or more.

Using a thermometer with a slow response time. A thermometer that takes 20 seconds to register gives you a reading that reflects where the temperature was, not where it is. Faster is better for thin cuts. For long cooks and roasts, response time matters less.

Testing in one spot only. Temperature varies across a piece of meat. Check the thickest point and avoid the centre of any cavity. For large birds, check both the breast and the innermost thigh — they finish at different times.

See my full meat thermometer buying guide for how this compares across the whole category.


Related guides

Related: Best Bluetooth Meat Thermometer 2026
Related: MEATER Plus vs MEATER Pro Duo
Related: How to Calibrate a Meat Thermometer
Related: Guide to Buying Outdoor Cooking Equipment
Related: Best Probe Thermometers 2026

Frequently Asked Questions

What temperature should chicken be cooked to?
Chicken must reach 165F (74C) internal temperature — both white and dark meat. This applies to whole birds, pieces, and ground chicken. There is no leeway: unlike beef, chicken must hit this temperature for food safety.

Is 145F really safe for pork?
Yes.

The USDA updated its pork guidelines in 2011. Whole cuts of pork (chops, loin, tenderloin) are safe at 145F followed by a 3-minute rest. A slight pink colour at the centre is normal and safe at this temperature. Only ground pork requires 160F.

What is carry-over cooking and how much does temperature rise?
Carry-over cooking is the continued rise in internal temperature after meat is removed from the heat. The rise depends on size and thickness: a thin steak might rise 5F, a thick roast can rise 10-15F, and a large brisket can rise more during a long rest. Always pull meat before your target temperature to account for this.

What is the stall in smoking and why does it happen?
The stall is a period during smoking when the internal temperature of a large cut (typically brisket or pork shoulder) plateaus at around 155-170F for several hours before rising again.

It is caused by evaporative cooling — moisture evaporating from the meat’s surface cools it as fast as the smoker heats it. It is normal and will pass. Wrapping the meat in butcher paper or foil (the Texas Crutch) shortens the stall by reducing evaporation.

Do I need to rest meat after cooking?
Yes, for most cuts. Resting allows the muscle fibres to relax and reabsorb juices that were pushed to the centre during cooking.

A steak benefits from 3-5 minutes of rest; a roast from 10-20 minutes; a whole bird from 20-30 minutes. Cutting too early releases these juices onto the cutting board instead of keeping them in the meat.

Once your roast is at temperature and has rested, a meat slicer makes uniform carving far easier than a knife — especially for thin deli-style cuts of brisket, turkey breast, or standing rib roast. See my best meat slicers guide for home options at every budget.
Filed Under: Helpful Kitchen Tips

How to Calibrate a Meat Thermometer (Ice Water Method + More)

Last Updated July 5, 2026

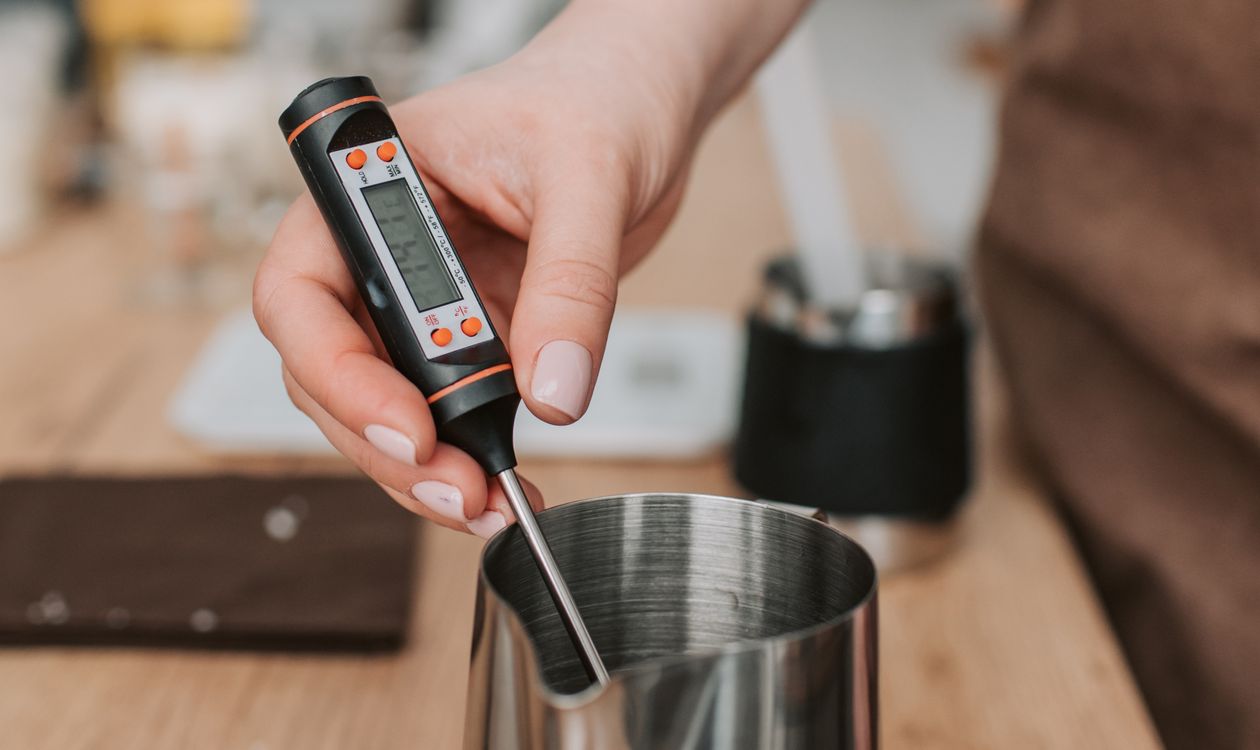
Using a digital probe thermometer while cooking

The quick answer

The ice water method is the standard way to calibrate any meat thermometer: fill a glass with ice, add cold water, stir, and insert the probe. After 30 seconds it should read 32°F (0°C). If it doesn’t, adjust your thermometer’s calibration dial or note the offset. Most quality digital thermometers don’t need manual calibration — they hold accuracy well unless dropped or exposed to extreme heat.

An inaccurate thermometer is worse than no thermometer at all — it gives you false confidence. If your probe says 165°F and your chicken is actually at 155°F, you have a food safety problem. If it says 135°F when the actual temperature is 145°F, you’ll overcook your steak chasing a doneness you’ve already passed.

Here’s how to check your thermometer’s accuracy, how to adjust it if it’s off, and when to replace it entirely.


The ice water method

This is the most reliable calibration check for home use. Ice water holds a stable temperature of exactly 32°F (0°C) at sea level regardless of how much ice or water you add, provided ice is still present. This makes it a perfect reference point.

How to do it:

  1. Fill a tall glass or container completely with ice cubes. Don’t use ice chips — the cubes hold their shape longer.
  2. Add cold tap water until the glass is almost full. The water should reach the top of the ice without overflowing.
  3. Stir the mixture for 15 seconds to equilibrate the temperature.
  4. Insert the probe into the centre of the ice water mixture, making sure the tip is not touching the bottom or sides of the glass. The sensing area must be submerged.
  5. Wait 30 seconds without stirring, then read the temperature.
  6. A correctly calibrated thermometer reads 32°F (0°C). An accuracy of ±1–2°F is acceptable for most thermometers.
At high altitude (above 1,500 feet), the boiling point of water is lower than 212°F, but the freezing point of water does not change with altitude. The ice water method works accurately at any elevation.

The boiling water method

Boiling water provides a second reference point, but altitude affects its usefulness. At sea level, water boils at exactly 212°F (100°C). At 5,000 feet (Denver, Colorado), water boils at approximately 202°F. At 7,000 feet (Santa Fe), it’s around 199°F.

If you live at or near sea level, this method is reliable. If you live at high altitude, look up your local boiling point before using this method, or stick to the ice water test.

How to do it:

  1. Bring a pot of water to a full, rolling boil.
  2. Insert the probe into the boiling water, making sure the tip is submerged but not touching the pot.
  3. Wait 30 seconds and read the temperature.
  4. At sea level, it should read 212°F (100°C). At your local altitude, adjust the expected reading accordingly.

How to adjust a thermometer that’s off

Dial (bimetallic) thermometers

Traditional dial thermometers have a calibration nut under the dial face. When the probe is submerged in ice water and reading an incorrect temperature, use pliers or the calibration wrench that came with the thermometer to rotate the dial until it reads 32°F. This type of thermometer can drift and should be checked regularly.

Digital instant-read thermometers

Most modern digital thermometers either have a calibration button (which resets the reading to 32°F when pressed while in ice water) or they don’t offer field calibration at all. Check your thermometer’s manual. If there is no calibration function and the thermometer is consistently off by more than 2°F, note the offset and adjust mentally — or replace the thermometer.

Wireless/Bluetooth thermometers (MEATER, ThermoPro, etc.)

Wireless probe thermometers like MEATER are factory-calibrated and generally do not offer user calibration. If your MEATER probe is reading noticeably off (more than 2°F in ice water), contact the manufacturer. These probes use silicon nitride ceramic tips and precision sensors; if the calibration has drifted significantly, the probe may need replacement.

MEATER’s app does include a probe check feature that can flag sensors that have drifted out of spec. For my picks across the MEATER range and competitors, see my best Bluetooth meat thermometer guide.


One class of dial cannot be calibrated at all: the gauge built into the door of a smoker or the lid of a grill. It is not adjustable, it sits in the hottest air rather than at the grate, and manufacturers accept it can read a long way out — which is why a smoker that looks like it will not heat is so often a smoker whose gauge is lying. That case is worked through in an electric smoker that is not getting hot enough.

When to replace instead of calibrate

Some signs indicate a thermometer has failed and should be replaced rather than calibrated:

  • Inconsistent readings: If you get a different number each time you test in the same ice water without moving the probe, the sensor has failed.
  • Off by more than 5°F consistently: A thermometer that far out of spec may have a damaged sensor.
  • Physical damage: A bent probe, cracked housing, or water inside the display indicates the unit is compromised.
  • After a drop: Dropping a thermometer — especially onto a hard surface — can damage the sensor or displace the bimetallic spring in dial thermometers.
  • After extremely high heat exposure: Probe tips damaged by flame or excessive ambient heat (such as placement too close to a grill burner) can produce permanently inaccurate readings.

A good meat thermometer costs between $15 and $100. The cost of a foodborne illness — or a ruined $80 brisket — is significantly higher. Replace a suspect thermometer.


How often should you calibrate?

For instant-read digital thermometers: check calibration every few months, or whenever you suspect an inaccurate reading. These hold calibration well unless dropped or subjected to extreme conditions.

For dial thermometers: check before any important cook. Dial thermometers drift more easily and the calibration nut can shift during transport or handling.

For wireless probe thermometers: check once a season, or if your cooked food consistently seems over- or under-done relative to the probe readings. Test with ice water exactly as described above. See my full meat thermometer buying guide for how this compares across the whole category.

Quick routine: keep a glass, some ice, and water near your prep area. Thirty seconds before you start cooking, dip your probe. If it reads 32°F, cook with confidence.

Related guides

Related: Best Bluetooth Meat Thermometer 2026
Related: Meat Temperature Guide: Safe Temps for Every Protein
Related: Are Wireless Meat Thermometers Accurate?

Frequently Asked Questions

How do I know if my meat thermometer is accurate?
The ice water test is the standard check: fill a glass with ice, add cold water, stir, and insert the probe.

After 30 seconds, a correctly calibrated thermometer reads 32F (0C). If it reads within 1-2F of this, the thermometer is accurate enough for cooking. If it’s off by more than 2-3F consistently, it needs calibration or replacement.

Can I calibrate a digital meat thermometer?
It depends on the model. Some digital thermometers have a dedicated calibration button or setting — check your manual.

Others, including most wireless Bluetooth thermometers like MEATER, are factory-calibrated and don’t offer field adjustment. If a non-adjustable digital thermometer is consistently off by more than 2F, note the offset and adjust mentally, or replace the unit.

How do I calibrate a dial meat thermometer?
Submerge the dial thermometer probe in ice water for 30 seconds.

While still submerged, use pliers or the calibration wrench (usually included) to grip the hex nut beneath the dial face and rotate it until the dial reads 32F. This resets the bimetallic spring to the correct reference point. Verify by removing and reinserting the probe.

Does dropping a thermometer affect its accuracy?
Yes, significantly. Dropping a dial thermometer can displace the bimetallic spring and cause it to read incorrectly. Dropping a digital thermometer can damage the temperature sensor or loosen internal connections. Always check calibration after dropping a thermometer before trusting its readings for cooking.


Filed Under: Helpful Kitchen Tips

Are Wireless Meat Thermometers Accurate? (Honest Answer)

Last Updated July 5, 2026

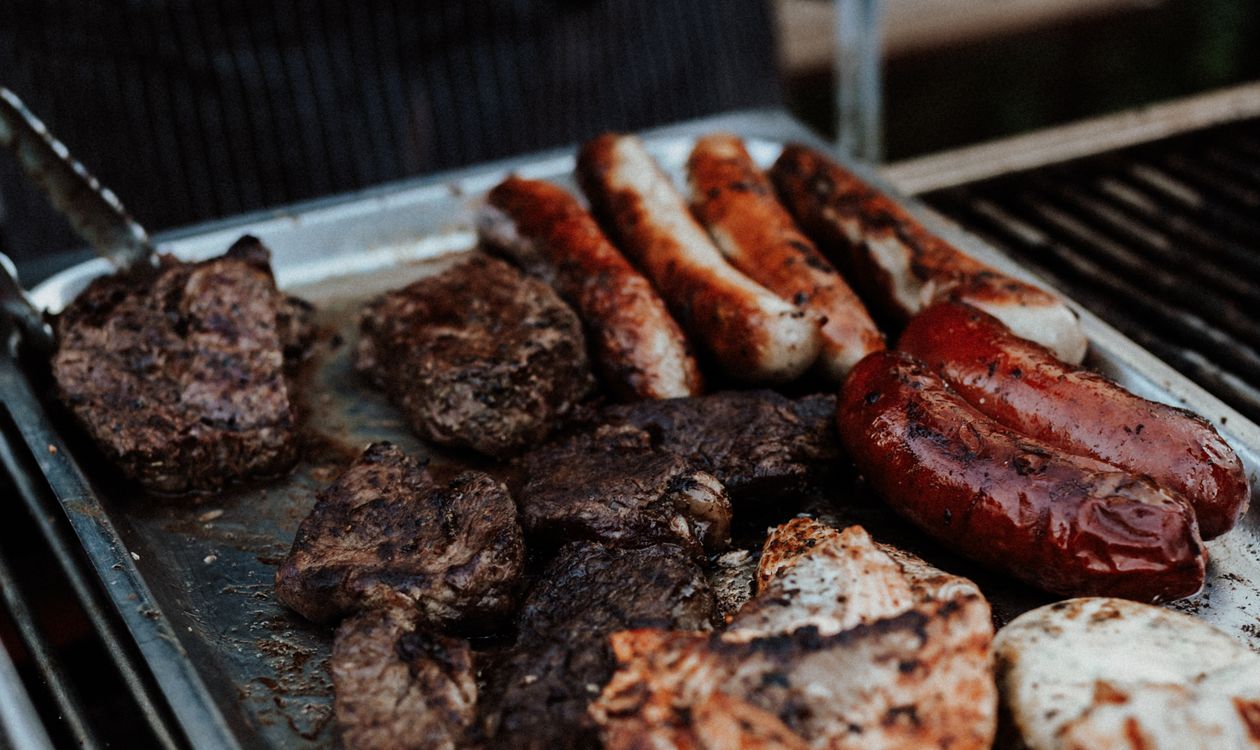
Grilling sausages on an outdoor barbecue

The quick answer

Yes — quality wireless meat thermometers are genuinely accurate, typically within ±1°F (±1°C) under normal conditions. MEATER, ThermoPro, and Inkbird all publish and deliver this level of accuracy. The main variables that affect readings are probe placement, oven calibration (not the thermometer’s fault), and how far the probe tip is from bone or fat. The thermometer itself is rarely the problem.

This is one of the most searched questions about wireless thermometers, and it’s a fair one. You’re trusting a wireless device to tell you whether a piece of meat is safe to eat and cooked to the texture you want. The question of whether to trust it matters.

The short answer is: modern wireless meat thermometers are accurate. The longer answer explains why, what affects that accuracy, and how to get the best readings from any probe thermometer. Every model I reference in this article is covered in depth in my best Bluetooth meat thermometer roundup.


Published accuracy specs from major brands

Brand / Model Published Accuracy Sensor Type Probe Material
MEATER Plus ±1°C (±1.8°F) Dual-sensor ceramic Silicon nitride
MEATER Pro Duo ±1°C (±1.8°F) Dual-sensor ceramic Silicon nitride
TempPro TempSync ±1°C (±1.8°F) NTC thermistor Stainless steel
ThermoPro TP20 ±1°C (±1.8°F) NTC thermistor Stainless steel
Inkbird IBT-4XS ±1°C (±1.8°F) NTC thermistor Stainless steel
Weber iGrill 3 ±1.5°C (±2.7°F) NTC thermistor Stainless steel

All of these are well within the margin needed for practical cooking accuracy. Chicken at 165°F is not meaningfully different from chicken at 163°F or 167°F for either safety or eating quality. The ±1°F specification is more than precise enough.

For comparison: the USDA’s recommended safe temperature guidelines assume a thermometer accuracy of ±2°F. Modern wireless thermometers from reputable brands beat this specification.

What actually affects accuracy in practice

Probe placement

This is the biggest variable — not the thermometer itself. The internal temperature of a thick piece of meat varies by as much as 20–30°F between the centre and the edge. Insert the probe into the thickest part, avoiding bone, fat pockets, and the cooking surface. A correctly placed probe from a mediocre thermometer will give a better reading than a poorly placed probe from a premium one.

Bone proximity

Bone conducts heat at a different rate than muscle. A probe tip resting against or near bone will read higher than the surrounding muscle temperature. Always keep the probe tip at least half an inch from any bone.

Fat pockets

Intramuscular fat melts at lower temperatures than muscle proteins cook. A probe in a fat pocket reads the fat temperature, not the muscle. In marbled cuts (brisket, ribeye), take multiple readings at different insertion points.

Ambient temperature measurement (for wireless probes with dual sensors)

Probes like MEATER measure both internal meat temperature and ambient oven/grill temperature simultaneously. The ambient sensor is exposed to direct flame and radiant heat, which can affect its accuracy if the probe is placed too close to a burner or hot spot. The internal sensor (at the probe tip, inside the meat) is insulated from this and remains accurate throughout.

Probe condition

A damaged probe tip — bent, corroded, or exposed to extreme direct flame — can read inaccurately. Check your probe before each use. Stainless steel probes (ThermoPro, Inkbird, Weber) are highly durable. Ceramic-tipped probes (MEATER) are hard and heat-resistant but can crack if dropped on a hard surface.


The comparison people make most often is against the cooker’s own built-in gauge, and that is not a fair test of the probe. A dial in a smoker door or a grill lid measures different air, in the hottest part of the chamber, and is rarely adjustable — a discrepancy there usually means the appliance is wrong rather than the probe. The full version of that argument is in the guide to an electric smoker not getting hot enough.

Independent test results

Third-party testing of major wireless thermometers consistently confirms manufacturer accuracy specs. MEATER probes tested in controlled ice water and boiling water conditions have performed within ±1°C. ThermoPro and Inkbird units tested the same way have also come within their published specs in the majority of units reviewed.

Where wireless thermometers do occasionally fall short is in Bluetooth range rather than temperature accuracy. If the probe will not pair at all, or keeps dropping out mid-cook, there is a separate guide to a wireless meat thermometer that will not connect. A probe that’s dropped its connection and is showing a cached (stale) temperature reading isn’t inaccurate — it’s not reading. This is a connectivity issue, not a sensor issue, and modern thermometers have significantly improved in this area.

The practical conclusion from real-world testing: if your wireless thermometer tells you your chicken is at 165°F, it is very likely at 165°F ±2°F. That is accurate enough for safe, consistent cooking.


When a wireless thermometer might give a misleading reading

Carry-over cooking during rest: The probe reading continues to rise after the meat comes off the heat. This is real physics, not inaccuracy — the meat is genuinely getting hotter. Pull your meat before your target temperature.

Stall (in smoking): During the barbecue stall, the internal temperature can plateau for hours and even temporarily drop slightly as evaporative cooling counters heat gain. The thermometer is accurately measuring what’s happening.

Reading before equilibration: Insert the probe and wait 5–10 seconds before reading. Instant-read thermometers reach their displayed temperature quickly, but probe thermometers that have been cold can take a few seconds to equilibrate to the surrounding meat temperature.

Cheap or damaged units: Budget thermometers with no published accuracy spec and no brand reputation behind them are where inconsistency is genuinely found. Buying from a reputable brand with a stated accuracy specification is the most reliable way to ensure accuracy. See my full meat thermometer buying guide for how this compares across the whole category.


Related guides

Related: Best Bluetooth Meat Thermometer 2026
Related: Meat Temperature Guide: Safe Temps for Every Protein
Related: How to Calibrate a Meat Thermometer
Related: Bluetooth vs Wi-Fi Meat Thermometers

Frequently Asked Questions

Are wireless meat thermometers as accurate as wired ones?
Yes. The accuracy of a meat thermometer depends on its sensor quality and calibration, not whether it transmits wirelessly. Premium wireless thermometers (MEATER, ThermoPro) achieve +/-1C accuracy — the same specification as the best wired probes. The wireless transmission carries the temperature data; it does not affect how the temperature is measured.

How accurate is the MEATER thermometer?
MEATER publishes a +/-1C (+/-1.8F) accuracy spec for all its probes. Independent tests confirm this. The dual-sensor design measures both internal meat temperature and ambient cooking temperature simultaneously, and both sensors perform within this specification under normal cooking conditions.

Can I trust a meat thermometer for food safety decisions?
Yes, if it’s from a reputable brand with a published accuracy spec. USDA temperature guidelines assume a thermometer accuracy of +/-2F. Quality wireless thermometers from brands like MEATER, ThermoPro, and Inkbird all achieve +/-1F or better, making them reliable tools for food safety decisions.

Why is my wireless thermometer giving different readings than I expect?
The most common causes are probe placement (measuring too close to bone or fat), reading before the probe has equilibrated (wait 5-10 seconds after insertion), or carry-over cooking (temperature continues rising after leaving the heat). The thermometer itself is rarely the cause of unexpected readings in quality units.


Filed Under: Helpful Kitchen Tips

Bluetooth vs Wi-Fi Meat Thermometers: Which Should You Buy?

Last Updated July 5, 2026

Meat skewers grilling over an open flame

The quick answer

For most home cooks, Bluetooth is enough. A 100–165 foot range covers the average backyard and kitchen. Choose Wi-Fi if your grill is far from your house, you do overnight low-and-slow cooks, or you want to monitor from anywhere. The practical difference is range and whether you need to stay near a window.

Wi-Fi thermometers cost more and require your home network. Bluetooth thermometers are simpler and cheaper, but tether you to within a certain range. The right answer depends entirely on how you cook and where you cook it.


Side-by-side comparison

Feature Bluetooth Wi-Fi
Typical range 30–165 ft (10–50m) Unlimited (anywhere with phone signal)
Setup complexity Simple — pair to phone Requires home Wi-Fi network setup
Price premium Baseline Typically $50–100 more
Works outside home? No (out of range) Yes — monitor from anywhere
Network dependency None Requires active Wi-Fi and power
App quality Generally good Generally good
Battery life Similar Slightly shorter (Wi-Fi draws more power)
Best for Backyard grilling, kitchen oven Large property, overnight smokes, travel monitoring

When Bluetooth range is enough

Bluetooth meat thermometers typically reach 30 to 165 feet depending on the model and conditions. Walls, floors, and obstacles reduce range. The MEATER Plus advertises 165 feet; in real-world indoor/outdoor conditions with walls in between, 50–80 feet is more realistic.

For most cooks, Bluetooth is completely adequate:

  • Grilling on a patio or deck while inside the house — typically 20-40 feet, easily within Bluetooth range
  • Oven roasting — you’re in the same house as the oven; there’s no range problem
  • BBQ in a standard-sized backyard — 50-80 feet covers most situations
  • Camping or tailgate — you’re already near the grill

The MEATER Plus ($79.95) is the best Bluetooth-only option for most people. Its 165-foot range, dual-sensor probe, and guided cook app cover the vast majority of home cooking scenarios without the complexity or cost of Wi-Fi. If either type will not connect in the first place, the fix depends on which radio architecture the model uses — see what to check when a wireless meat thermometer will not connect. For a full head-to-head test of the top five Bluetooth models, see my best Bluetooth meat thermometer guide.


When Wi-Fi is worth the upgrade

Wi-Fi thermometers (like the MEATER Pro Duo) use your home network as a bridge to send temperature data to the cloud. You can then check your meat temperature from anywhere with a phone signal — across town, at the grocery store, at a neighbour’s house.

Wi-Fi becomes genuinely valuable in these situations:

  • Large properties: If your smoker or grill is more than 100 feet from where you’ll be inside, or separated by multiple walls, Bluetooth may drop. Wi-Fi eliminates range as a concern entirely.
  • Overnight low-and-slow cooks: Brisket takes 12–18 hours. You don’t want to sleep near a window to maintain Bluetooth range. Wi-Fi means you can monitor from the bedroom or check on your phone when you wake up at 3am.
  • Long smokes that run while you’re out: Leave a brisket smoking and run errands. Wi-Fi thermometers can send push notifications and let you monitor from your car or a shop.
  • Peace of mind for critical cooks: If you’re cooking for a large group and can’t afford a mistake, the ability to monitor from anywhere adds confidence.

The MEATER Pro Duo ($179.95) is the leading Wi-Fi-capable wireless probe thermometer. It adds 1,600-foot Wi-Fi range and two probes to the MEATER feature set. ThermoWorks also makes Wi-Fi-enabled probes at the higher end of the price range.


The hybrid approach: Bluetooth with Wi-Fi extender

Some thermometer systems (notably the MEATER Block) include a dedicated Wi-Fi hub that bridges Bluetooth to Wi-Fi without requiring each probe to connect to Wi-Fi directly. You place the Block hub near the grill; the probes connect to it via Bluetooth, and the Block relays data to your phone via Wi-Fi. This gives you Wi-Fi-equivalent range using Bluetooth probes.

This is a good option if you want to expand a Bluetooth setup without replacing your probes. However, it requires the hub to be powered (plugged in) and within Bluetooth range of the probes.


What about cellular thermometers?

A small number of thermometers use cellular connectivity (like a GPS tracker) rather than requiring your home Wi-Fi. These work anywhere with a cellular signal and don’t need your Wi-Fi at all. They typically require a monthly subscription and are aimed at commercial or professional use. For home cooking, they’re not necessary and are priced accordingly.


My recommendation

Buy Bluetooth if: you grill in a standard backyard, cook indoors, or do short-to-medium length cooks where you’re near the cooking setup. The MEATER Plus is the benchmark.

Buy Wi-Fi if: you do overnight low-and-slow smoking, have a large property, or want the ability to genuinely step away and monitor remotely. The MEATER Pro Duo is the right choice here.

Don’t pay for Wi-Fi range you won’t use. But if overnight smokes are part of how you cook, Wi-Fi will change your relationship with them. See my full meat thermometer buying guide for how this compares across the whole category.


Related guides

Related: Best Bluetooth Meat Thermometer 2026
Related: MEATER Plus vs MEATER Pro Duo
Related: Are Wireless Meat Thermometers Accurate?
Related: Meat Temperature Guide

Frequently Asked Questions

What is the range of a Bluetooth meat thermometer?
Most Bluetooth meat thermometers have a stated range of 30-165 feet (10-50 metres). Real-world range is typically lower than the stated maximum due to walls, floors, and interference.

The MEATER Plus advertises 165 feet; in practice, 50-100 feet is more realistic through typical home walls. For most backyards and indoor oven cooks, this is more than sufficient.

Do Wi-Fi meat thermometers work without Wi-Fi?
No. Wi-Fi thermometers require an active Wi-Fi connection to relay data beyond Bluetooth range. Without Wi-Fi, they revert to Bluetooth-only mode and work within normal Bluetooth range. If your home Wi-Fi goes down during a cook, the thermometer will still monitor locally via Bluetooth, but remote monitoring will stop.

Is MEATER Bluetooth or Wi-Fi?
The MEATER Plus is Bluetooth only, with a 165-foot range. The MEATER Pro Duo adds Wi-Fi connectivity via its charging dock, giving it a range of up to 1,600 feet (approximately unlimited for home use). The older MEATER Block also adds Wi-Fi bridging to standard MEATER probes.

Can I use a Bluetooth meat thermometer in my kitchen oven?
Yes. Kitchen oven use is one of the best applications for Bluetooth thermometers — you’re typically in the same room or nearby, well within Bluetooth range, and the wireless connection removes the need for a trailing wire through the oven door seal. All major wireless probe thermometers (MEATER, ThermoPro, Inkbird) are designed for oven use as well as outdoor grilling.


Filed Under: Helpful Kitchen Tips

Are Expensive Kitchen Appliances Worth It? We Analyzed 602 Products

Last Updated July 3, 2026

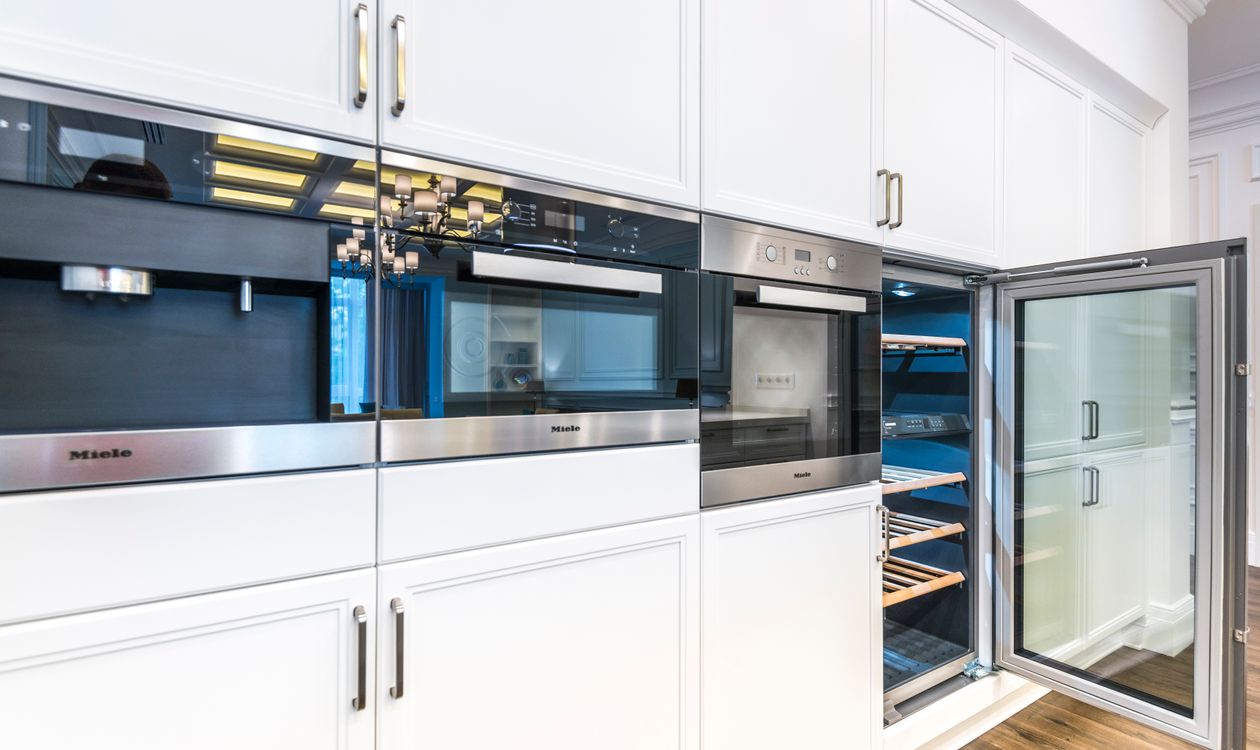
High-end built-in kitchen appliances in a luxury white kitchen

Short answer: no. I collected prices, star ratings, and review counts for 602 kitchen products across five categories — representing over 2.6 million owner ratings — and found that price has zero, or slightly negative, correlation with owner satisfaction in every single category. The most expensive espresso machines rate worse than the cheapest ones.

This article contains no affiliate links. It’s a data study — cite it, argue with it, or use it to win a kitchen-budget debate. Journalists and bloggers: the data and methodology below are free to reference with a link.

Key Findings

  • Across 602 products and 2,627,171 owner ratings, the correlation between price and star rating ranged from −0.15 to +0.015 — statistically, price tells you almost nothing about how happy you’ll be
  • Espresso machines show the strongest negative relationship: the priciest 20% (averaging $1,022) rate 4.09 stars; the cheapest 20% (averaging $70) rate 4.29
  • Air fryers: the cheapest fifth outrates the priciest fifth by 0.20 stars (4.55 vs 4.35)
  • Non-stick pans: $23 pans and $128 pans are statistically identical (4.42 vs 4.41)
  • The only premium sweet spot in the study: food processors between $100–200, which rate 4.71 — the highest of any price bucket in any category

The Numbers

Category Products Ratings represented Price ↔ rating correlation Cheapest 20% Priciest 20%
Espresso machines 158 512,289 −0.150 $70 avg → 4.29★ $1,022 avg → 4.09★
Air fryers 47 678,311 −0.135 $62 avg → 4.55★ $253 avg → 4.35★
Non-stick pans 179 702,631 −0.029 $23 avg → 4.42★ $128 avg → 4.41★
Electric kettles 171 513,314 −0.029 $21 avg → 4.37★ $108 avg → 4.38★
Food processors 47 220,626 +0.015 $35 avg → 4.55★ $622 avg → 4.48★

Correlation is Pearson’s r between buy-box price and average star rating. A value near 0 means no relationship; −1 would mean more expensive always rates worse. Data collected 3–4 July 2026.

Methodology

I collected the title, current buy-box price, average star rating, and review count for every organic (non-sponsored) product on the first four Amazon US search result pages for five category queries: “air fryer,” “non stick frying pan,” “espresso machine,” “electric kettle,” and “food processor.” I excluded sponsored placements, renewed and refurbished items, and accessories. Listings were de-duplicated, leaving 602 products. For each category I computed the Pearson correlation between price and star rating, average ratings by price bucket, and a comparison of the cheapest and priciest quintiles.

Full aggregate data is available in the tables in this article. If you want the underlying dataset for your own analysis, get in touch via the contact page.

Category Detail: Where the Money Goes to Die

Espresso machines — the strongest case against spending

The priciest quintile in the espresso sample averaged $1,022 — machines with PID controllers, dual boilers, and Italian nameplates — and rates 4.09 stars.

The cheapest quintile averaged $70 and rates 4.29. Some of that gap is expectation: nobody writes a furious review of a $70 machine for being a $70 machine, but a $1,400 machine that needs a warranty claim earns a one-star essay.

Which is exactly the point — satisfaction is what ratings measure, and money demonstrably does not buy it here. It’s also consistent with the owner ratings behind the best espresso machines under $200 guide: the sub-$200 bracket produces real espresso and very few regrets.

Air fryers — the budget quintile wins outright

The cheapest 20% of air fryers (averaging $62) outrate the priciest 20% (averaging $253) by a fifth of a star — 4.55 to 4.35. Air fryers are a mature, commoditized technology: a heating element, a fan, and a basket. Past $100, you’re paying for capacity, screens, and app connectivity, and the ratings say those features generate complaints as often as delight.

The air fryer guide has leaned budget-first for exactly this reason.

Non-stick pans and kettles — perfect flatlines

Both categories return correlations of −0.029 — as close to zero as real-world data gets. A $23 pan and a $128 pan make their owners equally happy (4.42 vs 4.41); a $21 kettle and a $108 kettle are statistically identical (4.37 vs 4.38). The materials science in a budget non-stick pan and a premium one is closer than the price tags suggest, and every coating dies eventually regardless of what you paid — something covered in depth in the best non-stick pan guide.

With kettles, water boils at 212°F for everyone; past that, you’re buying temperature presets and design (which the gooseneck kettle guide argues are worth it for pour-over — but the ratings say they don’t buy general satisfaction).

Food processors — the one real sweet spot

The only positive signal in the study: food processors between $100 and $200 rate 4.71 — the highest bucket anywhere in this dataset. This is the price band of full-size, direct-drive machines from established brands, above the flimsy entry tier but below the commercial-priced flagships that invite expectation-driven disappointment. If the study endorses spending more anywhere, it’s here — and the options are compared in the food processor guide.

Why Doesn’t Price Buy Satisfaction?

Three forces, all pulling the same direction. Expectations scale with price: a $40 gadget gets graded on a curve; a $400 one gets graded like a luxury purchase, and any flaw reads as betrayal. Kitchen tech is mature: heating elements, fans, motors, and non-stick coatings are solved problems — the marginal dollar buys styling and features, not function.

Complexity fails: the expensive tier carries screens, apps, sensors, and pumps that create failure modes a $60 appliance physically cannot have. None of this means premium gear is bad — it means the premium buys things (durability, service, aesthetics, precision) that a star rating mostly doesn’t capture, and buyers should know that’s the trade they’re making.

What This Means When You’re Buying

Read the rating count, not the price tag. A $60 product with 40,000 reviews at 4.6 stars is one of the most thoroughly validated purchases you can make anywhere. Spend up only when a specific capability demands it — capacity, temperature control, repairability, a commercial-size portafilter — and know which capability you’re paying for.

And treat 4.0–4.2-star premium products with real suspicion: at that price, the rating has already survived the expectations discount.

Limitations (Read Before Citing)

Star ratings measure satisfaction relative to expectations, not laboratory quality — a premium product can be objectively better and still rate lower.

The sample comes from Amazon’s organic search results, which favor established best-sellers, so poorly-rated products of every price are under-represented. Prices are point-in-time buy-box prices from early July 2026. And correlation, as ever, is not causation: expensive machines don’t cause dissatisfaction — they attract expectations they can’t always meet.

Frequently Asked Questions

Are expensive kitchen appliances better quality?

Sometimes — in materials, durability, and service. But across 602 products, owners of expensive appliances are not measurably happier, and in espresso machines and air fryers they’re measurably less happy.

What’s the best price range for kitchen appliances?

The data points to the crowded middle: $50–100 for air fryers, under $100 for kettles and pans, $100–200 for food processors (the study’s single best bucket at 4.71 stars), and under $200 for a first espresso machine.

Why do cheap products have such high ratings?

Partly value-for-money grading, partly survivorship: the cheap products that reach Amazon’s first pages are the ones that already beat their price class.

The junk exists — it just doesn’t rank.

How was this study conducted?

I collected price, star rating, and review count for 602 organic (non-sponsored) Amazon US listings across five categories in July 2026, then computed price-rating correlations and quintile comparisons.

Full methodology is above.

Can I cite this study?

Yes — cite freely with a link to this page. For the underlying dataset, reach out via the contact page.

Filed Under: Helpful Kitchen Tips

  • « Go to Previous Page
  • Page 1
  • Interim pages omitted …
  • Page 9
  • Page 10
  • Page 11
  • Page 12
  • Page 13
  • Interim pages omitted …
  • Page 17
  • Go to Next Page »

Recent Articles

  • Egg Cooker vs Boiling, Instant Pot and Air Fryer: Which Peels Easiest?
  • Cuisinart DLC-10SYP1 Review: Durable, But a Newer Bowl
  • COSORI Pro Gen 2 Review: Big Basket, Fragile Handle
  • Dash Tasti-Crisp Review: Cheap, but the Coating Wears Fast
  • Chefman TurboFry Touch Review: Cheap, but the Coating Wears

Search


HOME          Contact          Affiliate Disclosure          Terms of Service          Privacy Policy


kitchenwarecompare.com is a participant in the Amazon Services LLC Associates Program, an affiliate advertising program designed to provide a means for sites to earn advertising fees by advertising and linking to Amazon.com, Endless.com, MYHABIT.com, SmallParts.com, or AmazonWireless.com. Amazon, the Amazon logo, AmazonSupply, and the AmazonSupply logo are trademarks of Amazon.com, Inc. or its affiliates. As an Amazon Associate I earn from qualifying purchases.


Copyright © 2026 kitchenwarecompare.com, ALL RIGHTS RESERVED.