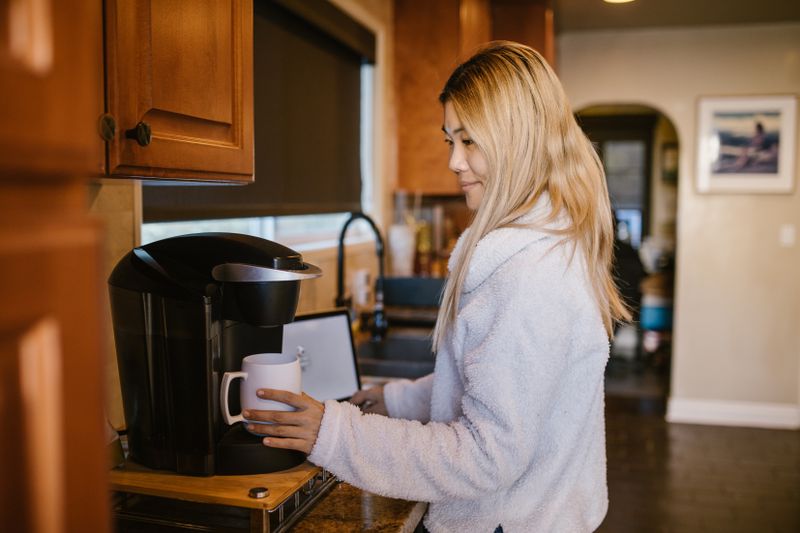
Photo by RDNE Stock project from Pexels
This guide has no affiliate links, but some pages it links to do. If you buy through those, I may earn a commission at no extra cost to you.
Most Keurig faults come down to four things: too little water or a badly seated reservoir, clogged needles, scale, or a power problem. Keurig’s own guides cover all four. Refill and re-seat the reservoir, run a water-only brew, clean the needles with a paper clip, and descale.
The steps below come from Keurig’s Use & Care guides for five models, so button names and lights differ by brewer.
Find your symptom first
| What is happening | What Keurig’s guides list first |
|---|---|
| Nothing comes out when you press brew | Water below the brew minimum, reservoir not seated, handle not fully down |
| Only part of a cup | Clogged exit needle, scale, reservoir removed mid-brew |
| Grounds in the cup | Grounds in the entrance or exit needles |
| No power, or it shuts off | Power button, shared outlet, automatic shut-off |
| Add water light on with a full tank | Reservoir not seated; empty and clean it |
| All lights blinking together | Contact Customer Service |
Check the water and the reservoir first
The K-Slim guide and the K-Supreme guide both say a minimum of 6 ounces of water is required to brew. Their fix for a brewer that will not brew is to add another 2 ounces to the reservoir, press brew, and repeat until it begins to dispense.
The K-Elite guide and the K-Duo Essentials guide say the same thing differently: if the add water light is on, fill to and not beyond the MAX line, and make sure the reservoir is seated properly in its base. If the light stays on after refilling, both guides tell you to contact Customer Service. They also say to push the handle down securely after placing the pod.
The K200 (Keurig 2.0) guide adds a step for a touch-screen brewer that says “More Water Please” even after refilling: remove the reservoir, empty it, clean it thoroughly, fill it to the MAX line, and seat it properly again. If the reservoir was taken off during brewing, the K-Duo, K-Elite and K200 guides all say to put it back and run a rinsing brew without a pod.
It brews only part of a cup
Keurig’s list for a partial cup is short, and the guides give it the same way:
- Purge the brewer (K-Slim and K-Supreme): power it off, hold the brew button and the 12 oz button for 5 seconds until water starts dispensing, release, let it purge, discard the water, and power it back on.
- Clean the exit needle, which may be clogged.
- Clean the K-Cup pod holder (K-Slim and K-Supreme).
- Descale. If you have run the descale procedure twice and it still brews a partial cup, the guides say to contact Customer Service.
The K-Duo’s carafe side has its own causes. Its guide lists a clogged drip stop, which means removing the filter basket drawer and rinsing the plunger, and not enough water for the size selected. It also warns that more than 15 tablespoons of ground coffee, or 12 for decaf, may overflow, and says to contact Customer Service about short carafe brews at high altitude.
How to clean the needles
Grounds in the cup and slow or partial brews often trace back to the two needles. The K-Slim and K-Elite guides give this method, and the K200 guide is close to it:
- Exit needle. Remove the pod holder assembly and detach the funnel. The exit needle is on the inside bottom of the pod holder. Push a straightened paper clip into it to loosen any grounds.
- Entrance needle. Lift the handle and find the needle on the underside of the lid. Hold the handle up, and with your other hand carefully push a straightened paper clip into the holes and move it around gently.
- Rinse. Lower the handle completely and run two water-only brew cycles, with no pod.
The K200 guide marks both with a caution: the needles are sharp, so do not put your fingers in the chamber.
Descaling
Keurig says scale is non-toxic but can hinder performance if left alone. The K-Slim guide says to descale every 3 months, and the K-Elite guide says every 3 to 6 months, so it depends on the model and on how hard your water is.
The procedure is the same in outline in each guide: use no pod, pour a bottle of Keurig Descaling Solution into an emptied reservoir, run rinse brews into a large mug, rest the brewer, then rinse with fresh water.
The details differ. On the K-Slim you hold the 8 oz and 12 oz buttons together for 3 seconds to enter Descale Mode, and the guide allows 15 to 20 minutes. The K-Elite uses the hot water button, lets the brewer stand for at least 30 minutes, then asks for at least 12 fresh-water rinse brews, and allows about 45 minutes. Follow your model’s own guide for the button sequence.
A heavily scaled brewer may give only a small amount of water, or none, followed by the sound of air blowing out. Keurig’s guidance is to turn it off and unplug it, discard any descaling solution in the reservoir, rinse the reservoir and refill it with fresh water, then plug it in and repeat the fresh-water rinse. If it still does not run normally, leave it unplugged for at least 30 minutes before continuing the rinse.
For espresso machines the interval is a different question, which this site’s guide to how often to descale an espresso machine covers.
No power, or it shuts off
- The power button. Check it has been pressed. On the K-Duo, the guide says to press the OZ or CUPS button, and on the K200 to press and hold the power button until the touch screen lights.
- A shared circuit. Every guide read says to plug the brewer into its own grounded outlet, because an overloaded circuit may stop it working properly.
- Automatic shut-off. The K-Slim and K-Supreme guides say the brewer turns itself off 5 minutes after the last brew, and the K-Duo guide says 60 seconds. Pressing the power button restarts it.
If it still has no power after those checks, the guides say to contact Customer Service.
Lights and screen messages
The K200 guide lists four touch-screen alerts. “More Water Please” is covered above. “Sorry, Brew Interrupted” means slowly lifting the handle, removing the pod, lowering the handle and running a rinsing brew. “Sorry, There is a Problem” points to grounds stuck in the entrance needle.
The water filter reminder appears after every 1,000 ounces or two months, and you press YES to reset it after replacing the filter.
The button-light models are blunter. The K-Elite guide says that if the 4, 6, 8, 10 and 12 oz lights all blink together, you should contact Customer Service, and the K-Duo guide says the same for all buttons blinking at once. If those lights and the ICED light are all on at once on the K-Elite, lift the handle, remove any pod, close it over a large mug and press the power button once.
Water, storage and cold
The K-Supreme guide recommends bottled or filtered water if you notice a chlorine or mineral taste, and says not to use distilled water. For storage it says to empty the reservoir, and to let a brewer that has been below freezing warm to room temperature for at least 2 hours before using it. After storage it recommends rinsing the reservoir and descaling.
Fixes you will see online that the guides do not mention
Some pages suggest turning the brewer upside down and shaking it, or resetting a thermal fuse. None of the five Keurig guides read for this page mention either, so they are not covered here. If one of Keurig’s own steps does not work, the next step in every guide is Customer Service rather than a repair.
When to stop and call Keurig
Call when the guide for your model says to: the add water light stays on after a refill, all the lights blink, it brews a partial cup after two descales, or it has no power after the outlet and button checks. The guides give 1-866-901-BREW (2739).
The guides describe a one-year limited warranty, and they say not to return a brewer without first getting a Return Materials Authorization number from Customer Service. They also say damage caused by non-Keurig pods or accessories may not be covered.
How this guide was put together
The facts come from Keurig’s Use & Care guides for the K-Slim, K-Supreme, K-Duo Essentials, K-Elite and K200. It does not come from repairing or testing a Keurig.
Several things could not be established. Keurig’s support site articles would not load for this guide, so only the printed guides were read. Other models, including the K-Mini and K-Cafe, were not read, and their steps may differ. Nothing here says how often each fault occurs, because the guides do not give failure rates.
Frequently Asked Questions
Why will my Keurig not brew?
Check the water first. Keurig’s K-Slim and K-Supreme guides say at least 6 ounces is needed to brew, and its other guides say to fill to the MAX line and seat the reservoir properly. Then check the handle is down, clean the needles, and descale.
Why does my Keurig only brew half a cup?
Keurig’s guides list a clogged exit needle, scale, and a reservoir removed mid-brew. Clean the needle with a straightened paper clip and run a rinsing brew. If two descales do not fix it, the guides say to contact Customer Service.
How often should I descale a Keurig?
Keurig’s K-Slim guide says every 3 months, and its K-Elite guide says every 3 to 6 months. Hard water builds scale faster, which is why the guides give a range. Use Keurig Descaling Solution and follow the steps in your own model’s guide.
Why does my Keurig say add water when it is full?
The reservoir is probably not seated properly in its base. Keurig’s guides say to remove it, seat it again, and fill only to the MAX line. If the message persists on a touch-screen model, empty and clean the reservoir, then refill it.
Can I use distilled water in a Keurig?
Keurig’s K-Supreme guide says not to use distilled water, and recommends bottled or filtered water if you notice chlorine or mineral tastes. Its other guides read here do not address the question, so check the guide for your own model before choosing.
Why does my Keurig keep turning off?
It may be the automatic shut-off, which Keurig’s guides put at 5 minutes on the K-Slim and K-Supreme and 60 seconds on the K-Duo. A shared outlet can also cause it, because the guides say the brewer should be on its own grounded outlet.
The short version
Water and the reservoir seat first, then needles, then scale, then power. Keurig’s guides stop at Customer Service after that, so do not open the brewer. If you are choosing between pod and drip machines, read single-serve vs drip coffee makers, and for a different machine that leaks, coffee maker leaking covers the causes. The coffee hub lists the rest.

I'm Glenn, and I started Kitchenware Compare to cut through conflicting product reviews and help readers pick kitchen gear with confidence. I don't own or test the products I write about — these guides are built from verified-purchase reviews, manufacturer specifications, and independent testing where it exists, with the reasoning shown, not just a rating.
Leave a Reply