• Skip to primary navigation
  • Skip to main content
  • Skip to primary sidebar

Kitchenware Compare

  • Home
  • Product Reviews
    • Air Fryers
    • Coffee
    • Cookware
    • Flat Top Grills
    • Meat Thermometers
    • Food Processors
    • Knives
    • Pizza Ovens
    • Toaster Ovens
    • Juicers
  • Food Blog
  • Helpful Kitchen Tips
  • Data Studies
  • About
  • How We Review
  • Contact
You are here: Home / Archives for Uncategorized

How to Clean a Flat Top Grill

Last Updated July 23, 2026

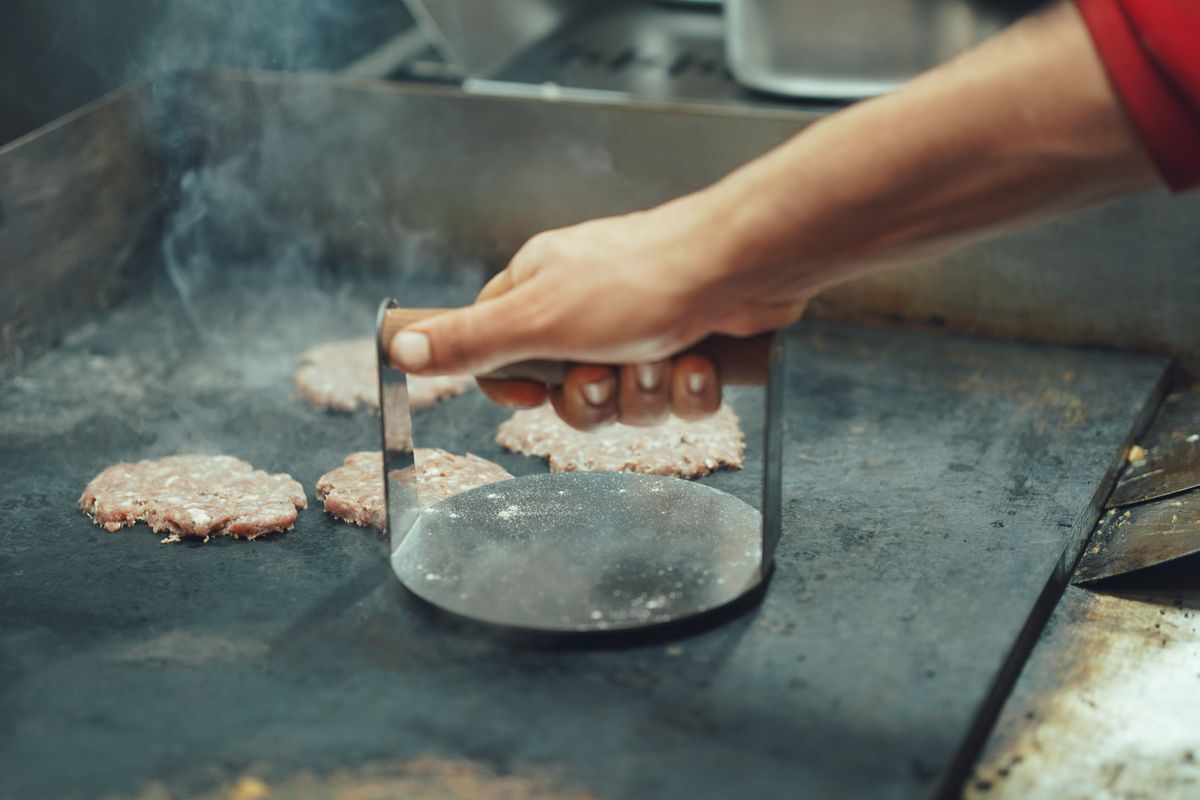
Chef using a burger press on a hot flat top griddle

Photo by Reza Tavakoli from Pexels

Short answer: cleaning a flat top grill properly means two different routines, not one. A quick scrape-and-wipe after every single cook keeps the surface usable day to day, and a separate, less frequent deep clean handles the grease buildup and stuck-on residue the quick version can’t reach. Mixing the two up — either skipping the quick clean or never doing the deep one — is what actually causes the sticking, staining, and rust problems people blame on the griddle itself.

The Tools That Actually Matter

A metal griddle scraper does most of the real work — it’s the single tool that handles both the quick clean and the first pass of a deep clean. A nonabrasive scouring pad or pumice/grill stone is the second essential, for the residue a scraper alone won’t lift. A squeeze bottle for water gives you control over how much you’re adding, which matters more than it sounds: too much water at once just spreads grease around instead of pulling it toward the trough.

Paper towels beat cloth rags for the actual wiping step, since a rag holds onto grease and grime between uses unless you’re washing it every time. Baking soda covers the deep-clean paste job without buying a dedicated product, though the branded griddle cleaners work on the same principle if you’d rather not mix your own.

The Quick Clean: After Every Single Cook

While the griddle is still warm (not screaming hot, but warm enough that grease is still liquid), scrape everything toward the grease trough with a metal griddle scraper. Add a small amount of water in one section at a time — a few tablespoons, not a full cup — and scrape that section again; the water lifts residue that the dry scrape alone leaves behind. Wipe the section dry with a paper towel before moving to the next.

Once the whole surface is scraped and dry, wipe on a thin layer of high-smoke-point oil before you put the cover on. This step is not optional — it’s the same seasoning-maintenance step covered in my guide to seasoning a Blackstone griddle, and skipping it after cleaning is the single most common way a properly seasoned griddle starts rusting within a week.

The Deep Clean: Every 10-15 Cooks, or When Something’s Off

A deep clean is a different job: removing built-up grease under the surface seasoning, stuck-on carbonized food, or a general dullness that a quick scrape isn’t fixing. Heat the griddle to medium, then work a paste of baking soda and water (or a dedicated griddle cleaner) into the problem areas with a nonabrasive scouring pad, using real pressure. Scrape, rinse with more water than usual, and dry completely — residual moisture after a deep clean is worse than after a normal cook, because you’ve just stripped some seasoning along with the grime.

Re-season immediately after any deep clean: several thin coats of oil, each heated until it stops smoking and darkens, repeated 2-3 times. A deep clean without a proper re-season afterward leaves bare steel exposed, which is exactly the setup my guide to griddle rust covers as the most common way rust actually starts.

What Not to Use

Skip dish soap for routine cleaning — it’s not dangerous in small amounts, but repeated use strips the seasoning you’re trying to maintain, and a heavily soaped surface needs a full re-season to recover. Wire grill brushes are the bigger risk: bristles can snap off and end up in food, which is why most manufacturers and cooking sites now recommend a scraper or nonabrasive pad instead. Pressure washers are also a bad idea on a seasoned surface — the water pressure strips seasoning unevenly and can force water into the base and control housing.

Doing This in the Right Order Actually Matters

University of Minnesota Extension’s guidance on sanitizing food-contact equipment lays out a formal five-step routine — dry cleaning, wet cleaning, rinsing, sanitizing, then drying — and the reasoning behind the order applies directly here: removing loose debris first (dry scraping) makes the wet-cleaning step meaningfully more effective, because you’re not pushing solid particles around in the water instead of actually lifting residue. Skipping straight to a wet scrub without scraping first is a common reason a “cleaned” griddle still looks streaky.

Stains and Stuck-On Food

Dark, shiny discoloration that doesn’t scrape off is usually just deep seasoning, not dirt — leave it alone. A dull gray or brownish film that comes off with the baking-soda paste is carbonized grease, which is what a deep clean targets.

Melted cheese and sugary sauces are the two worst offenders for actually sticking rather than just staining, and both respond best to scraping while the griddle is still warm rather than after it’s cooled — cooled sugar and cheese harden into something closer to glue, and that’s the single biggest reason people reach for harsher tools than they actually need. Egg residue behaves differently: it lifts almost entirely with the water-and-scrape step alone and rarely needs the baking-soda paste at all.

The grease trough and catch cup get overlooked in almost every cleaning routine I’ve seen written up, competitors included, but they need their own attention — empty and rinse the cup separately from the main surface, since a full or crusted-over trap stops draining properly and grease backs up onto the cooking surface during the next cook.

Before Long-Term Storage

Cleaning before storing for a season is its own case, not just a bigger version of a deep clean. Do the full deep clean and re-season as usual, then apply one extra, slightly heavier oil coat specifically as a moisture barrier — a griddle that’s about to sit unused for weeks or months has no cooking cycles coming up to naturally refresh a thin coat if it starts breaking down. Check the cover fits properly and store somewhere genuinely dry if that’s an option, not just covered outdoors.

How Often to Run Each Clean

The quick clean is worth doing every time without exception, because skipping it even once is the point at which owners report sticking on the next cook. The deep clean is due roughly monthly with regular use, or immediately after something heavy and greasy like a big batch of bacon. The baking-soda paste handles all of it, and a dedicated griddle cleaner product is not necessary, though they work the same way. My Blackstone 36″ review covers how this same routine holds up on that specific model over time, including the grease-drain design owners consistently mention.

If grease management and cleanup ease are actually deciding which griddle you buy, my flat top grill buying guide covers which current models handle that better than others.

Frequently Asked Questions

Can I use dish soap on a flat top grill?
In small amounts occasionally, yes, but repeated use strips the seasoning. Water and scraping handle routine cleaning without that tradeoff.

How often should I deep clean my griddle?
Every 10-15 cooks under regular use, or sooner if you notice sticking, dullness, or heavy grease buildup that a quick scrape isn’t clearing.

Is it bad to clean a flat top grill with a wire brush?
Yes — bristles can snap off and end up in food. A metal scraper or nonabrasive pad does the same job more safely.

Do I need to re-season after every clean?
A thin oil wipe after every quick clean, yes. A full multi-coat re-season is only needed after a deep clean, since that’s the one that actually removes some seasoning.
Filed Under: Uncategorized

What Size Food Processor Do You Actually Need?

Last Updated July 23, 2026

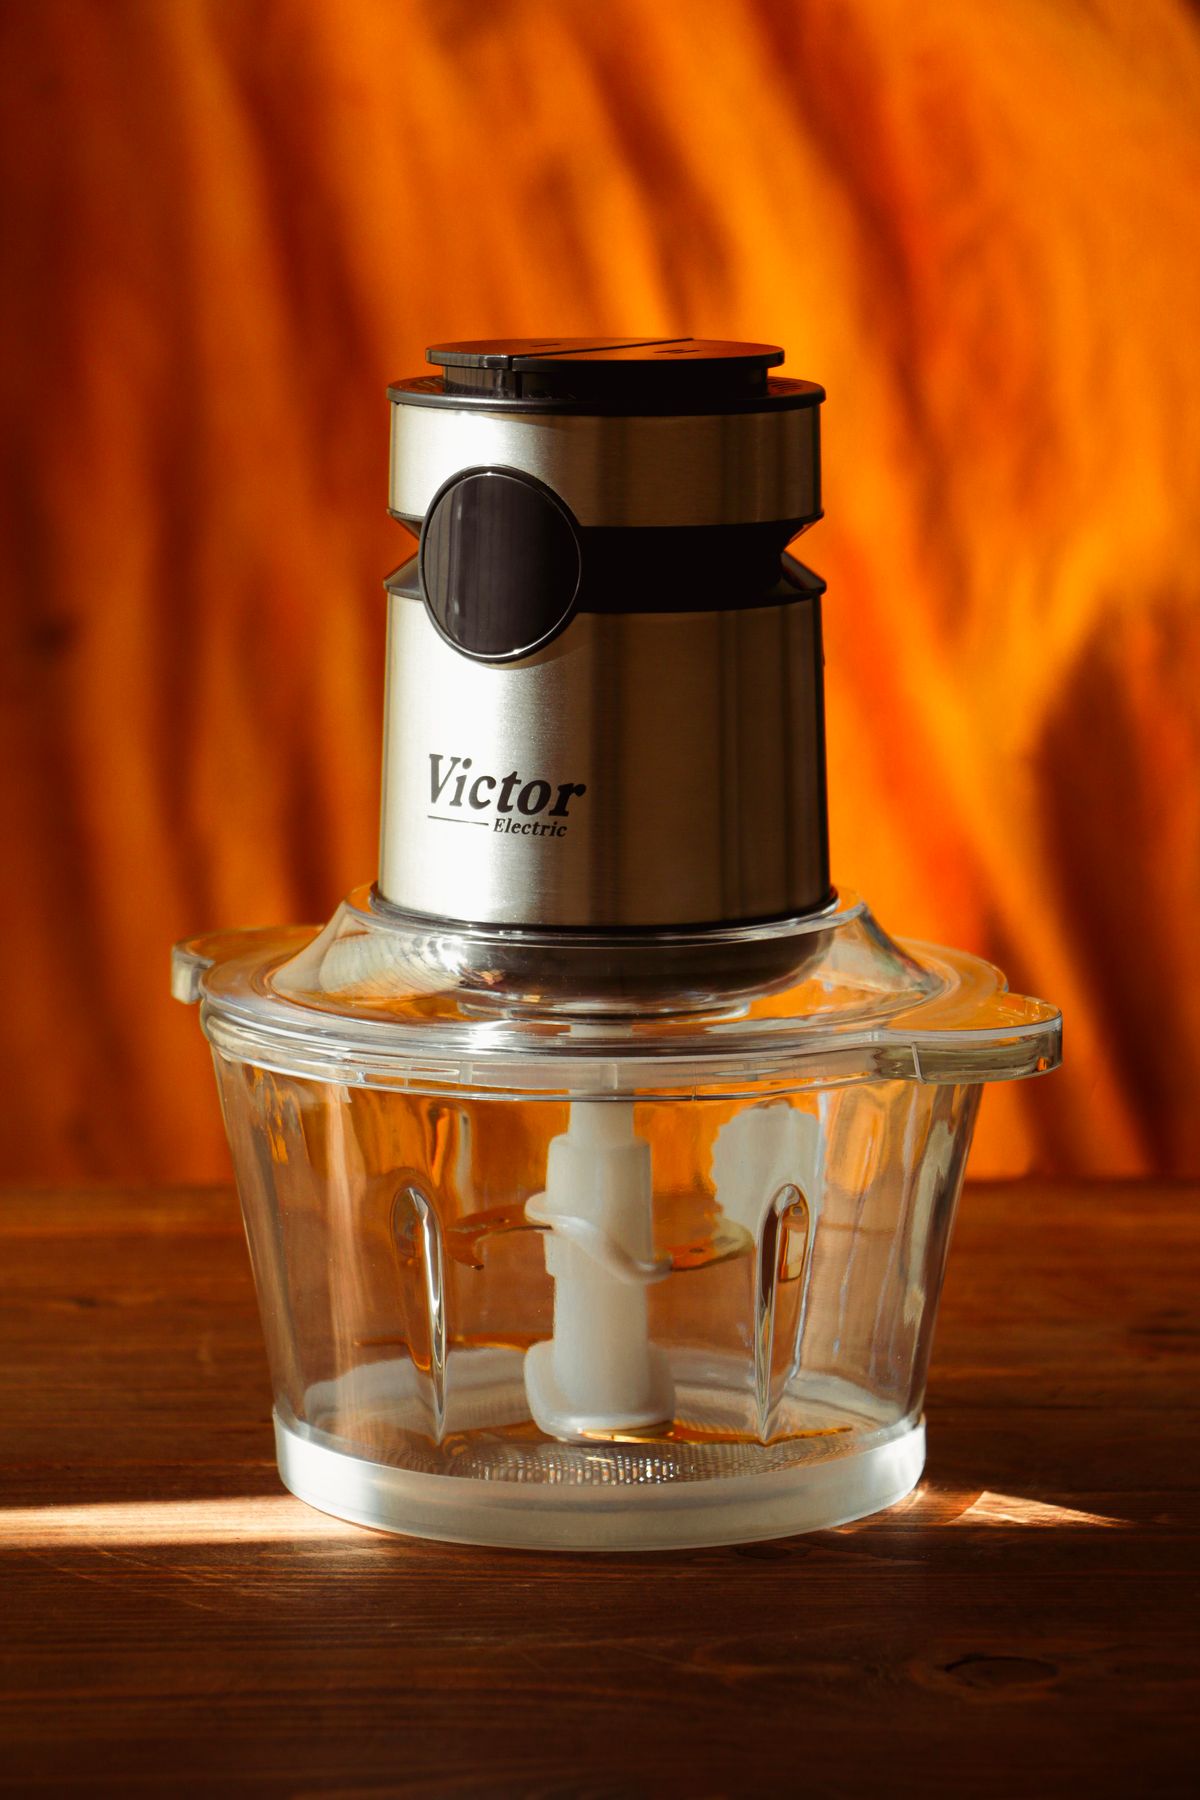
Stainless steel food processor with glass bowl and blades on a wooden counter

Photo by Mohammad abasi from Pexels

Short answer: what size food processor you need has less to do with how many people live in your house and more to do with what you actually make. A single person who bakes bread weekly needs a bigger bowl than a family of four who mostly chops onions. Cup capacity on the box is also not the whole story — manufacturers rate bowls to their absolute max fill line, which is not the same as the amount you can actually process in one batch. Here is how to size one properly instead of guessing from the label.

If you have not settled on a food processor over a blender yet, my food processor vs. blender guide is the better starting point — this one assumes you already know you want a food processor and just need the right size.

Food Processor Sizes at a Glance

Most food processors sold today fall into four rough bands. Mini choppers run 3 to 4 cups and are built for small jobs like a single onion or a few cloves of garlic. Compact models run 7 to 9 cups and cover most everyday chopping and light dough work.

Full-size processors run 11 to 14 cups and are the standard pick for anyone who batch-cooks or bakes. Extra-large models run 16 cups and up, aimed at people who cook for a crowd or double recipes as a habit.

These bands are not exact, and different brands round differently — a “9-cup” Ninja and a “9-cup” Cuisinart do not hold identical volumes of chopped vegetables. Treat the cup number as a rough size class, not a precise measurement, until you understand the distinction below.

The Number on the Box Is the Bowl, Not Your Batch

This is the part almost every sizing chart skips. The cup rating on a food processor is the bowl’s total volume to the rim, and manufacturers get that number by filling the bowl to the top with water or dry rice. You will never actually load a working batch that full.

Dry, light ingredients like chopped vegetables or breadcrumbs can reasonably fill 2/3 of the stated capacity before you lose even processing. Liquids and semi-liquids — batters, soups, hummus — should stay closer to half capacity, or they splash out around the lid and blade shaft during processing. Bread and pizza dough is its own case: the dough needs headroom to actually turn and knead against the blade, so a recipe that calls for 3 cups of flour genuinely needs an 11-cup-or-larger bowl to knead properly, not an 11-cup bowl “because the math works out.”

Practically, that means a stated 9-cup bowl behaves more like a 5-to-6-cup working bowl for most tasks. If you are sizing based on how much food you actually want to process in one pass, size up from whatever number you land on with a household chart.

Sizing by Household

With the bowl-versus-batch gap in mind, here is what actually works for different household sizes, based on the real capacities of processors already reviewed on this site.

One to two people who cook a few times a week are well served by a compact 7-to-9-cup bowl. The Ninja BZ601‘s 9-cup bowl falls right in this range and, with a 1,000-watt motor, is not underpowered for its size — it is simply sized for smaller batches, not weaker performance.

Three to four people, or anyone who meal-preps on the weekend, tend to outgrow anything under 11 cups quickly. The Cuisinart DLC-8SBCYP1’s 11-cup bowl and the Hamilton Beach 70725A’s 12-cup bowl both sit in the sweet spot here — enough working capacity for a real batch of vegetables or a single loaf of dough without constantly emptying and refilling.

Five or more people, or anyone who batch-cooks a week of meals in one session, is the actual use case for a full 14-cup processor. My Cuisinart DFP-14BCNY review covers this directly — owners of that exact 14-cup model consistently report shredding a week’s worth of coleslaw cabbage or prepping vegetables for five people in a single pass, which is the entire point of buying the larger bowl.

Who You Are Recommended Capacity Real Example
Single person, rarely bakes 3-4 cup mini chopper, or 7-cup compact BLACK+DECKER 8-Cup
1-2 people, cook a few times a week 7-9 cups Ninja BZ601 (9 cups)
3-4 people, weekend meal-preppers 11-12 cups Cuisinart DLC-8SBCYP1 (11 cups), Hamilton Beach 70725A (12 cups)
5+ people, or weekly batch-cooking 14 cups Cuisinart DFP-14BCNY (14 cups)
Regular bread or pizza dough baker 11+ cups regardless of household size Cuisinart DLC-8SBCYP1 or DFP-14BCNY

This table assumes the bowl-versus-batch distinction above — it is telling you what stated capacity to buy, not how full to actually fill it.

Sizing by What You Actually Make

Household size is a reasonable starting point, but the task matters more. A few specific cases are worth calling out on their own.

Bread and pizza dough: as covered above, dough needs room to turn, not just room to fit. Anything under 11 cups struggles with more than about 2 cups of flour. If you bake regularly, size up even if you live alone.

Nut butter: the opposite problem — a bowl that is too large spreads a small batch of nuts too thin across the blade to catch properly, so it never breaks down into butter. A 7-to-9-cup bowl handles a pound of nuts better than a 14-cup one.

Shredding cheese or vegetables for cooking: capacity matters less than disc quality here. My guide to food processors for shredding cheese gets into which shredding discs actually hold up, regardless of bowl size.

Baby food, small sauces, single-serving dips: a full-size processor is genuinely the wrong tool. A 3-to-4-cup mini chopper, or the compact choppers covered here, will do a better job than an oversized bowl that leaves food unreached by the blade.

Three Things That Matter More Than Cup Count

Once you have a rough size range, three other specs decide whether a given model actually works for you.

Motor wattage relative to bowl size. A large bowl paired with a weak motor will stall on dense loads like carrots or dough. As a rough floor, look for at least 600 watts on anything 11 cups or larger, and at least 700 to 750 watts if dough is a regular job.

Feed tube width. A narrow feed tube means pre-cutting every potato or cucumber before it fits, which erases most of the time savings a food processor is supposed to provide. Wider tubes that accept whole small potatoes or a whole lemon are worth the extra few dollars.

Counter and storage space. A 14-cup processor is a genuinely large object that needs a permanent spot on the counter or a deep cabinet shelf — it is not something most people want to lift out of storage for daily use. If counter space is tight, that alone can be a better reason to size down than household headcount.

The Recommendation

The 14-cup Cuisinart DFP-14BCNY is the size most buying guides default to, and for a lot of everyday cooking it is genuinely oversized — a single batch of pesto or one small onion is lost in a bowl that big, and the blade will not reach every last piece on a light load. Where the capacity earns itself is the handful of times a month you prep vegetables for a full week or knead a double batch of dough, where a smaller bowl means two or three passes instead of one.

For a one-or-two-person household that does not bake bread, that is the wrong trade — a 9-cup model handles the actual day-to-day work better, with less counter space lost and less wasted capacity on every small job. Size for the biggest single task you do regularly, not for the biggest number on the box.

A Word From the Research on Sizing Equipment to the Job

This same principle shows up outside food processors, too. University of Minnesota Extension’s guidance on planning quantity food events makes essentially the same point about kitchen equipment generally: match the equipment to the actual volume of food being prepared, because equipment that is too small creates bottlenecks and equipment that is too large is wasted capacity and wasted cost. It is generic advice, not written about food processors specifically, but the logic transfers directly — see the full guidance from UMN Extension here.

Frequently Asked Questions

Is a bigger food processor always better?
No. A too-large bowl struggles with small batches because the blade cannot reach thin layers of food spread across the bottom, and it takes up more counter and storage space than most people are willing to give up permanently.

What size food processor do I need for a family of four?
An 11-to-12-cup bowl is the realistic sweet spot for most four-person households that cook regularly, with room to size up to 14 cups if you also batch-cook or bake bread.

Can I use a food processor instead of a stand mixer for dough?
Yes, for most yeasted bread and pizza dough, as long as the bowl is 11 cups or larger so the dough has room to actually turn against the blade rather than just sitting against the sides.

What is the difference between a food chopper and a food processor size-wise?
Choppers top out around 3 to 5 cups and are built for single small tasks like one onion or a few herbs, while food processors start around 7 cups and scale up to handle full meal-prep batches.

Filed Under: Uncategorized

Why Does My Food Processor Smell Like It’s Burning?

Last Updated July 22, 2026

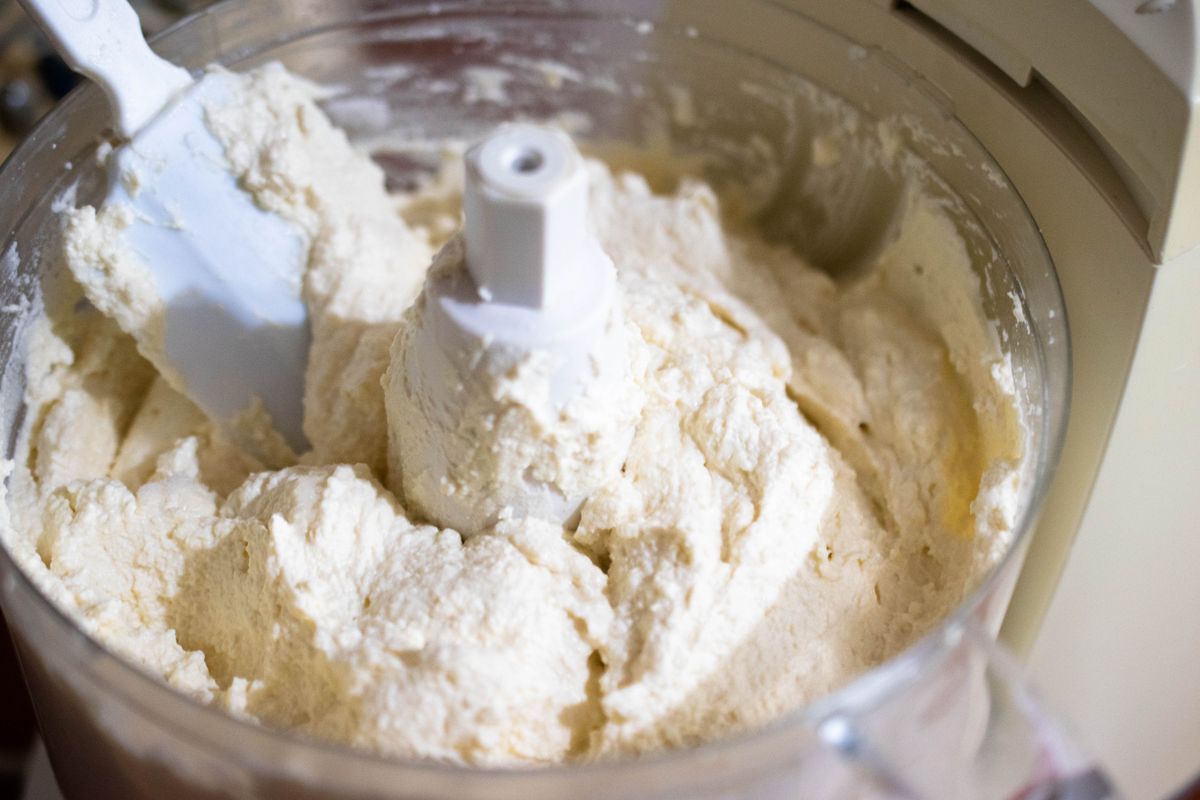
Dough being mixed inside a food processor bowl, showing the S-blade

Photo by Julio Mantilla from Pexels

Short answer: if your food processor smells like it’s burning, the most common cause by far is an overloaded motor — too much food, too thick a mixture, or too long a run time, not a defect. A brand-new machine can also smell faintly hot for its first few uses, which is normal. But a strong burnt-plastic smell, smoke, or a smell that returns every time you use it is different, and this guide covers exactly how to tell which one you’re dealing with.

Is This Just a New-Machine Smell?

A mild, faint hot smell in the first handful of uses is common and not a fault — it’s residual manufacturing oil or coating burning off the motor windings as it runs for the first time. This fades within a few uses and doesn’t return. If you’re past that first-use window, or the smell is strong enough that you can smell burnt plastic rather than just “warm,” treat it as one of the causes below instead.

The Most Common Cause: Overloading the Motor

Packing the bowl too full, processing something too thick or dense (raw meat, heavy dough, hard vegetables in a large batch), or running the machine continuously for several minutes all make the motor work harder than it’s built for. That extra strain generates heat, and heat is what you’re smelling. This is the single most common reason a food processor smells hot, and it’s also the easiest to fix.

Unplug it, let it cool for at least 20 minutes, and process smaller batches or pulse instead of running it continuously next time. No repair needed. Owners who report this most often trace it to pushing too much dough through in one go, and the smell does not return once the batch is split in two.

A Dull or Damaged Blade

A blade that’s lost its edge has to work harder to cut through the same food, which pushes more load onto the motor the same way overloading does. Sustained overload is also what strips the drive coupling, which leaves a food processor humming without the blade turning the bowl does. If the smell shows up specifically when processing something the blade used to handle easily, check the blade for dullness or chips before assuming the motor itself is failing. My guide to sharpening food processor blades covers how to tell if yours needs sharpening or outright replacement.

Blocked Motor Vents

The motor base has vents to let heat escape while it runs, and food debris, flour dust, or simply pushing the unit flush against a wall or other appliances can block them. A motor that can’t shed heat properly will run hotter than it should on an otherwise normal load. Check that the vents on the underside and sides of the base are clear, and give the unit some open space around it rather than wedging it into a corner.

Worn Gears or a Slipping Drive Shaft

The drive shaft (sometimes called a coupler) connects the motor to the blade, and it’s usually a soft plastic or nylon gear by design — it’s meant to strip before the motor itself takes damage. A worn or slipping drive shaft forces the motor to spin without properly turning the blade, which is a genuine overload condition even with a light load in the bowl. If the blade feels loose, spins slower than it should, or you hear grinding along with the smell, this is more likely mechanical wear than simple overloading.

Liquid in the Motor Housing

If a seal or gasket around the bowl or lid has worn out, liquid can work its way down into the base where the motor lives. Water and electrical motors don’t mix well, and the smell this produces is usually more acrid than a simple heat smell. This is less common than overloading but worth ruling out if you’ve been processing anything wet and the smell appeared afterward — inspect the seals for cracking or gaps before reassembling.

When to Stop Using It Immediately

A faint, brief hot smell that clears once the motor cools is a strain issue, not a safety issue. Visible smoke, a burning smell that doesn’t fade after the unit cools for 20-30 minutes, a tripped circuit breaker, or any scorch marks or melted plastic around the base are different — unplug it immediately and don’t use it again until it’s been checked or replaced. The U.S. Consumer Product Safety Commission specifically flags overheating motors and motors that emit burning smells as a genuine small-appliance fire hazard category, not something to keep using and monitor.

Is It Worth Repairing or Time to Replace?

A worn drive shaft or gear is a cheap, DIY-friendly fix on most machines and usually worth doing. A motor that’s actually failed — burnt windings, not just an overload strain smell — is a different calculation: replacement motors and the labor to install them often cost close to half of what a new mid-range food processor costs, and a machine that’s already run into motor trouble once is more likely to again. If your machine is out of warranty and the smell traces back to the motor itself rather than the blade, gears, or a simple overload habit, replacing it is usually the more practical call — my Cuisinart DFP-14BCNY review is a reasonable starting point if you’re shopping for a sturdier replacement.

Frequently Asked Questions

Is it normal for a food processor to smell hot when it’s new?

Yes, a faint hot smell in the first few uses is normal and fades on its own — it’s residual manufacturing coating burning off, not a defect. It shouldn’t return after the first several uses.

Why does my food processor smell burnt when I make dough?

Dough is thick and dense, which is exactly the kind of load that overworks the motor fastest. Run smaller batches, pulse rather than running continuously, and let the machine cool between batches if you’re processing a lot of dough.

Can a food processor catch fire?

It’s rare, but the CPSC does track overheating motors in small kitchen appliances as a genuine fire hazard category. Visible smoke, scorch marks, or a smell that doesn’t clear after the motor cools are signs to unplug it and stop using it, not warm-up quirks to monitor.

How long should I let my food processor cool down between uses?

At least 20 minutes if it’s shown any sign of strain (a hot smell, slowing down, or the motor sounding labored). For normal use without those signs, there’s no fixed cooldown requirement.

Why does my food processor smell burnt but still work fine?

This points to overloading rather than a failing motor — the machine is straining under too much load but hasn’t actually been damaged yet. Reduce batch size and give it rest time between runs before it becomes a real motor problem.

Bottom Line

Nine times out of ten, a burning smell from a food processor means the motor is overworked, not broken — smaller batches and letting it cool solve it. The exceptions worth taking seriously are a smell that persists after cooling, visible smoke, or scorch marks, all of which mean stop using it rather than push through. If you’re due for a replacement, my food processor buying guide covers what’s actually worth buying, and my guide to cleaning a food processor covers the maintenance habits that keep a new one out of this situation longer.

Filed Under: Uncategorized

How to Clean a Food Processor (The Parts Everyone Misses)

Last Updated July 22, 2026

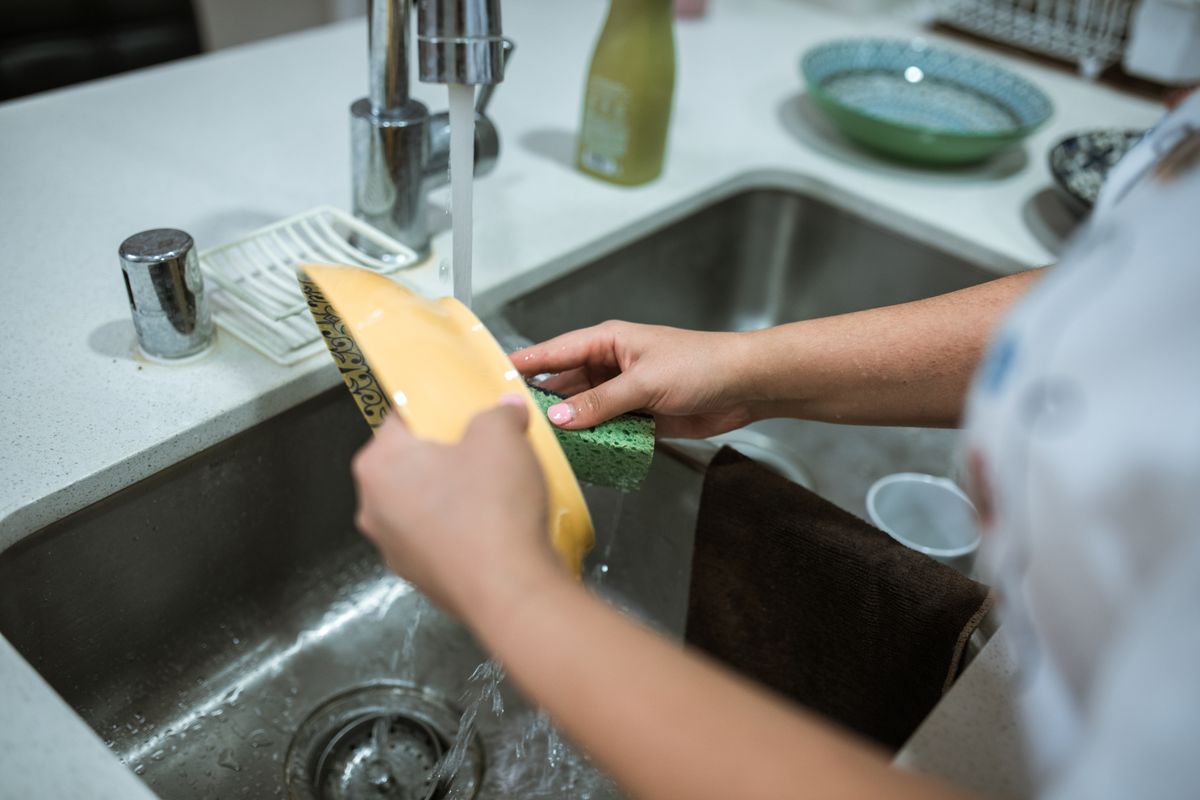
A person hand-washing a bowl at the kitchen sink

Photo by RDNE Stock project from Pexels

Short answer: to clean a food processor properly, hand-wash the bowl, lid, and blade in warm soapy water rather than relying on the dishwasher, dry everything immediately, and use a thin brush (not a chopstick or toothpick) to get food out of the blade’s underside and the handle cavity — that’s where smells and mildew actually come from. The rest of this guide covers the parts most cleaning tips skip: stains, odors, cloudy bowls, and when the dishwasher is genuinely fine to use.

The Basic Clean

Unplug the base, then take the processor apart completely: bowl, lid, pusher, and blade all separate from the motor base and from each other. Rinse off loose food first under running water, then wash each piece in warm water with a small amount of dish soap and a non-abrasive sponge or soft brush. Never submerge the motor base — it’s the one part that isn’t meant to touch water at all, and a quick wipe with a damp cloth is all it needs.

The Part Everyone Gets Wrong: The Blade and Handle

Most of the smell and grime that lingers in a “clean” food processor is hiding in two spots: the underside of the S-blade, where it locks onto the drive shaft, and the hollow handle on the lid, which traps liquid every time you pulse something wet. A sponge can’t reach either one. Use a bottle brush, a pipe cleaner, or a dedicated small cleaning brush to get inside both — run it under the blade where it meets the shaft, and up through the handle from both ends if it’s hollow. Do this every time you process something wet or oily, not just when you notice a smell — it applies regardless of which model you own, including the Cuisinart DFP-14BCNY I recommend as the top pick in my food processor buying guide.

Is a Food Processor Dishwasher Safe?

It depends on the part, and manufacturers are inconsistent about saying so clearly. The bowl and lid are dishwasher-safe on nearly every model — check for a dishwasher-safe symbol stamped into the plastic to confirm. The blade is technically dishwasher-safe on most machines too, but hand-washing is worth the extra minute: the high-heat dry cycle dulls a sharp edge faster than hand-washing does, and loading a food processor blade loose in a dishwasher rack is a genuine way to cut yourself reaching in blind for cutlery. The one part that should never go in the dishwasher, full stop, is the motor base.

Getting Rid of Stains

Turmeric, carrots, and tomato-based sauces all stain clear or light-colored plastic, and the stain sets faster the longer it sits. For a fresh stain, a wash with dish soap immediately after use usually lifts it before it sets. For a stain that’s already there, make a paste of baking soda and a little water, work it into the stained area with a soft cloth, let it sit for 10–15 minutes, then rinse.

Sunlight helps too — a stained bowl left to air-dry in direct sun for an afternoon will noticeably lighten over a few sessions. Bleach will remove a stain faster, but repeated bleach use is what eventually makes clear plastic go cloudy and brittle, so save it for the worst cases rather than making it routine.

Getting Rid of Odors

Garlic, onion, and fish are the three ingredients most likely to leave a smell behind, and it’s usually trapped in the same blade and handle crevices covered above, not the smooth bowl walls. Washing immediately, before the odor has time to set into the plastic, is the single biggest factor. If a smell persists after washing, fill the bowl with warm water and a tablespoon of baking soda, let it sit for 15 minutes, then wash normally. A capful of white vinegar in the rinse water does the same job and is worth using if you process fish regularly.

Why Does the Bowl Go Cloudy?

A clear polycarbonate bowl that starts foggy or scratched-looking isn’t dirty — it’s been etched. This happens from two things, both avoidable: abrasive scrubbers (steel wool, the rough side of a sponge, or anything gritty) leaving microscopic scratches that scatter light instead of letting it pass through clearly, and repeated high-heat dishwasher cycles gradually breaking down the plastic’s surface the same way they eventually cloud drinking glasses. Once it’s etched, it’s permanent — there’s no product that restores true clarity, though a light buff with a baking soda paste can improve the worst of it cosmetically. Prevention is the only real fix: soft sponges only, and hand-wash the bowl if you notice it starting to fog.

Cleaning After Raw Meat

If you’ve used the processor on raw chicken, fish, or ground meat, cleaning and sanitizing are two different steps, not one. Washing with soap removes visible food and most bacteria; sanitizing reduces what’s left further, which matters more with raw protein than with vegetables or dough. North Dakota State University Extension’s guidance on kitchen sanitizing recommends a chlorine-based sanitizing solution (or your dishwasher’s hot-water cycle, for parts rated for it) as the actual sanitizing step after washing — a rinse under the tap alone doesn’t do it. Wash the bowl and blade first, then run them through a sanitizing step before you use the processor again for something that won’t be cooked.

A hot food smell after normal use is a cleaning issue covered above. A burnt or electrical smell is a different problem — my guide to a food processor burning smell covers what’s actually causing it and when to stop using the machine.

How Often Should You Deep-Clean It?

Every use needs the basic wash above. Once every month or two, pull the blade all the way off the drive shaft (most twist or lift free) and check underneath it and around the shaft seal for buildup a regular wash misses — this is the spot that causes a musty smell nobody can locate. If you use the processor for doughs or nut butters regularly, check it more often; oily, sticky ingredients build up in the shaft area faster than wet ones.

What Not to Do

A few habits cause more damage than the mess they’re meant to fix:

  • Don’t let the bowl or blade soak in the sink overnight. Prolonged water contact around the blade’s metal hub can rust the shaft coupling, and standing water is exactly what breeds the musty smell this guide is trying to prevent.
  • Don’t use steel wool, the abrasive side of a sponge, or bleach as a routine cleaner on the bowl — all three are the direct cause of the cloudy-bowl problem above.
  • Don’t store the bowl and lid assembled with the gasket compressed. Left sealed for weeks, the rubber seal can develop a smell that transfers to whatever you process next.
  • Don’t reach into a dishwasher rack for the blade without looking first. It’s still sharp, whether or not it’s clean.

Frequently Asked Questions

Can you put a food processor blade in the dishwasher?

Most are rated dishwasher-safe, but the high-heat dry cycle dulls the edge faster than hand-washing, and it’s easy to cut yourself reaching for it blind in a loaded rack. Hand-washing is the safer habit either way.

Why does my food processor smell even after washing?

The smell is almost always trapped in the blade’s underside or the hollow lid handle, not the bowl. A sponge can’t reach either spot — use a bottle brush or pipe cleaner to get inside both, and check the area around the drive shaft for buildup a regular wash misses.

How do you get stains out of a food processor bowl?

A baking soda paste worked into the stain for 10–15 minutes before rinsing removes most turmeric, carrot, and tomato staining. Washing immediately after use, before the stain sets, is more effective than any after-the-fact fix.

Why is my food processor bowl cloudy?

Cloudiness is permanent etching from abrasive scrubbers or repeated high-heat dishwasher cycles, not dirt. It can’t be fully reversed — hand-washing with a soft sponge going forward prevents it from getting worse.

Is it safe to wash a food processor bowl in the dishwasher every time?

The bowl and lid are usually fine occasionally, but repeated high-heat cycles are the main cause of permanent cloudiness over time. Hand-washing most of the time and saving the dishwasher for an occasional deep clean keeps a clear bowl clear longer.

Bottom Line

The bowl and lid are the easy part — soap, water, done. The blade’s underside and the lid’s hollow handle are where actual problems start, and they’re the two spots a sponge physically can’t reach. Get a thin brush into both every time, hand-wash instead of relying on the dishwasher if you want the bowl to stay clear, and sanitize after raw meat rather than just rinsing.

If you’re also deciding when to replace the blade rather than just clean it, my guide to sharpening food processor blades covers that next step, and if you’re still deciding whether a food processor is even the right appliance for what you cook, my food processor vs. blender guide covers that first.

Filed Under: Uncategorized

Food Processor vs. Blender: What’s Actually Different

Last Updated July 22, 2026

A woman using a blender in a modern kitchen

Photo by Yaroslav Shuraev from Pexels

Short answer: get a blender if you mainly make smoothies, soups, and sauces; get a food processor if you mainly chop, shred, or knead. The blade shape and bowl design are built for opposite jobs, and neither one does the other’s job well. Below is exactly where the line is, where the two genuinely overlap, and whether you need both. Set side by side on the jobs people actually buy them for, the honest answer is that they solve different problems more often than people expect.

The Actual Mechanical Difference

A blender’s blades sit at the bottom of a tall, narrow jar and spin fast enough to pull everything down into a vortex, so the contents keep circulating past the blade. That design needs some liquid to work — it’s why a smoothie blends cleanly but a handful of dry nuts just bounces on top of stationary blades until you add something wet.

A food processor’s S-shaped blade sits in a wide, shallow bowl and spins slower, cutting rather than pulling everything into a vortex. There’s no liquid requirement, which is why it handles dry, chunky, or sticky jobs — chopping onions, shredding a block of cheddar, cutting cold butter into flour for pastry — that would just sit on top of a blender’s blades. Most models also come with slicing and shredding discs, which is the real reason people buy one over a second blender. The University of Illinois Extension’s kitchen appliance guide draws this same line: blenders for liquids and purées, food processors for chopping, slicing, shredding, and mixing solid or semi-solid ingredients.

When a Food Processor Wins

Reach for a food processor for anything dry, large-volume, or sticky: a full head of cabbage for slaw, a pile of potatoes for hash browns, pie dough, or grating a block of cheese in seconds instead of by hand. It also does pastry dough faster than a hand pastry cutter, though it’s easy to overwork the dough if you run it too long. My food processor buying guide covers the specific models worth buying at each capacity if this is the appliance you’re missing, and if chopping is the main job, it’s worth reading through what else a food processor can replace in your kitchen before you buy one just for onions.

When a Blender Wins

Reach for a blender for anything that needs to end up smooth and pourable: smoothies, soups, sauces, and anything with ice or frozen fruit. A blender jar is also built with a pour spout, which matters more than it sounds — pouring soup out of a food processor’s wide, spoutless bowl is a genuinely messy job. If you’re choosing a blender mainly to save counter space alongside a food processor, a combo unit is worth a look; I’ve reviewed the Ninja BN801, which pairs both in one base, and compared it directly against a NutriBullet combo model.

Where They Actually Overlap

Both machines claim to make hummus, pesto, and nut butter, and this is the one area where the choice genuinely comes down to preference rather than a hard rule. A food processor’s wide bowl and slower blade give you more control over texture — pesto stays a little chunky unless you run it longer — while a blender gets everything uniformly smooth faster, assuming you add enough oil or liquid to keep it moving. Nut butter is the harder case for both: food processors can take 10-15 minutes of scraping down the sides before nuts turn to butter, and a lower-powered blender can stall out entirely on a dry load of almonds. If nut butter is a regular project, a higher-wattage machine matters more than which category it belongs to.

What neither one does well is the other’s core job. A food processor never gets a soup as silky as a blender does — the bowl’s low fill line means you’re working in frustratingly small batches, and the result stays grainier no matter how long you run it. A blender, in turn, struggles with genuinely dry or sticky loads: it can shred cheese in a pinch, but nowhere near as evenly as a disc attachment does, and thick cookie dough can stall the motor or crack a cheaper jar.

Whichever one you end up with, cleaning it properly matters more than most people expect — my guide to cleaning a food processor covers the two spots that cause most of the smell and staining complaints.

Which Costs More?

Both categories span a wide range, but a food processor with real capacity (11-14 cups) and a decent motor typically costs somewhat more than a blender that will handle daily smoothies well, mostly because of the extra discs, bowl, and gearing. Budget blenders under $50 exist and work fine for basic smoothies; a food processor below that price is usually too small or underpowered to be worth owning. Neither is a place to buy the cheapest option if you’ll use it weekly — a warranty and a motor that doesn’t bog down on a full load are worth paying for either way.

Do You Need Both?

If you’re only going to own one, ask what you cook more of. Someone who makes a smoothie most mornings and rarely bakes needs a blender first. Someone who cooks from scratch most nights — chopping vegetables, shredding cheese, making dough — gets more daily use from a food processor.

If your kitchen has room and budget for both, they’re genuinely not redundant: most cooks reach for the food processor several times a week for prep and the blender maybe twice — but on those two occasions, nothing else does the job. A combo unit like the Ninja BN801 above is the reasonable middle ground if counter space, not budget, is the real constraint.

Once you’ve settled on a food processor, the next question is what size to buy. My food processor sizing guide breaks that down by household size and by task, since the cup number on the box is not the same as your real working capacity.

Frequently Asked Questions

Can I use a blender instead of a food processor?

For soft, wet jobs like sauces or purées, yes. For chopping, shredding, or kneading dough, a blender will underperform badly or stall completely — those jobs need the food processor’s wider bowl and slower blade.

Can a food processor make smoothies?

It can, but the result is grainier than a blender’s, and the low fill line means processing a full-size smoothie in two or three small batches instead of one.

Which is easier to clean, a food processor or a blender?

A blender is usually faster — rinse the jar, or blend a little soapy water and rinse. A food processor has more parts (bowl, blade, lid, and any discs you used), all of which need separate washing, though most are dishwasher-safe.

Is it worth buying both a food processor and a blender?

If you cook from scratch regularly and have the counter space, yes — they cover genuinely different jobs. If space or budget is tight, pick based on which task you do more often, or consider a combo unit that houses both in one base.

Bottom Line

The blade and bowl design genuinely aren’t interchangeable: a food processor is built for dry, chunky, large-volume prep, and a blender is built for smooth, liquid results. Buy based on which one matches what you actually cook most nights, not which one sounds more versatile on the box.

Filed Under: Uncategorized

  • « Go to Previous Page
  • Page 1
  • Page 2
  • Page 3
  • Go to Next Page »

Recent Articles

  • Frigidaire EFIC189 Review: Ice in Six Minutes
  • Silonn Countertop Ice Maker Review: Fast Ice, Not Stored Ice
  • CUSIMAX Meat Slicer Review: Two Blades, One Caveat
  • OXO Brew Conical Burr Review: The Right First Grinder
  • Ooni Koda 12 Review: The Pizza Oven Most People Should Buy

Search


HOME          Contact          Affiliate Disclosure          Terms of Service          Privacy Policy


kitchenwarecompare.com is a participant in the Amazon Services LLC Associates Program, an affiliate advertising program designed to provide a means for sites to earn advertising fees by advertising and linking to Amazon.com, Endless.com, MYHABIT.com, SmallParts.com, or AmazonWireless.com. Amazon, the Amazon logo, AmazonSupply, and the AmazonSupply logo are trademarks of Amazon.com, Inc. or its affiliates. As an Amazon Associate I earn from qualifying purchases.


Copyright © 2026 kitchenwarecompare.com, ALL RIGHTS RESERVED.